Getting Started
This tutorial will walk you through everything you need to know to play Stonequest for the first time: creating your characters, assembling a party, buying equipment, and venturing into Barrat's Maze.
Use the navigation on the left to jump to any section, or simply scroll down to follow the tutorial from beginning to end.
Input

Welcome to the 1980s. Computer mice are very rare and almost never used. Nearly everything is keyboard-based.
Stonequest was no exception. Every action you can perform in the game proper must either be performed through the keyboard or through the use of the on-screen keyboard (not covered in this document).
Before the game can accept keystrokes, however, it must have focus. That means that the browser must be the active window on your device, and the game must be the active element in the browser.
If the game does not respond to keystrokes, try clicking on the game screen. That will give focus to the game, after which it will be able to accept keystrokes. Remember this if you switch from the game to other tabs in the browser or to different applications; when you switch back, the game may have lost focus, in which case you will need to click on it again.
At the Main Menu
When you first load the game, you will be greeted with the main menu. From here you can view the game's scenario, start a new game, and more. The following sections cover each of these options in turn.
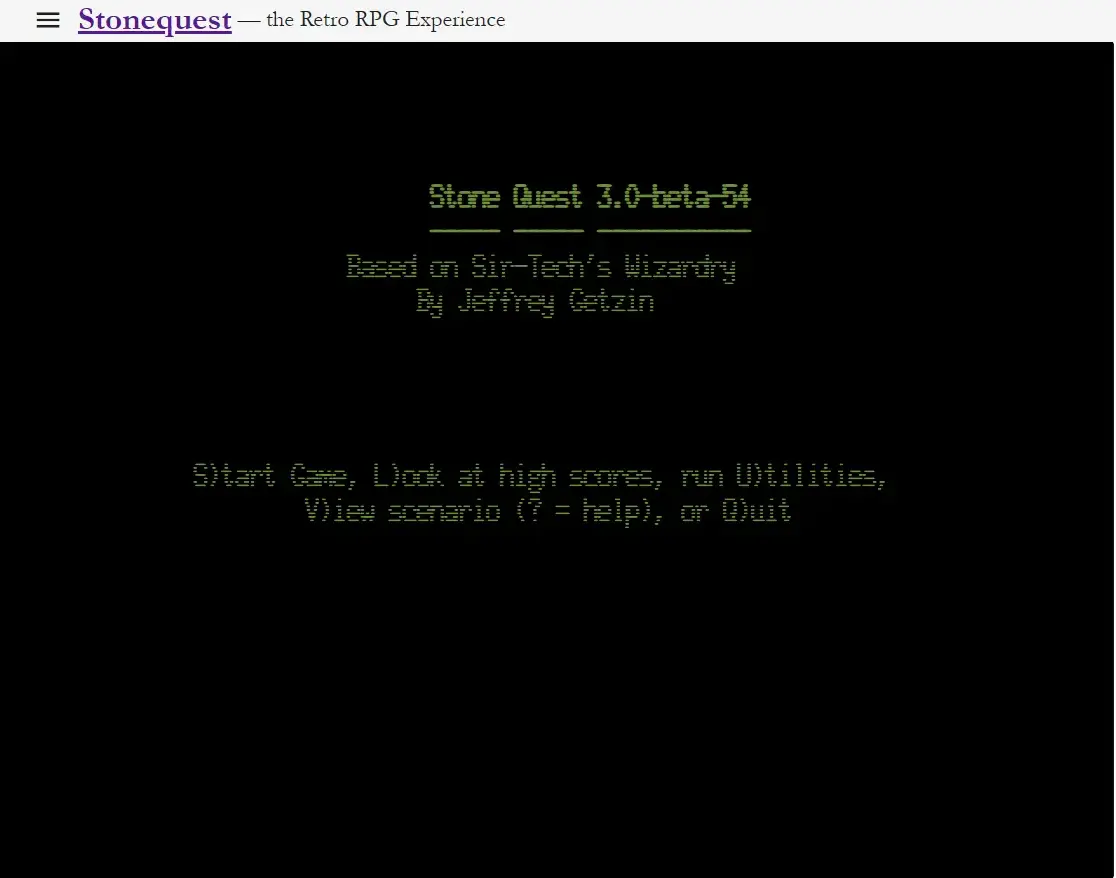
View Scenario
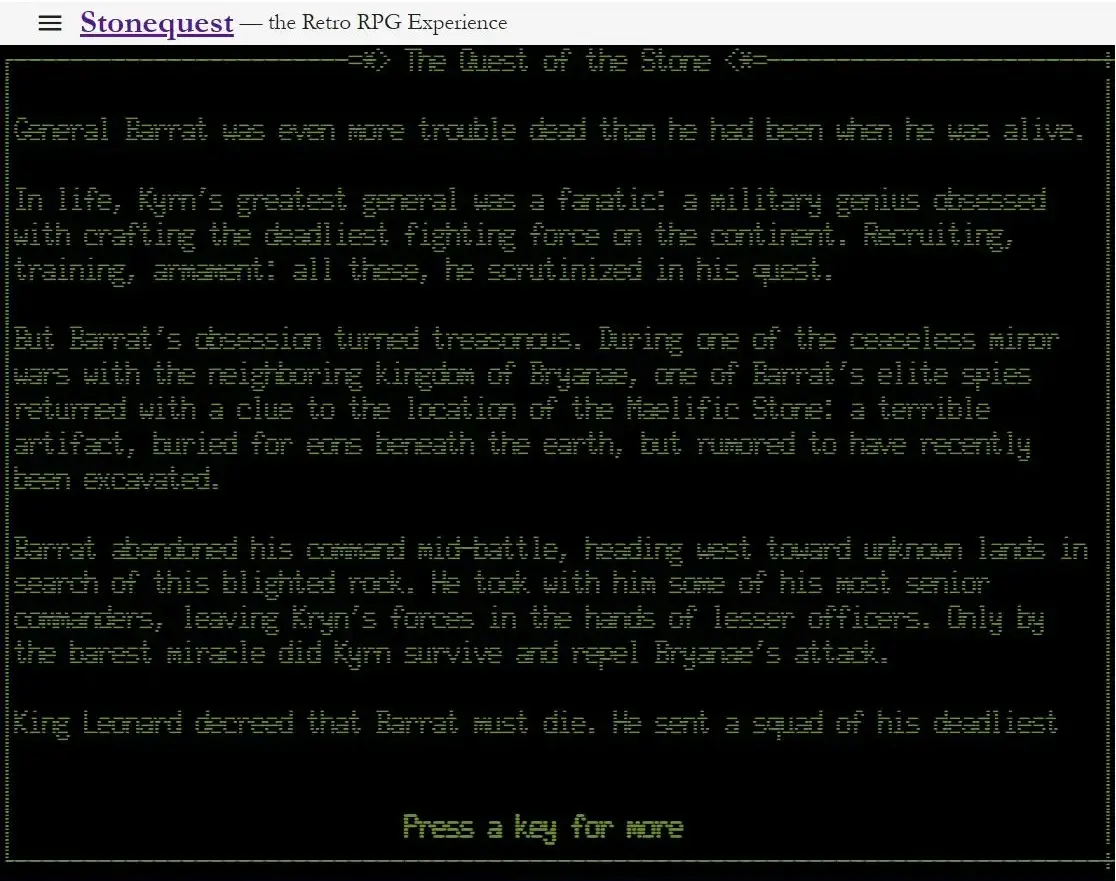
You can type "V" to view the scenario for the game, i.e., see what you're trying to accomplish in the game.
Play Game
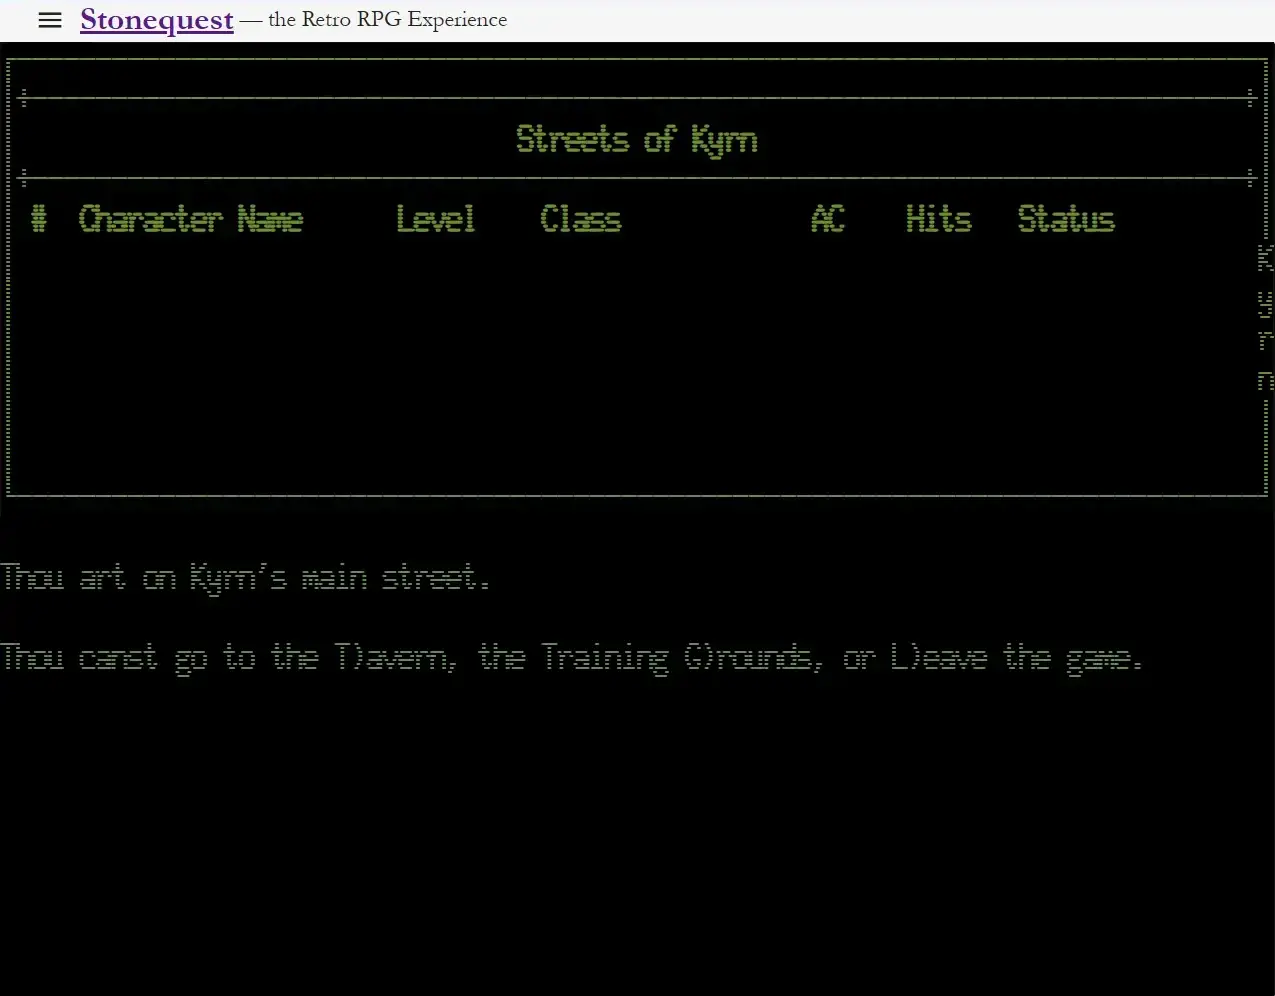
After that, you'll want to start the game. To do that, type "S" for "Start Game." You'll be taken to the Streets of Kyrn.
Creating Characters
The first order of business is to create some characters. You should create at least six characters to start with, though you may want more later.
From the Kyrn's main street, type "G" to go to the Training Grounds. There, you can create characters.
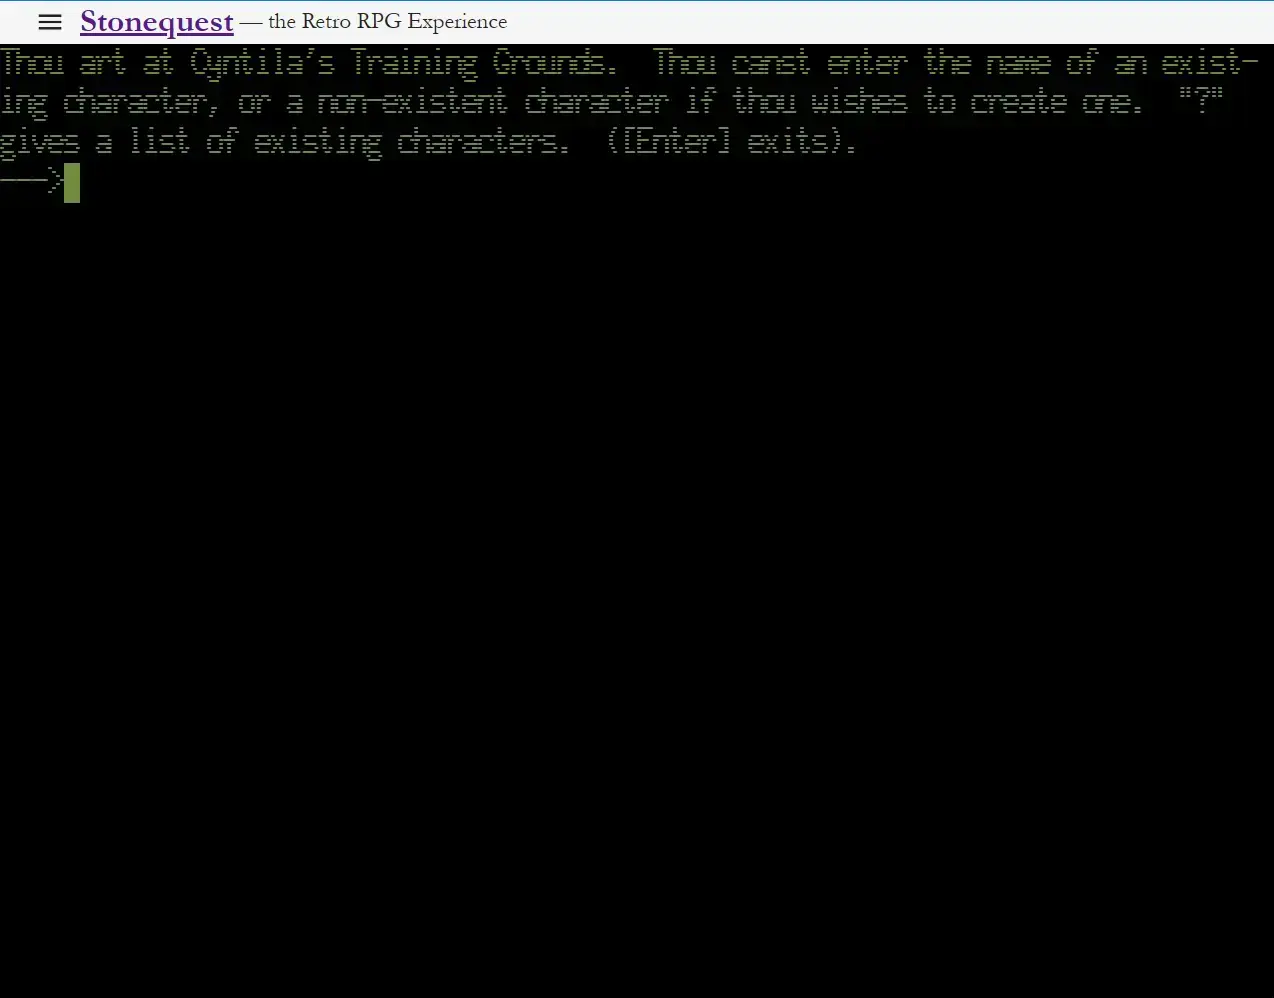
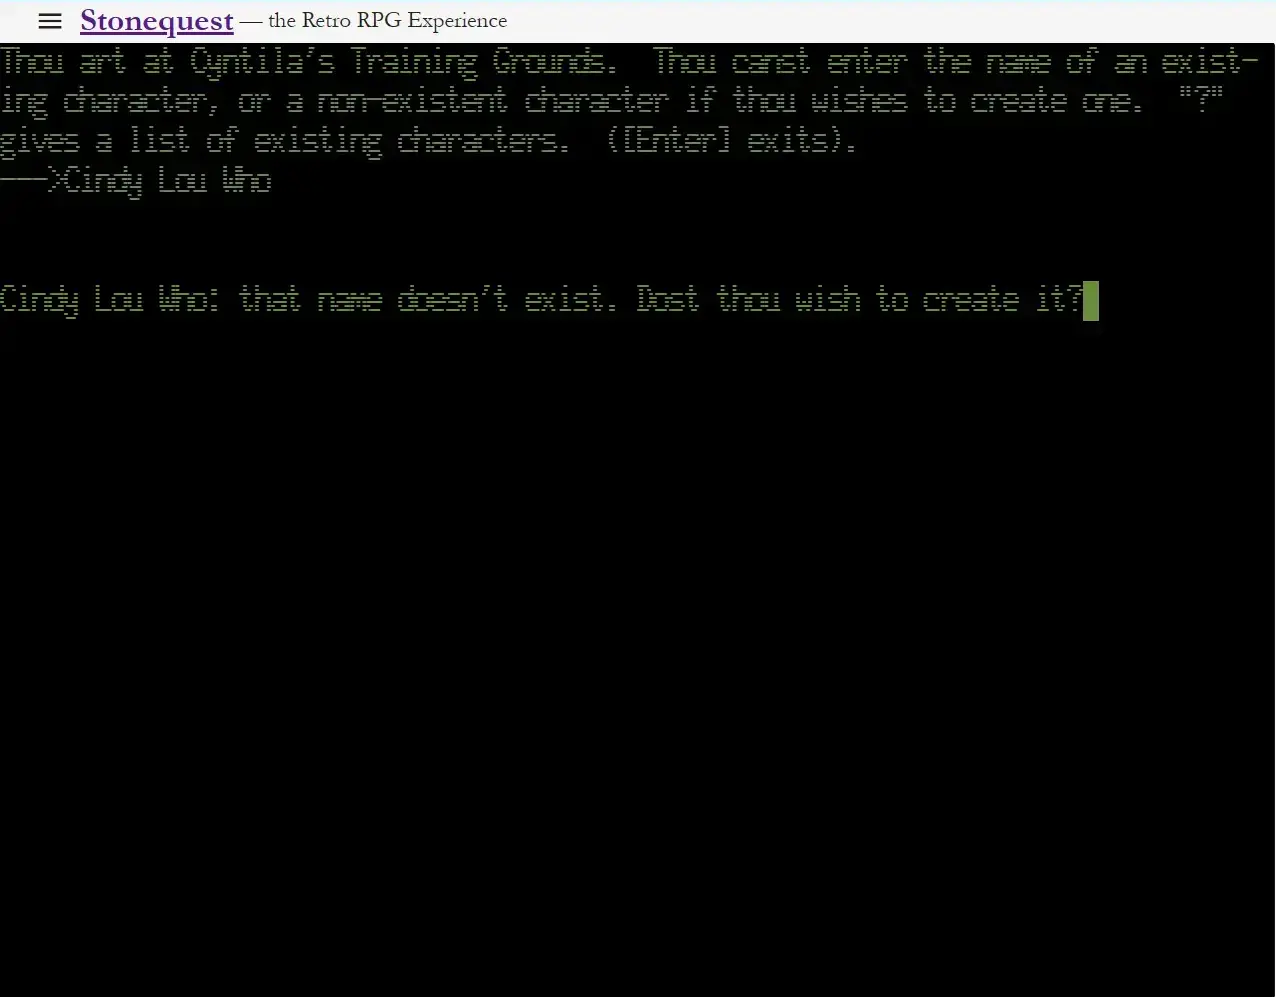
At the Training Grounds, type in the name of a character that does not exist yet and type "[ENTER]". The game will prompt you whether you want to create that new character.
(If you had typed the name of an existing character here, you would have gotten different options.)
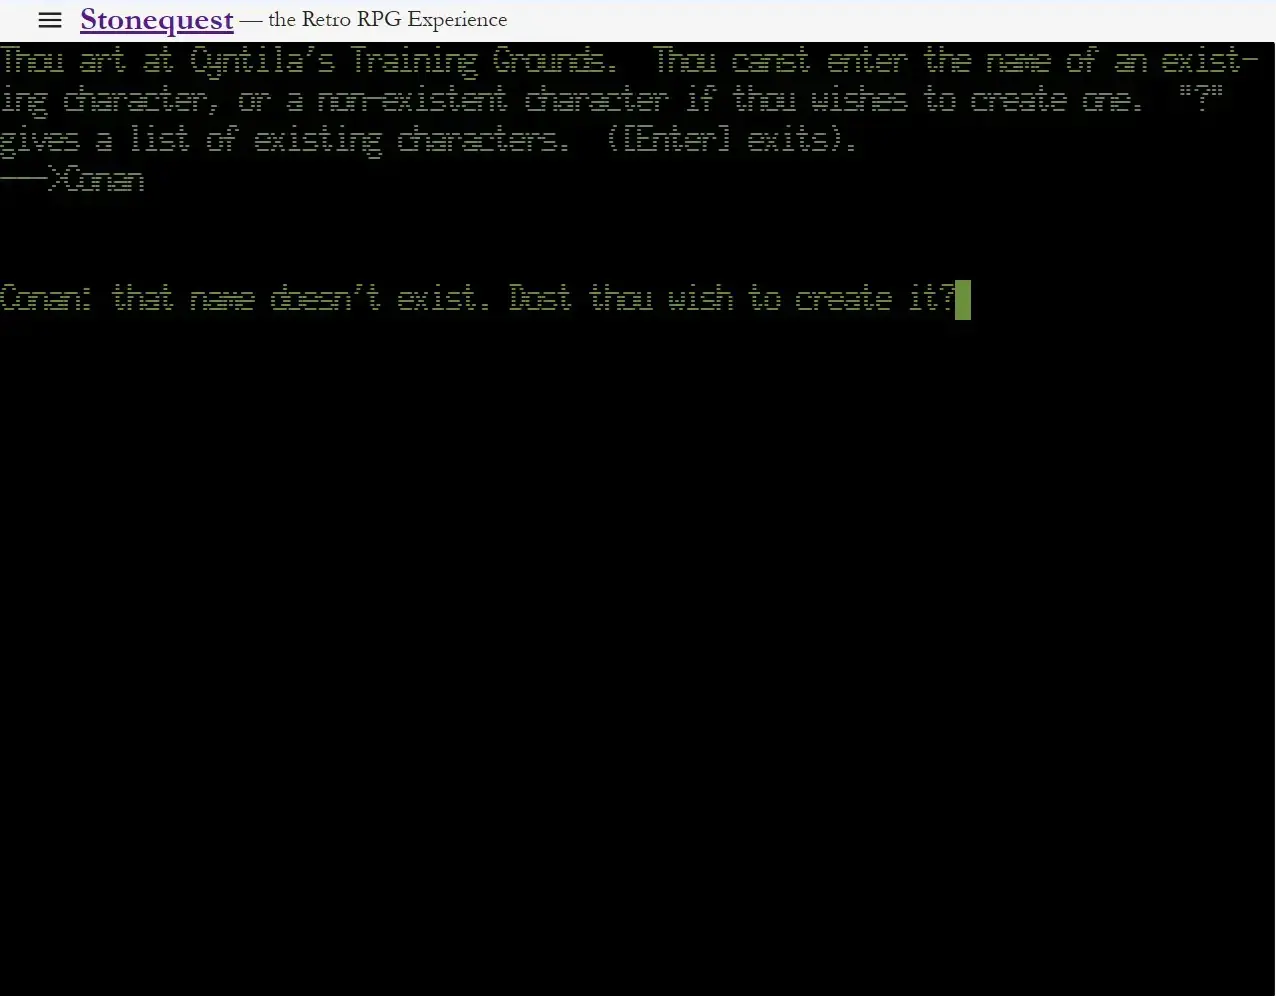
Type "Y" to create the character. You will then be taken to the character generation screen, where you can roll your ability scores.
Rolling Ability Scores
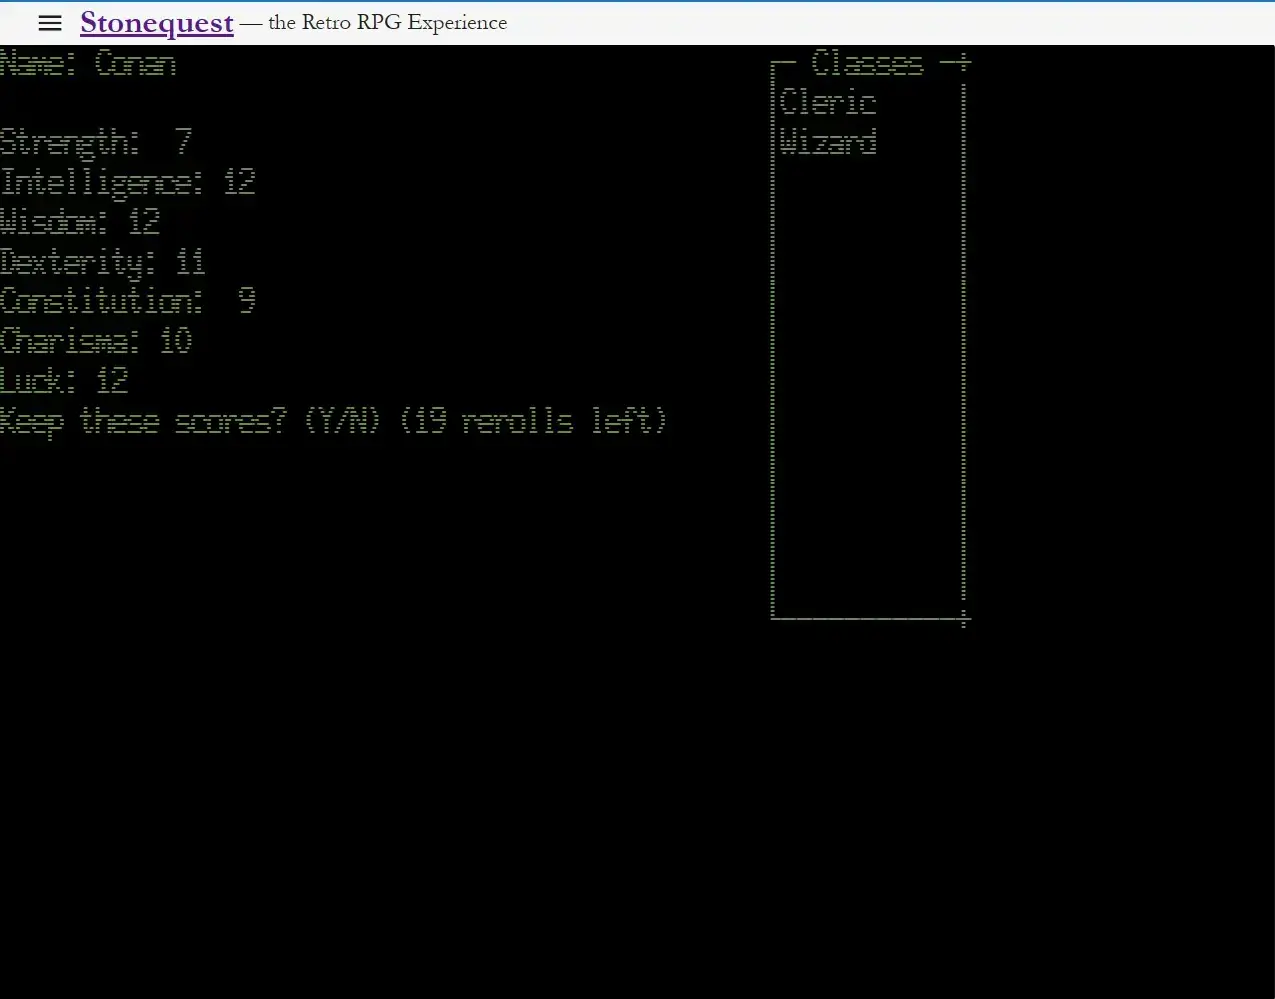
Keep rolling until you get scores you like. Please note that you have a limited number of re-rolls available so you may need to settle on "good enough" scores.
In the window on the right, you will see the character classes for which your ability scores qualify you.
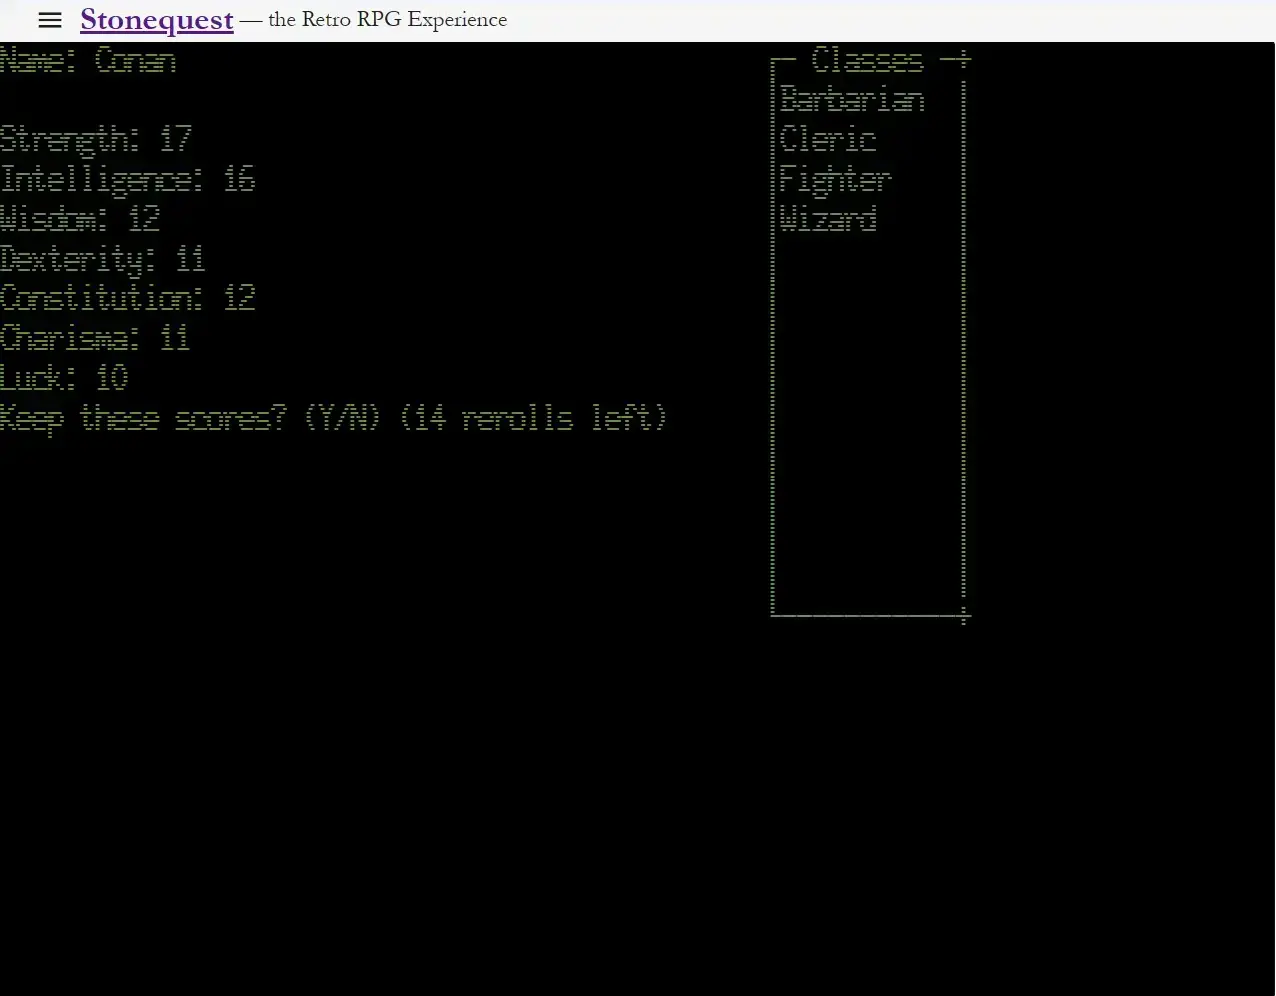
When you get a set of rolls that work for you, click "Y" to keep them.
Adjusting Ability Scores
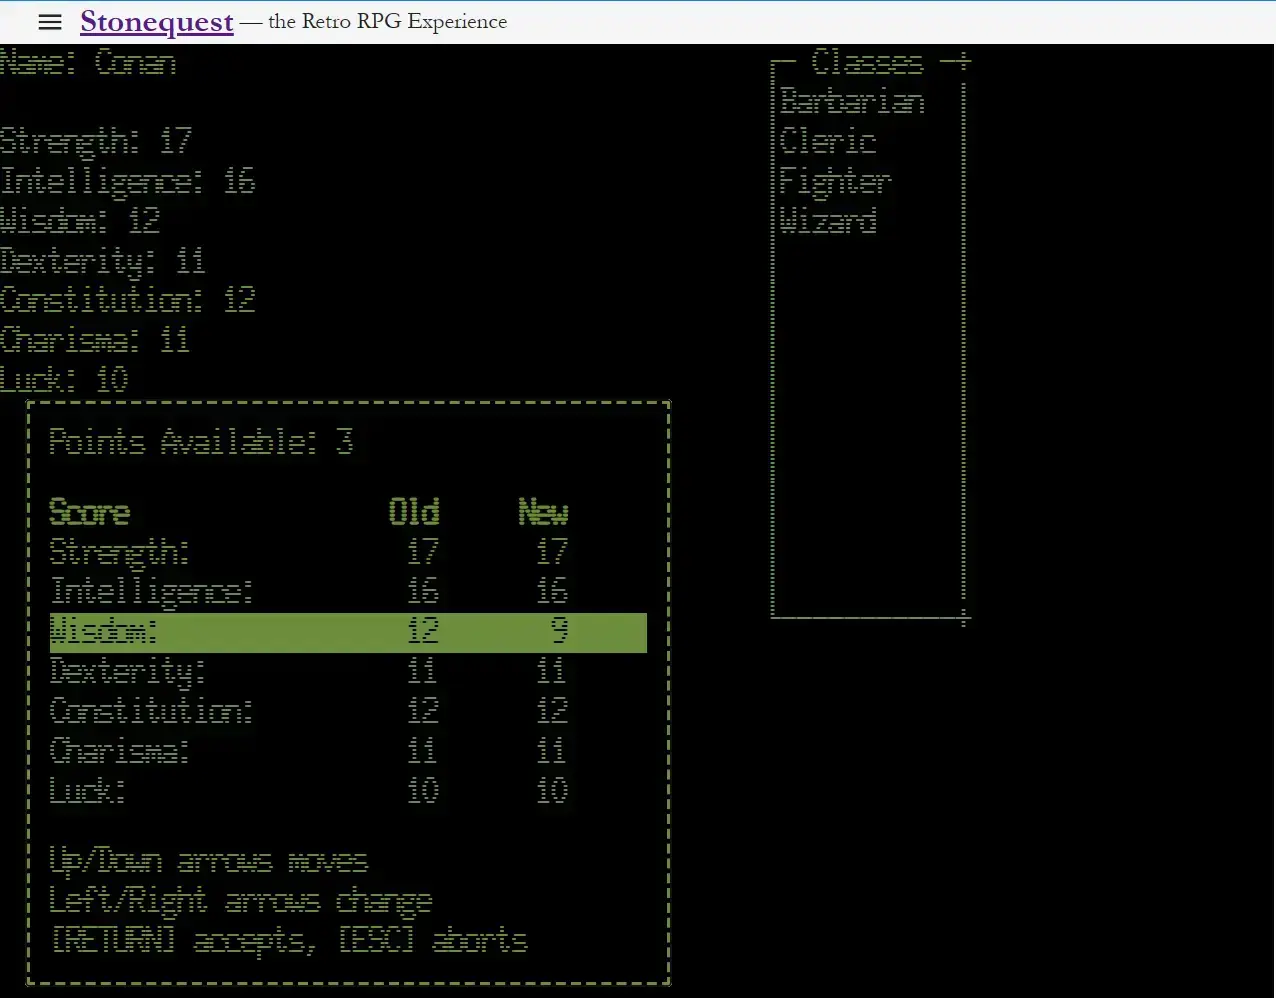
Next, you optionally can modify those ability scores by getting "points" from lowering one score to use to raise another.
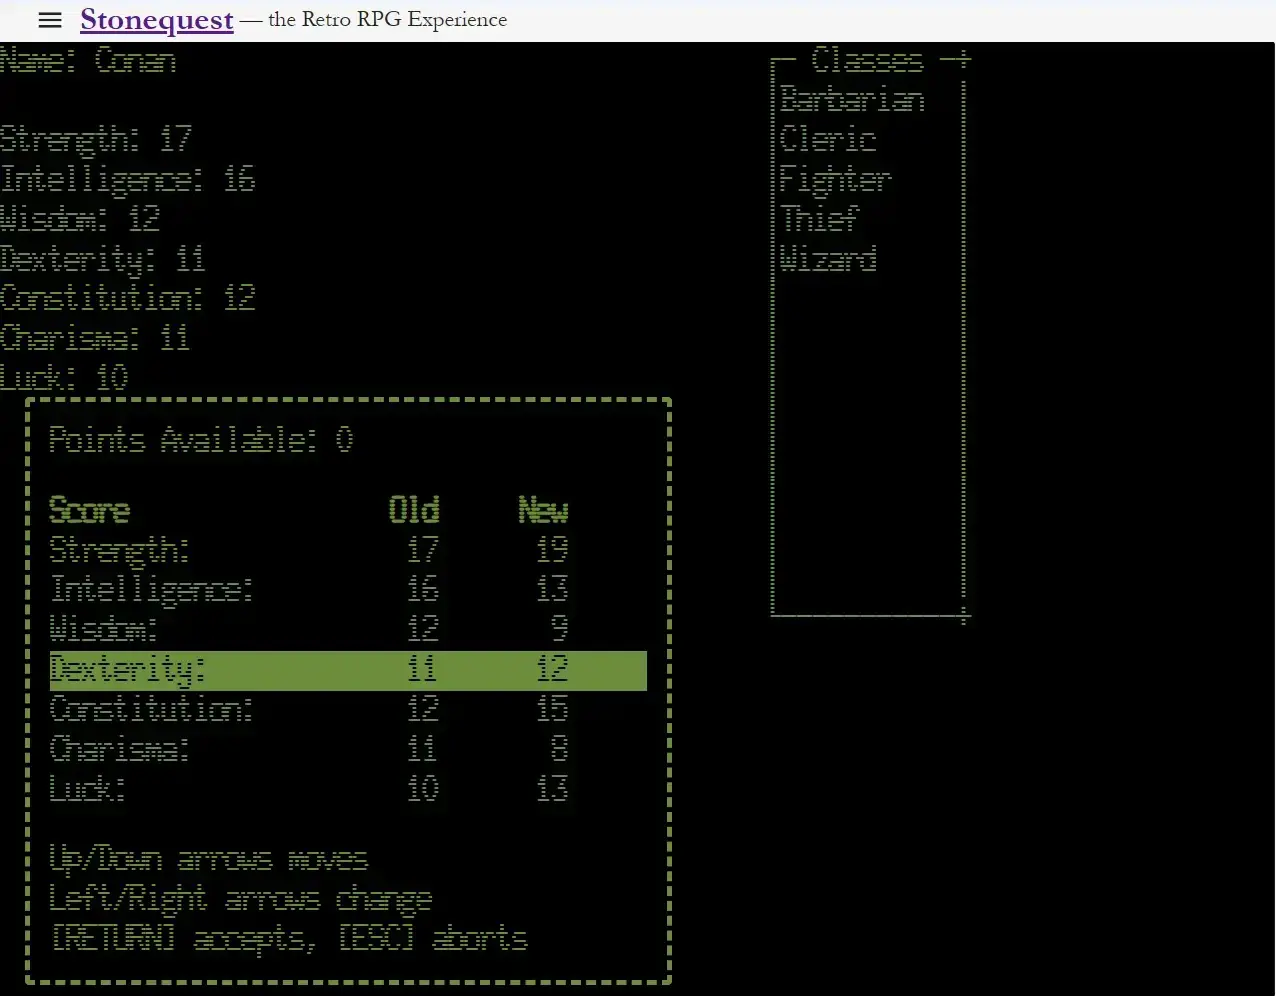
For instance, you could lower your Wisdom by two and use those points to raise your Strength and Dexterity by one point each.
Note that there are limits to how high you can raise a score, and how many points you can take from a score, too.
First, the game asks whether you want to adjust your scores at all. If you are happy with what you rolled, you can skip this step entirely.
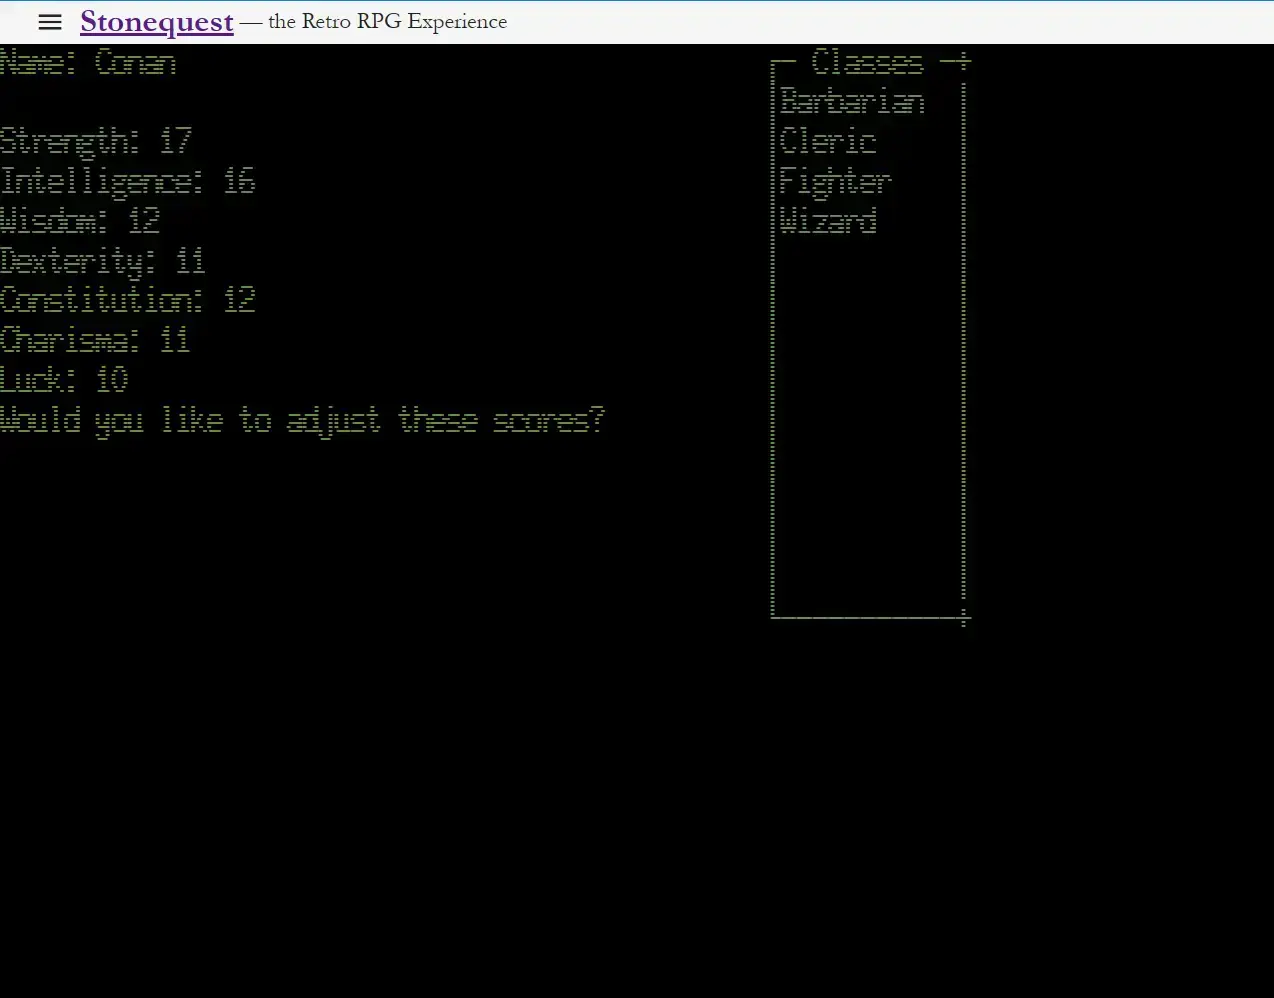
If you choose to adjust, you will be shown your current scores and the number of points you have available to spend.
When you are satisfied with the result, confirm your adjustments to move on to choosing a Character Class.
Choosing a Class
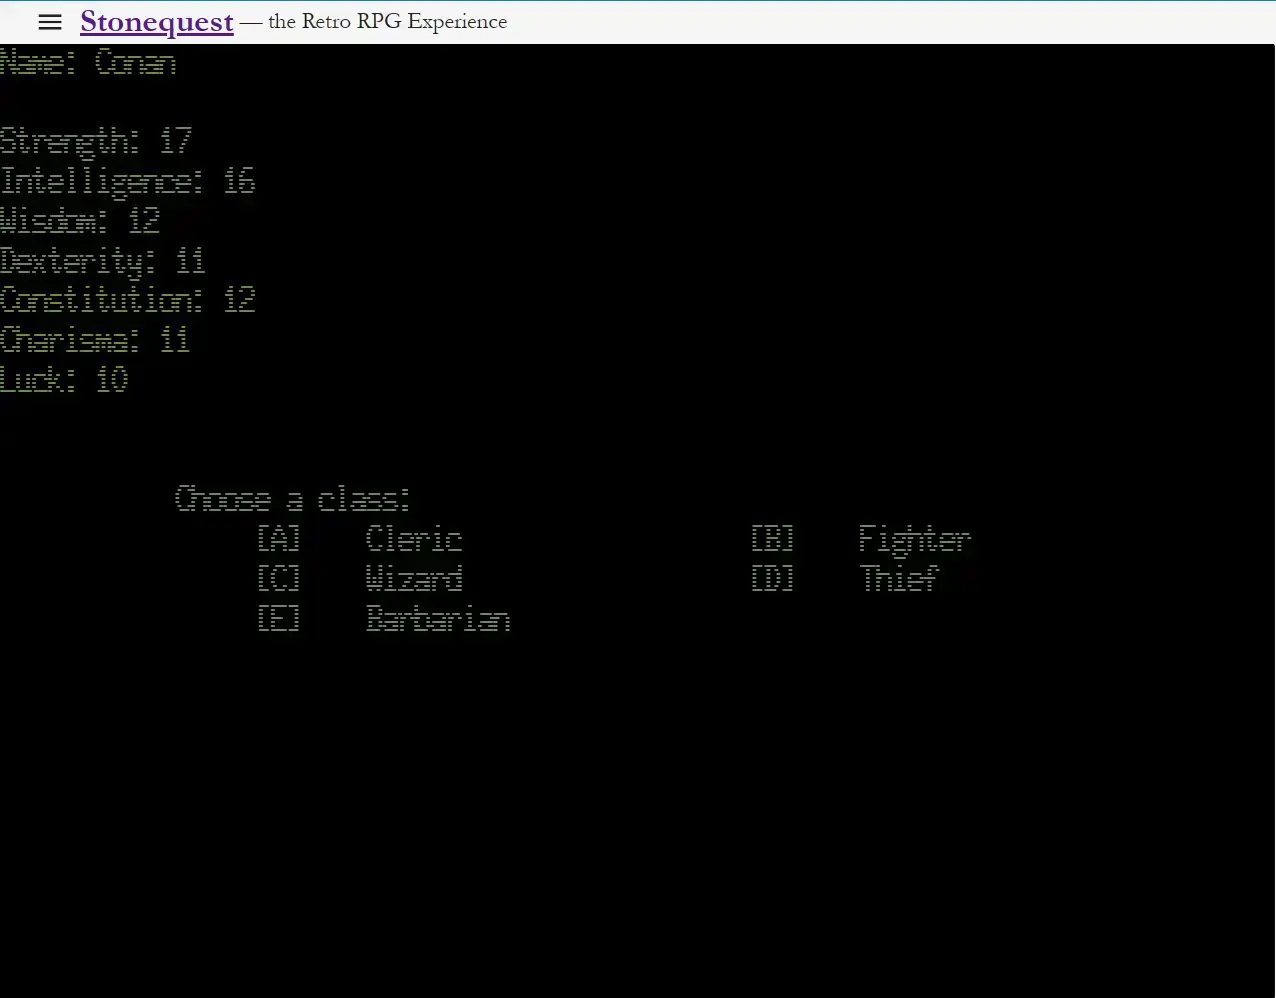
Once you have finished tweaking your Ability Scores, it is time to choose a Character Class. This Class determines a number of things, such as your ability to use spells and your fighting ability. You should refer to the Wiki for more information.
Note that there are some Character Classes in the game that you may not choose at character-creation time. These so-called "prestige" classes must be taken later as a second Class.
Choosing Race and Gender
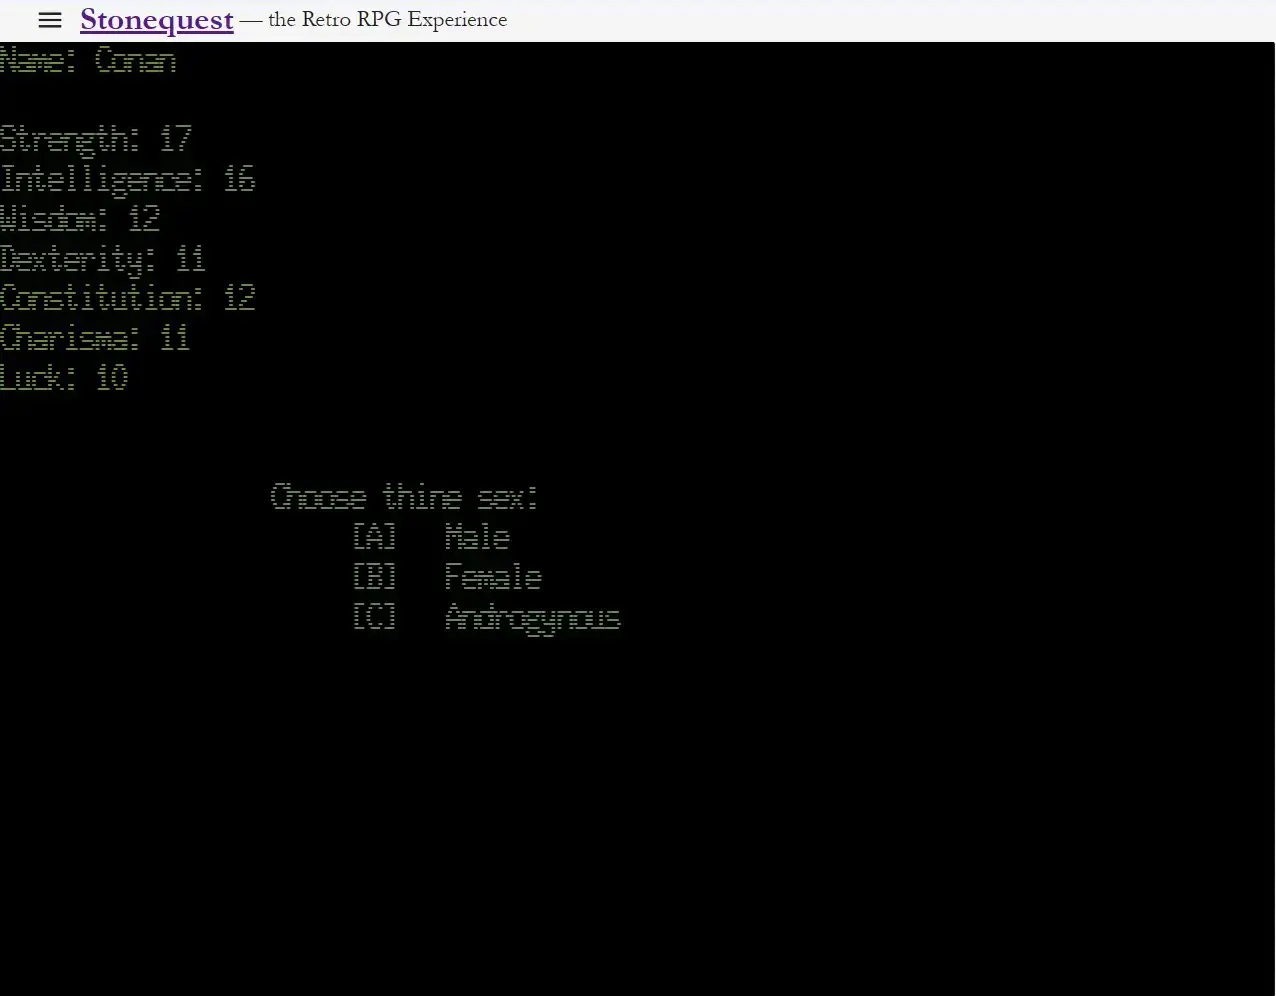
After choosing a class, you must then choose a race and a gender. Your race and gender will affect your Ability Scores, plus some races have inherent advantages and/or disadvantages. Please see the Wiki for more information on Character Races.
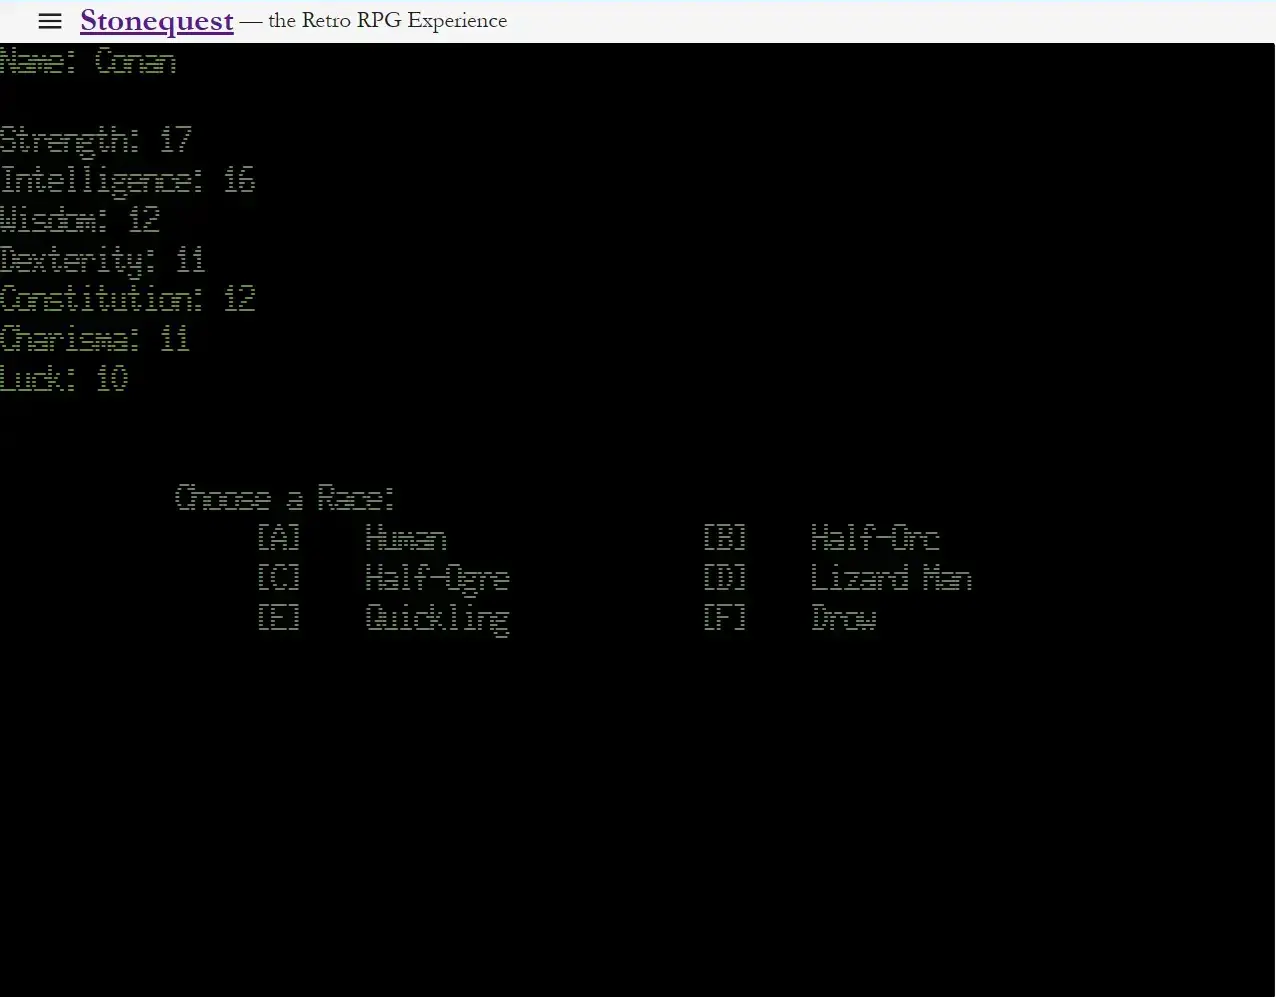
Once you have chosen a race, select a gender.
Choosing Alignment
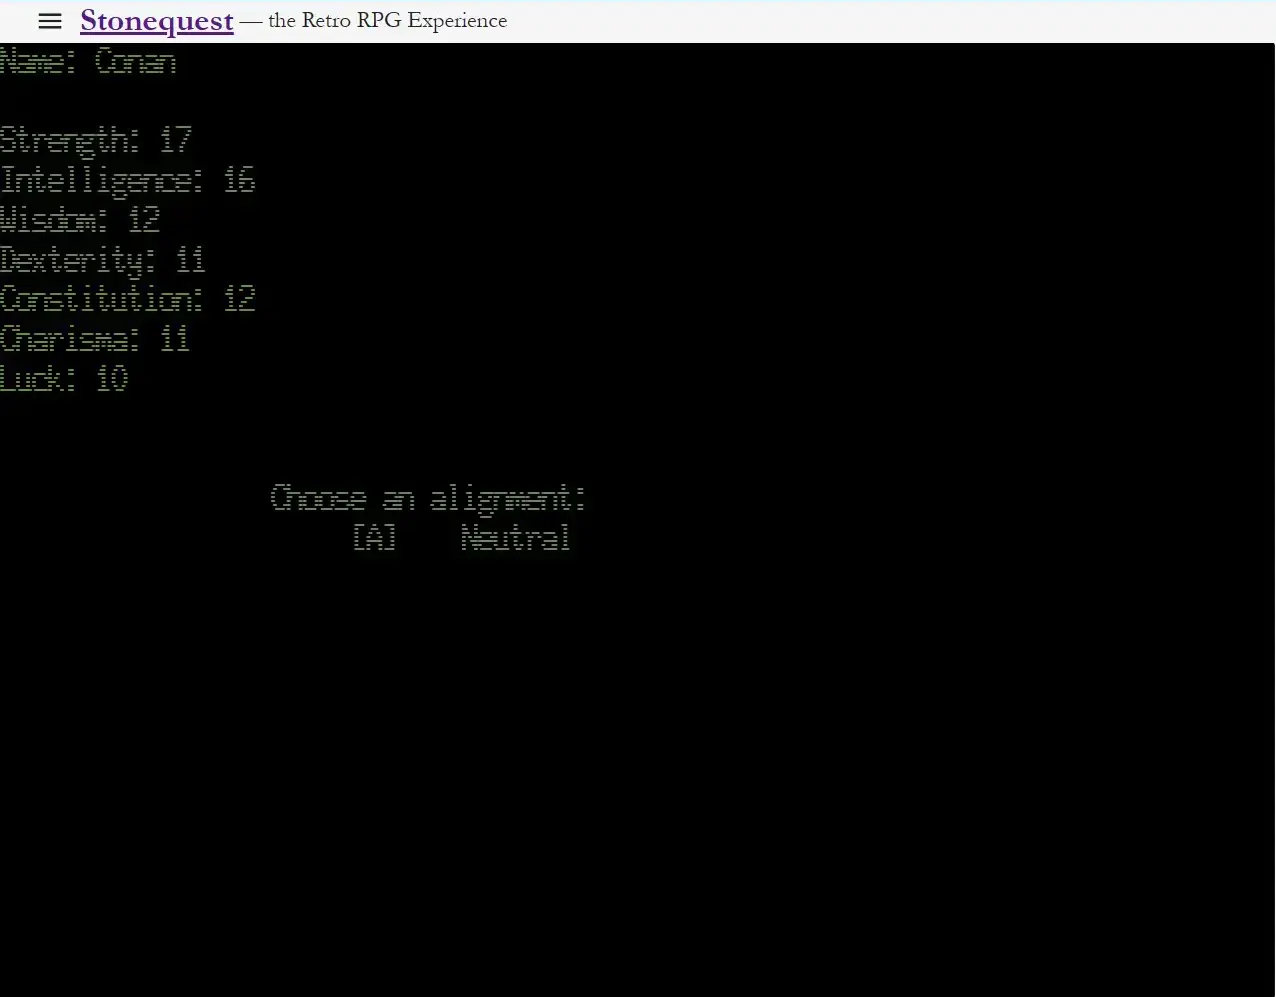
Finally, you must choose an Alignment. Alignment describes your character's basic morality. Does she actively like causing pain and suffering? Then she should have an Alignment of Evil. Does she instead want to minimize the suffering of others? Then she should be Good. Neutral is the sweet spot in which your character really has no opinion on morality, adapting to the situaton.
Alignments have their own advantages
Finishing Character Creation
After choosing an alignment, the game will ask whether you want to keep this character. Type "Y" to save them to the roster at the Training Grounds.
A full party consists of up to six characters, so you will want to repeat the character creation process several more times before heading into the maze.
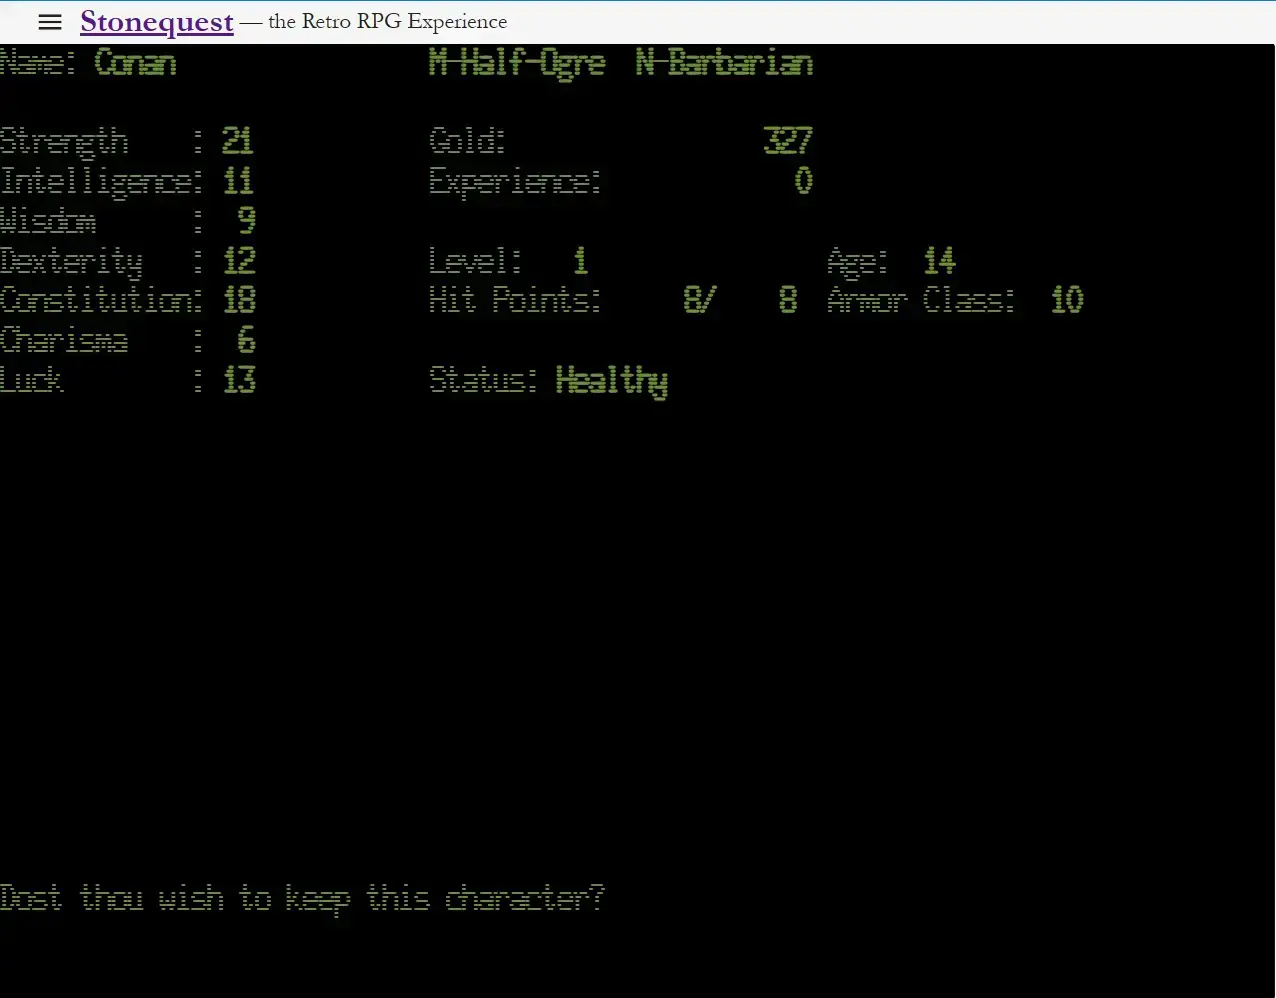
Once you have saved that character, the game will prompt you to create your next one. Head back to the Training Grounds and repeat the process until your roster is filled out.
Creating a Party of Characters
Once you have created enough characters, it is time to form a party. Head back to the Streets of Kyrn and make your way to the Tavern.
At the Tavern, you can recruit characters into your active party. Type the name of each character you want to add and press Enter. Repeat until your party is fully assembled.
First, head back to the Streets of Kyrn from the Training Grounds.
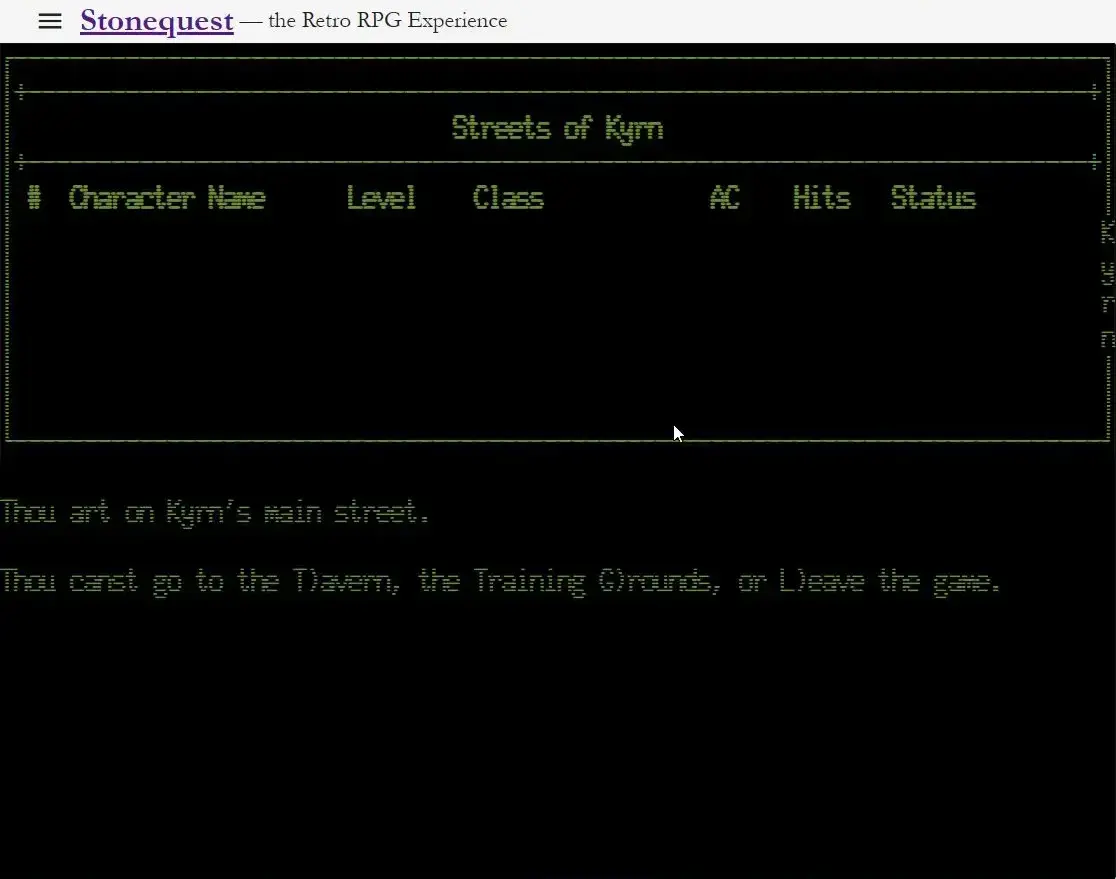
From Kyrn's main street, make your way to the Tavern.
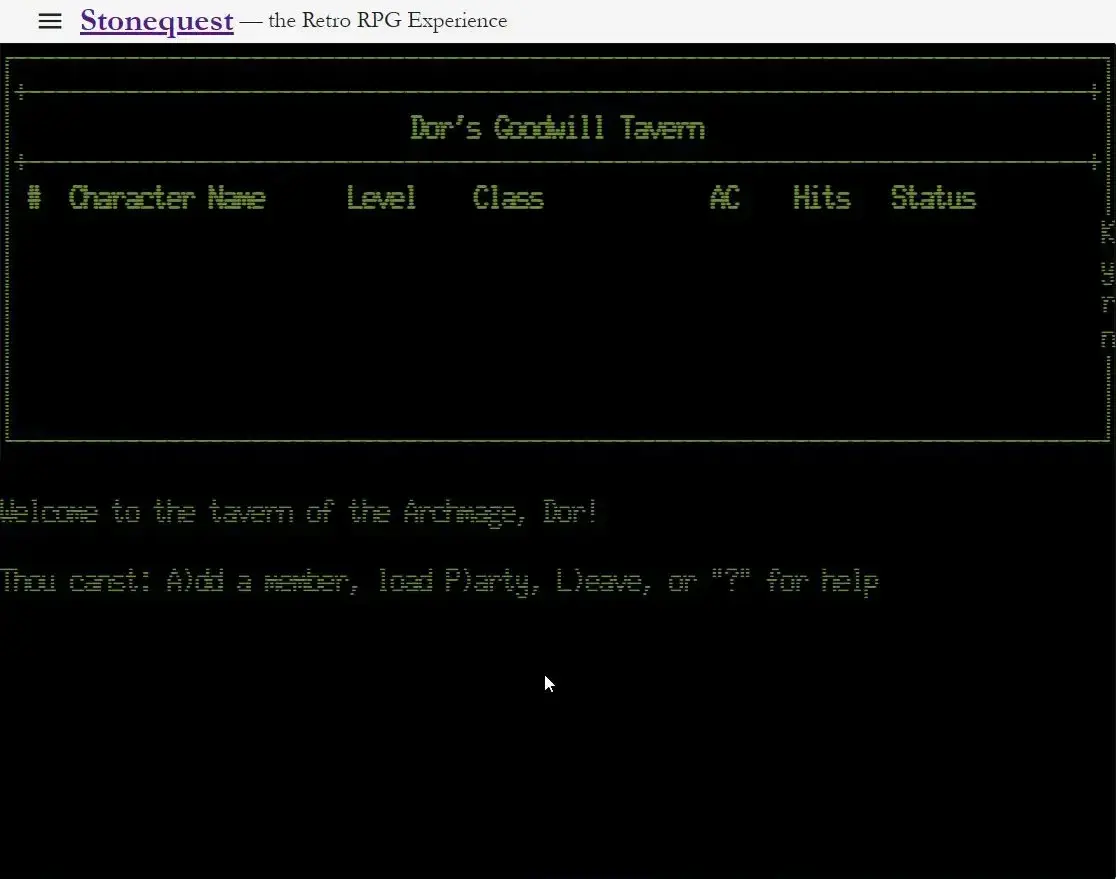
The Tavern will prompt you to add a character to the party.
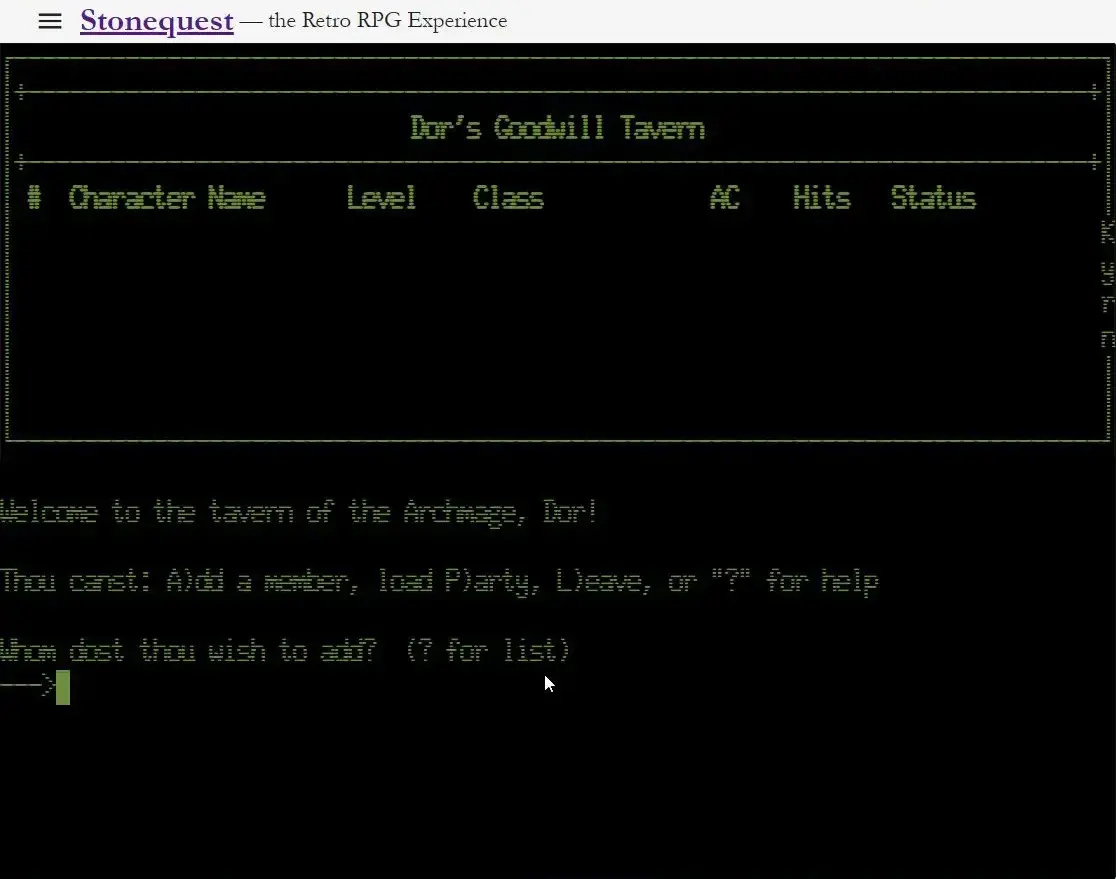
Type the name of your first character and press Enter.
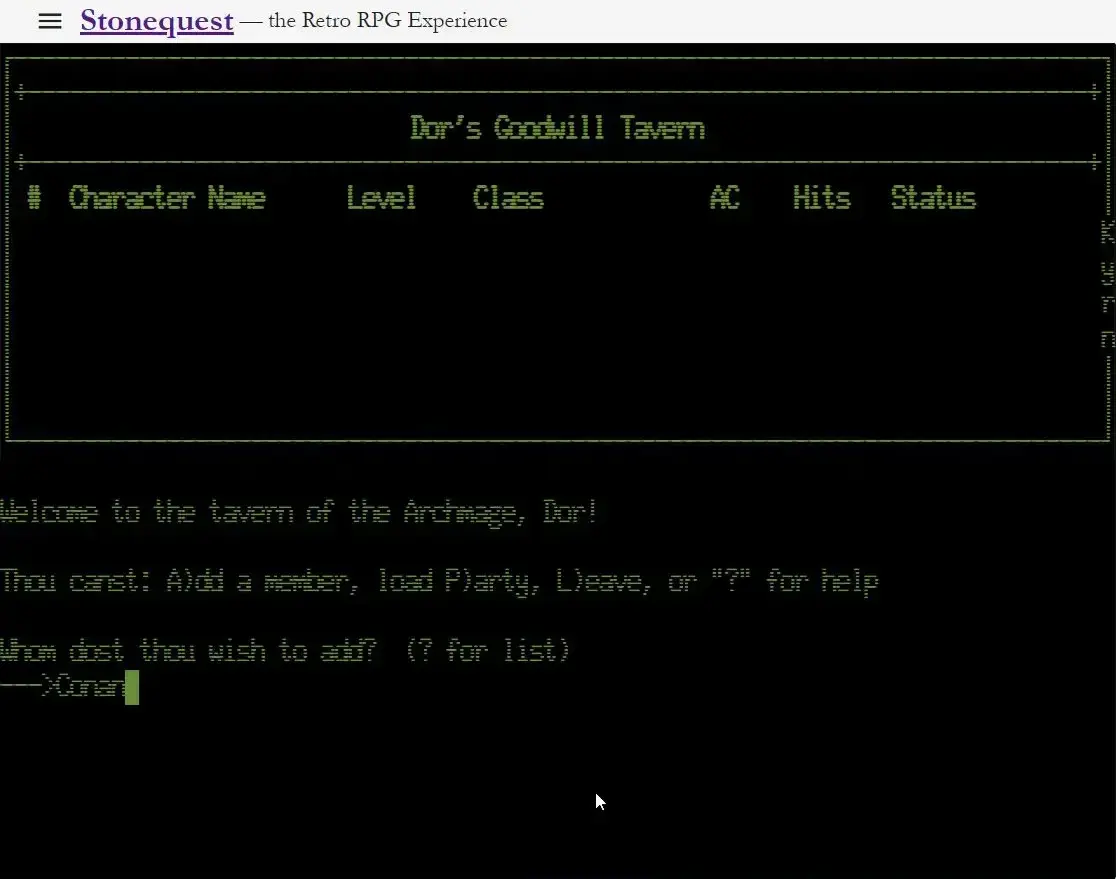
Continue adding characters one by one.
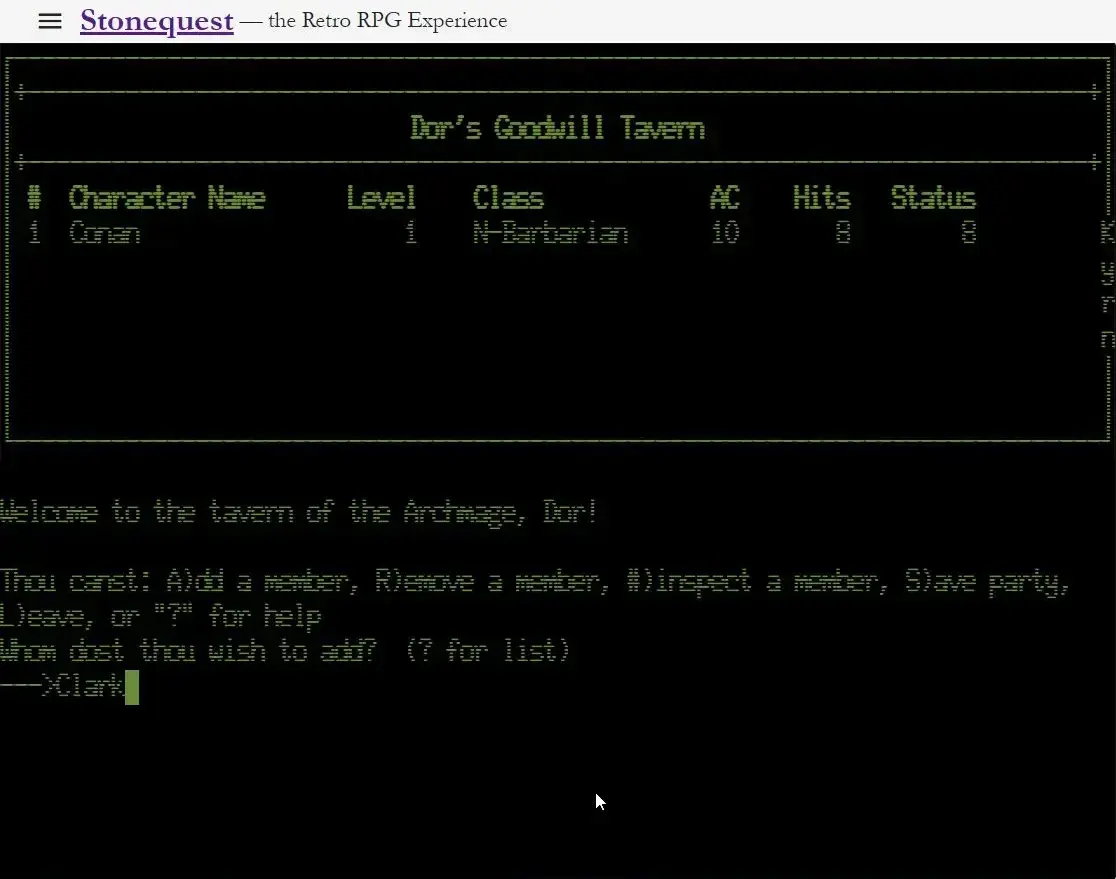
Your party grows with each addition.
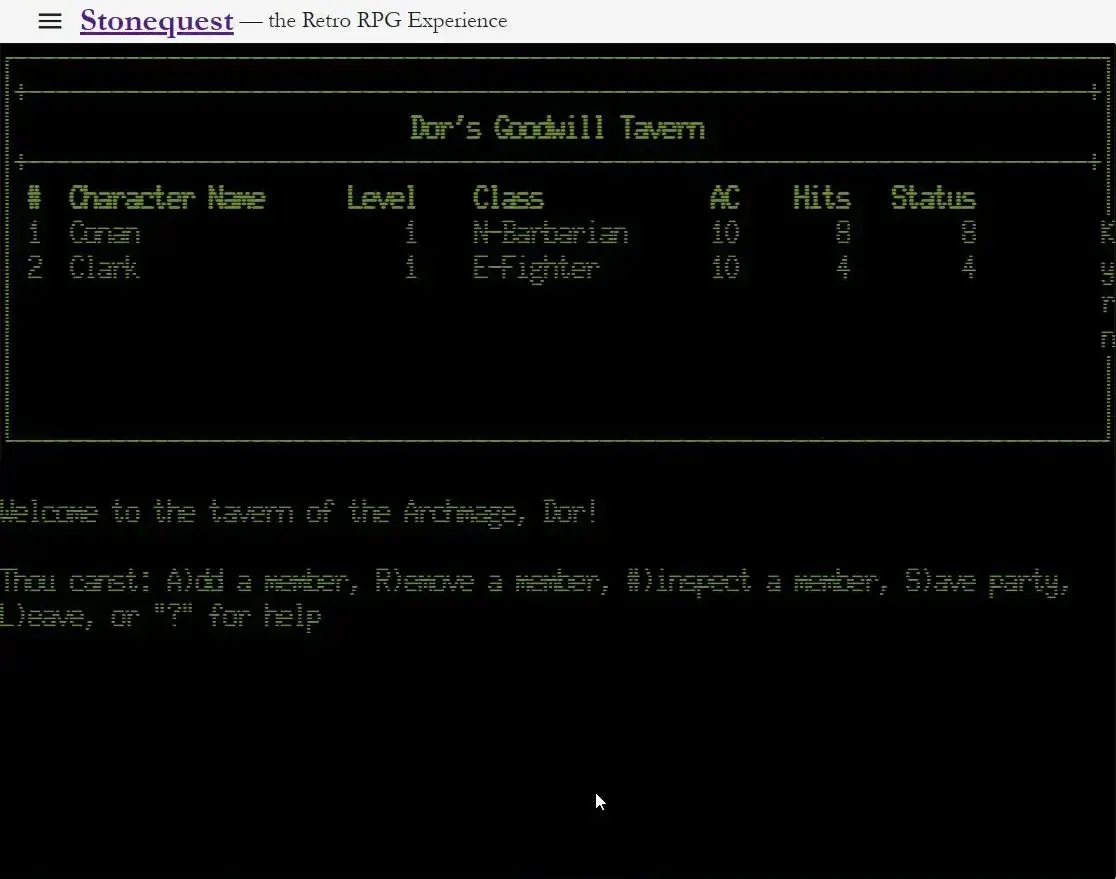
Here is the full party assembled and ready to go.
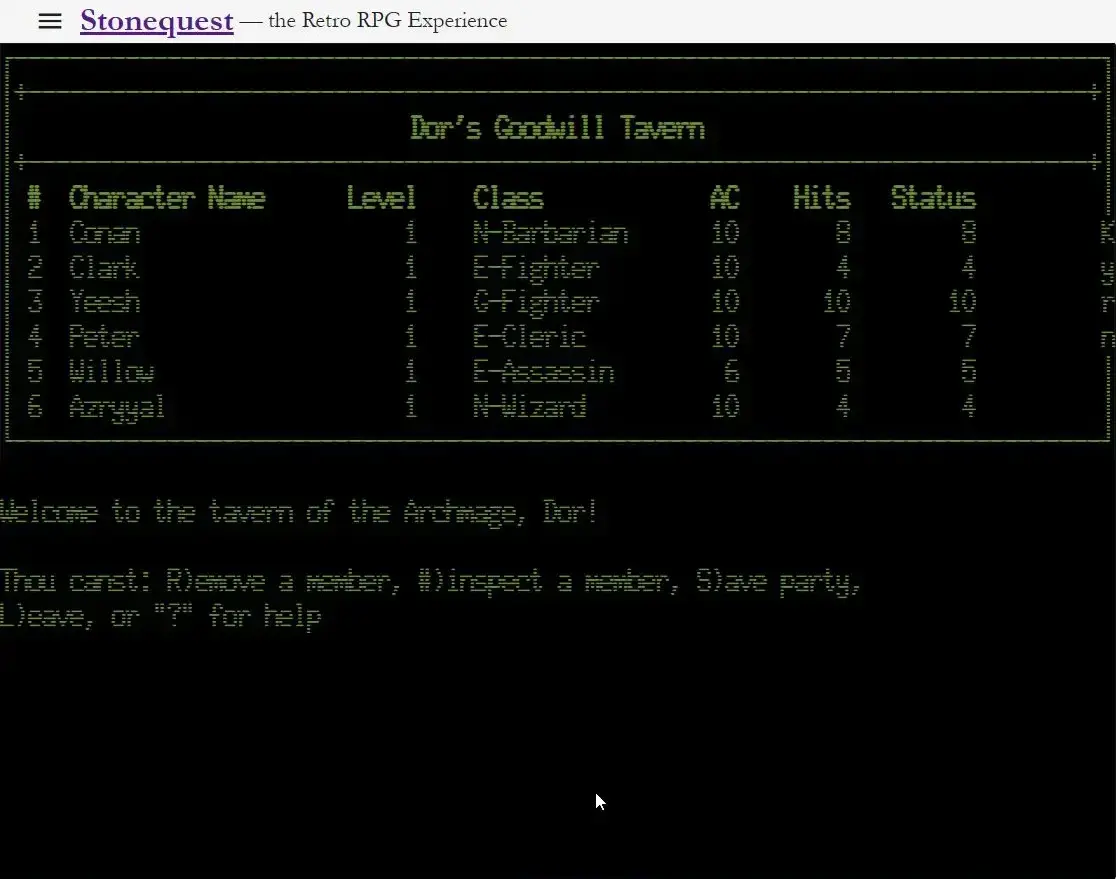
Buying Gear
Before entering the maze, you will want to equip your party with weapons and armor. Head back to the Streets of Kyrn and visit the Store.
At the Store, each character can page through the available items and purchase what they need. Make sure every character walks away with at least a weapon and some armor — an unequipped character is not long for this world.
Head back to the Streets of Kyrn.
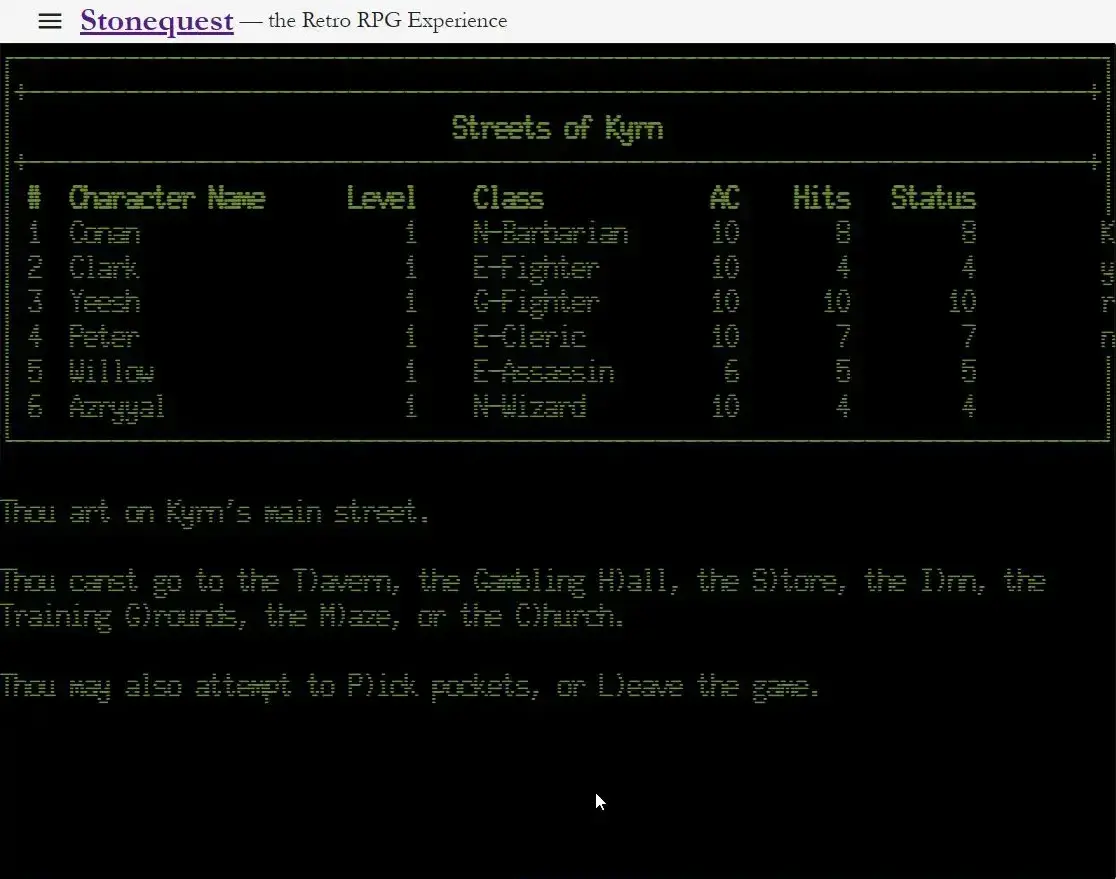
From Kyrn, navigate to the Store.
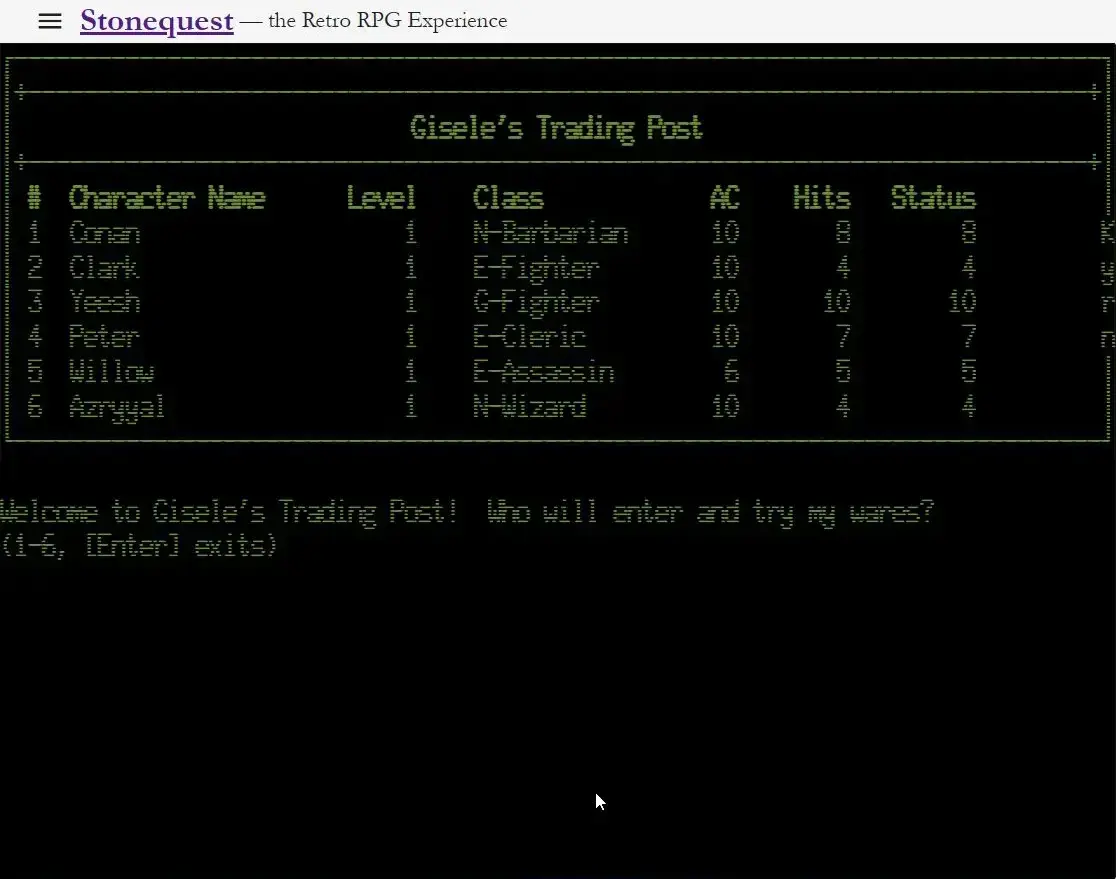
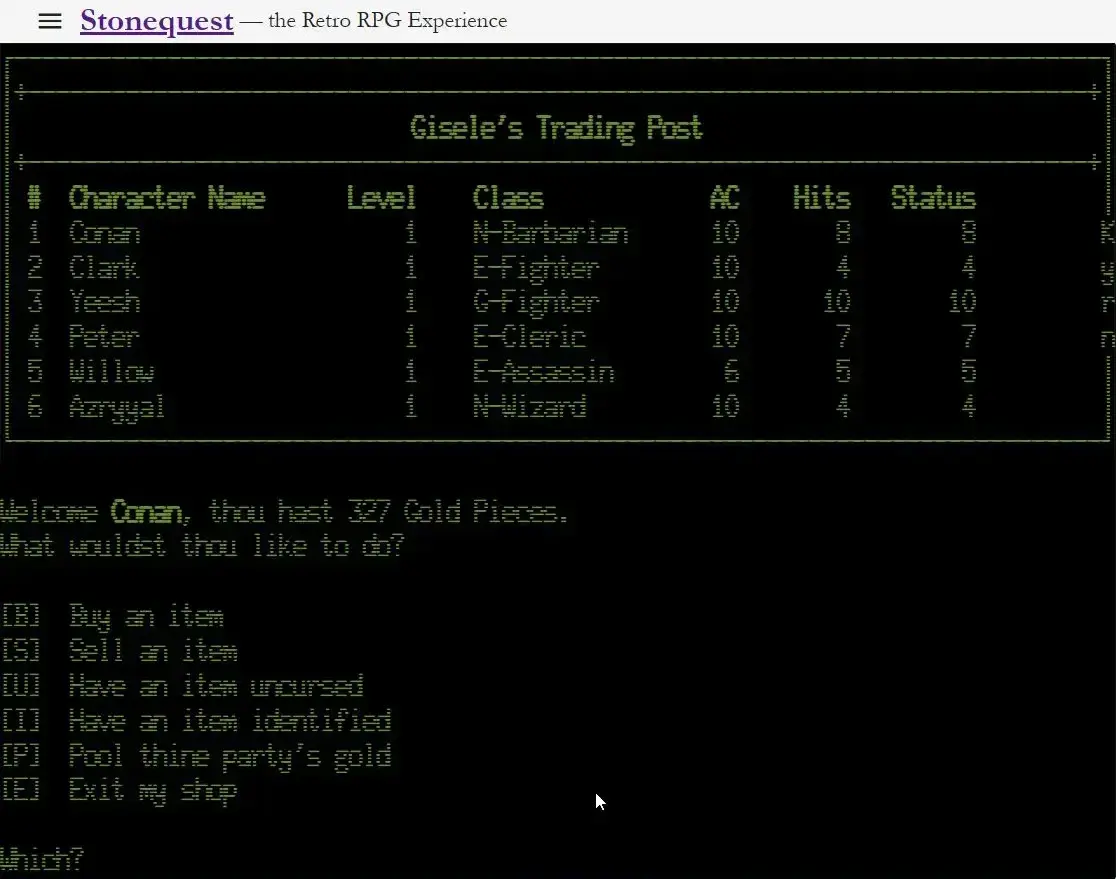
Select a character to send them into the store to shop.
Page through the available items until you find what you need.
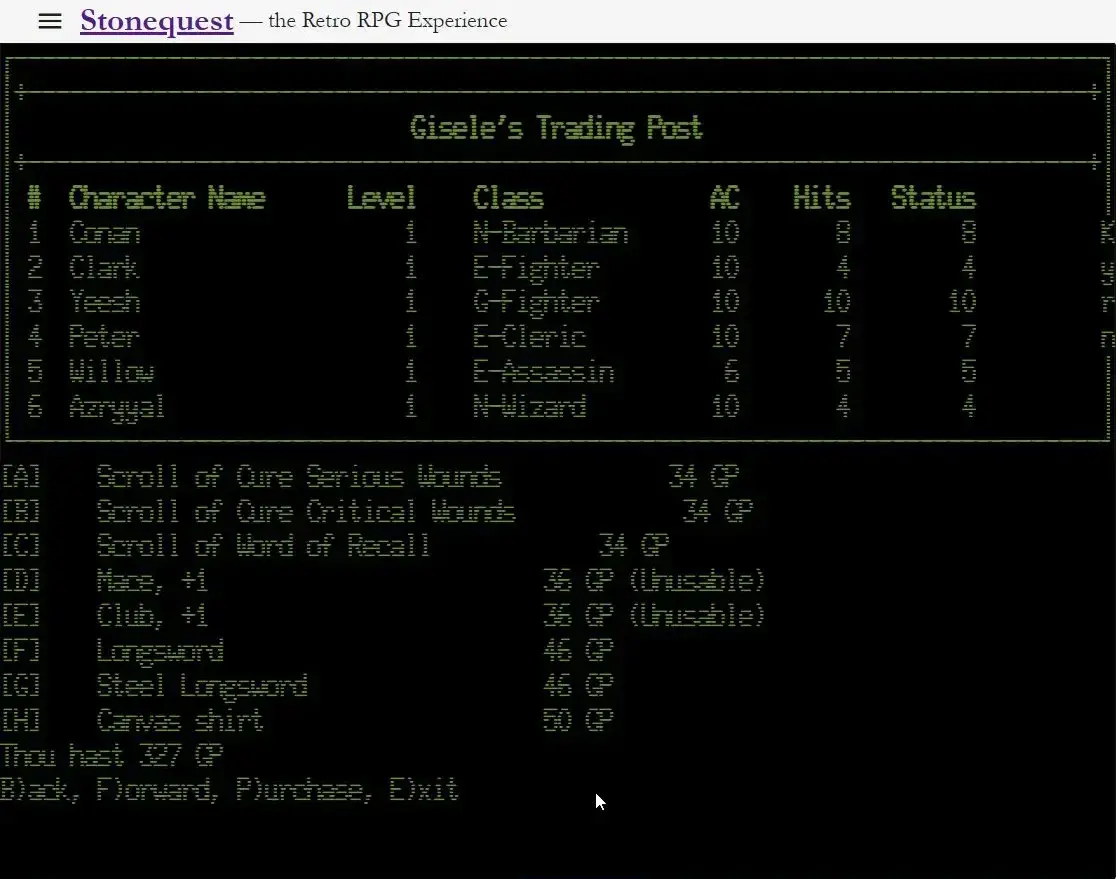
Select an item to purchase it.
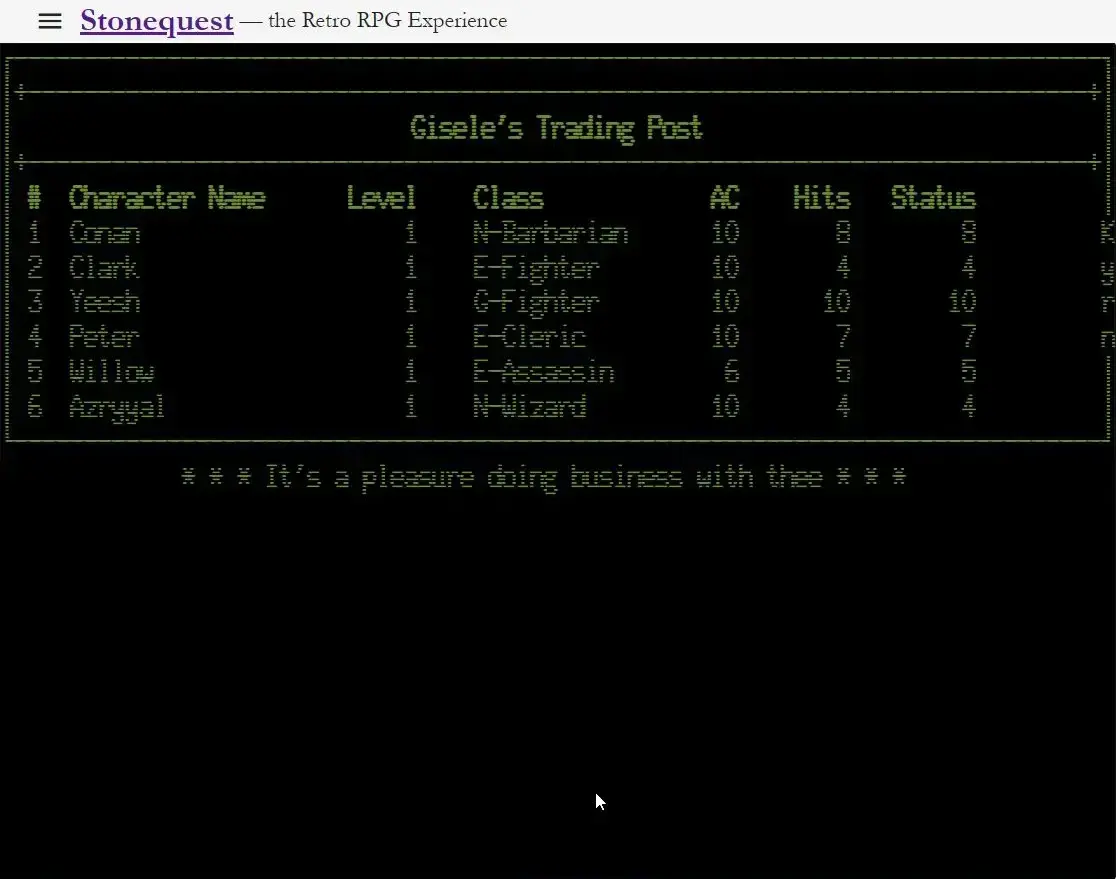
When each character has what they need, leave the store and move on to the next one.
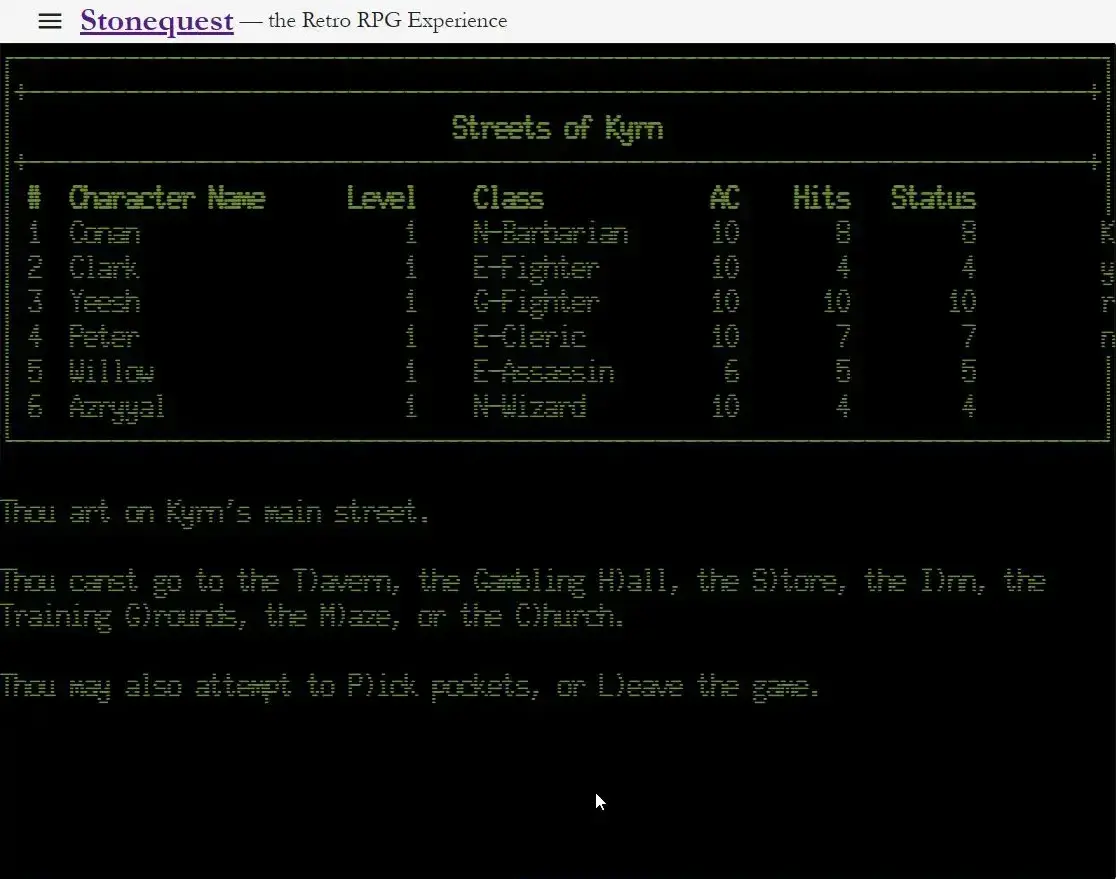
The Maze
Barrat's Maze is a sprawling, multi-level dungeon filled with monsters, traps, and treasure. Your goal is to push ever deeper, fighting through the creatures that inhabit its corridors and claiming whatever riches you can find.
Be warned: the deeper you descend, the deadlier the enemies become. Never enter without making sure your party is fully equipped, and always be ready for the unexpected.
Entering the Maze and Equiping the Party
When you are ready, navigate to the maze entrance from the Streets of Kyrn and enter. You will find yourself in the Camp — a staging area just inside the entrance where you can make final preparations before venturing into the corridors.
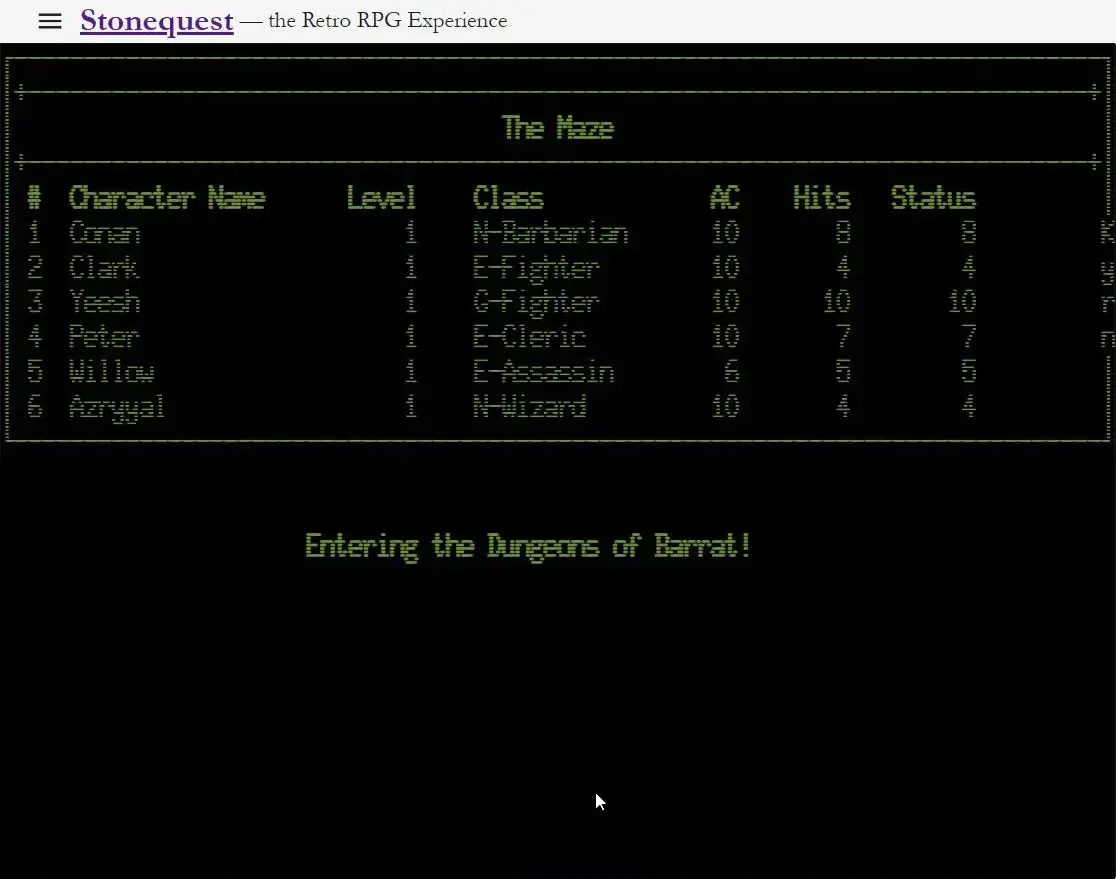
Camp
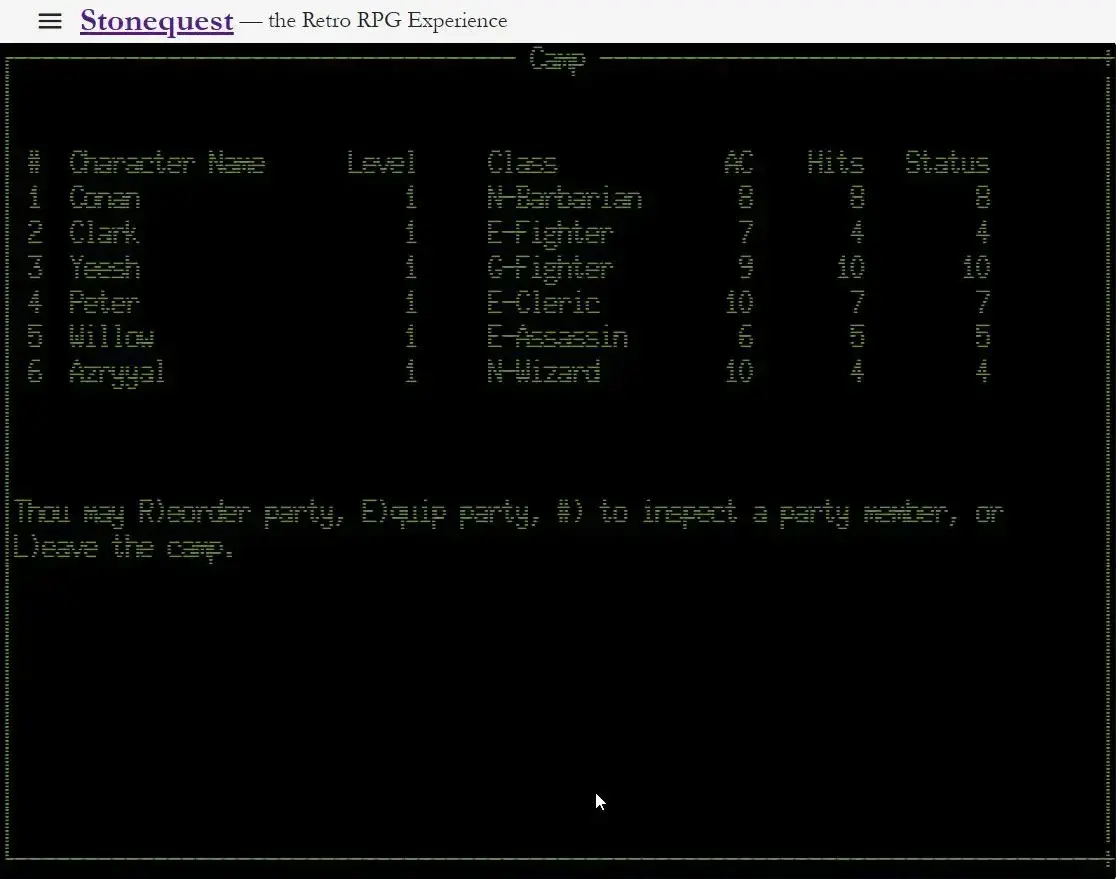
The Camp is your safe haven at the entrance to the maze. Before setting out into the corridors, use it to equip your party members.
Select "Equip Party" and work through each character in turn, assigning them a weapon and armor. A character who enters the maze unequipped is fighting unarmed and unarmored, which rarely ends well.
This is the Camp. From here you can equip your party, rest, and prepare before heading deeper into the maze.
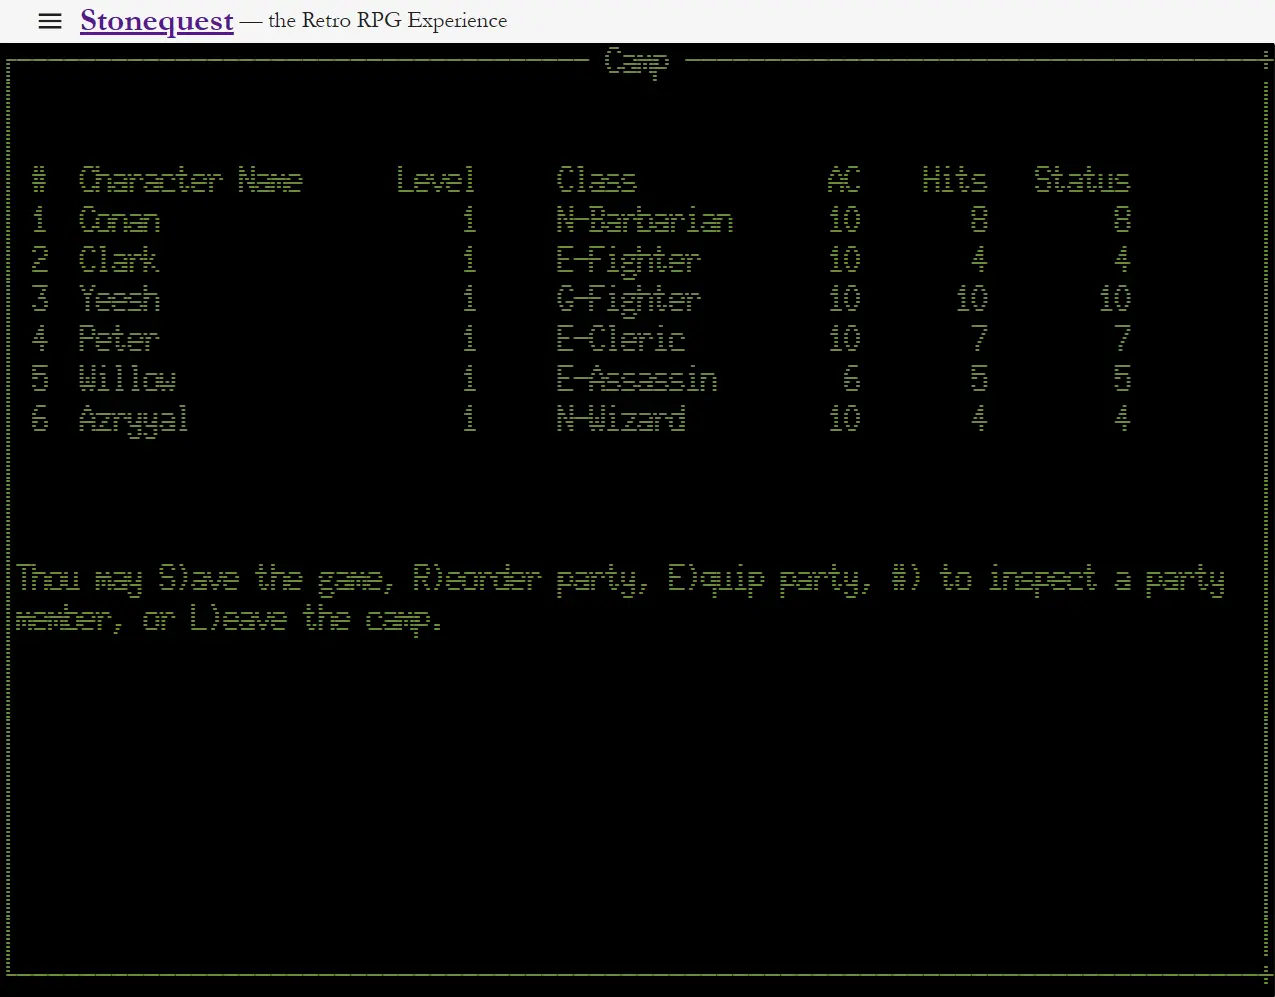
Select "Equip Party" to begin assigning gear. The game will walk you through each character in turn.
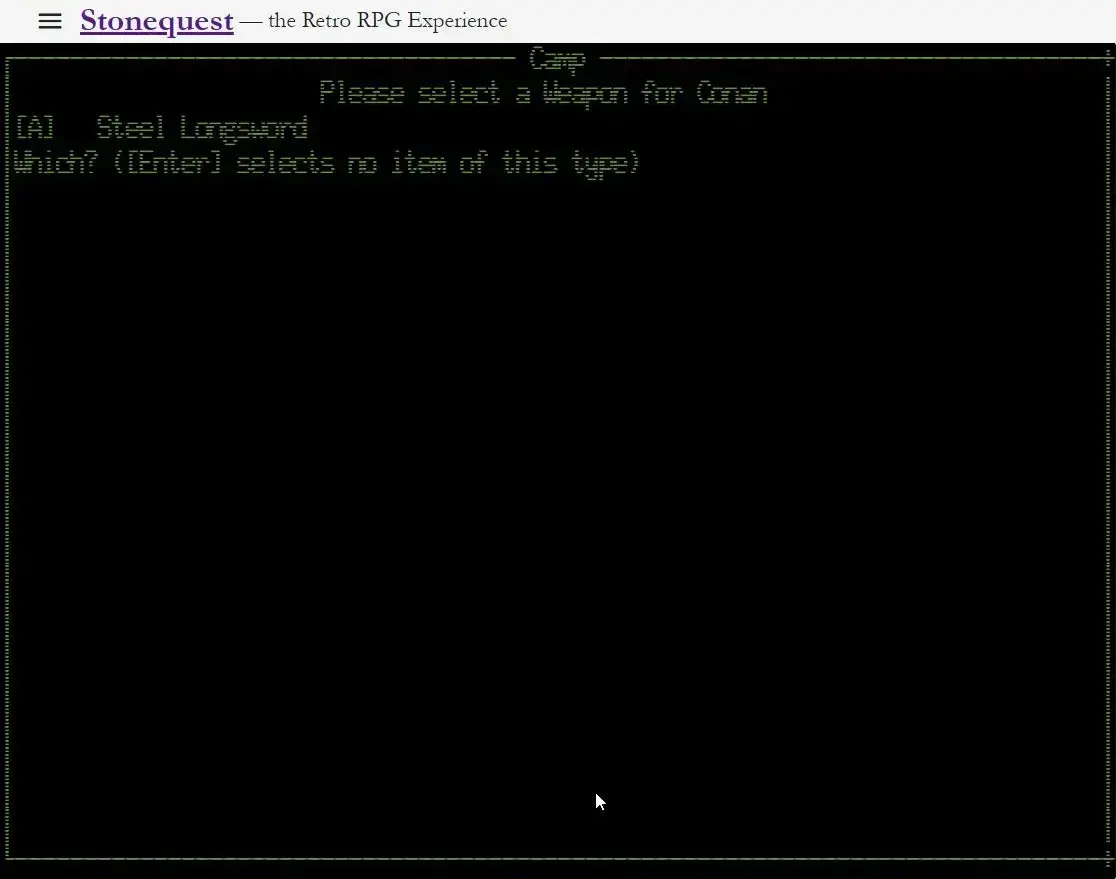
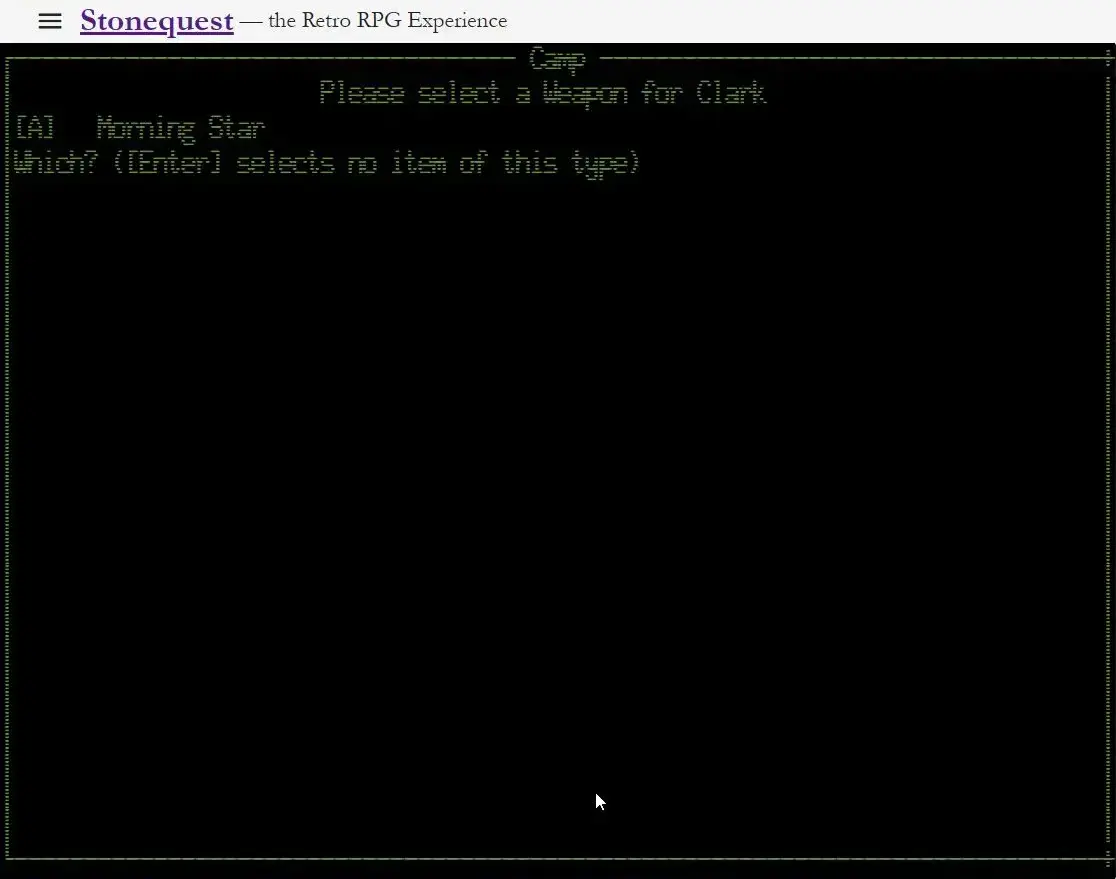
Work through each character one by one, giving them a weapon.
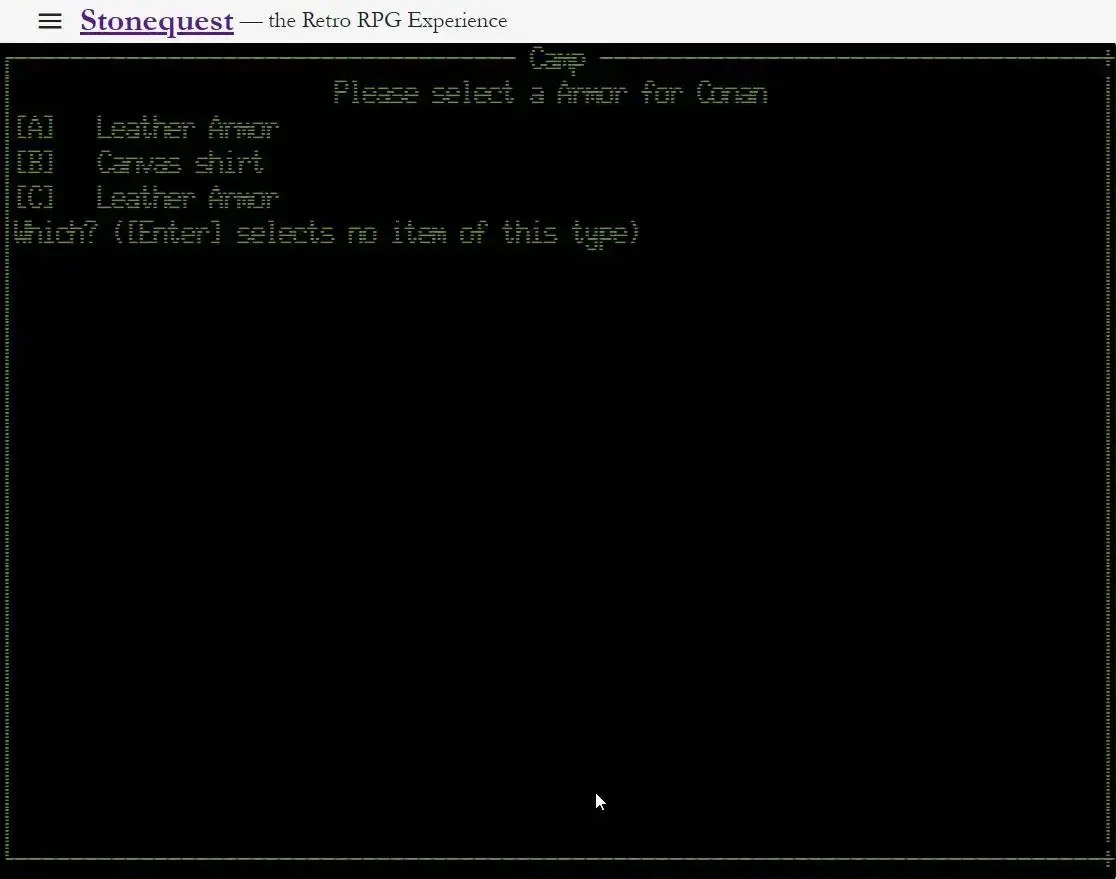
Then assign armor to each character. Even light armor dramatically improves a character's chances of survival.
Navigating the Maze
Once everyone is equipped, leave the Camp to begin your expedition. You will find yourself in the maze's corridors. Use the keyboard to move forward, turn left or right, and back up as you explore.
Keep an eye out for staircases, which lead to deeper levels of the maze. They will be marked in your view as you discover them, so you can find your way back out.
Your fully equipped party is ready to venture out from the Camp.
Leaving the Camp, you immediately find yourself in the maze's corridors — and your first staircase is already visible.
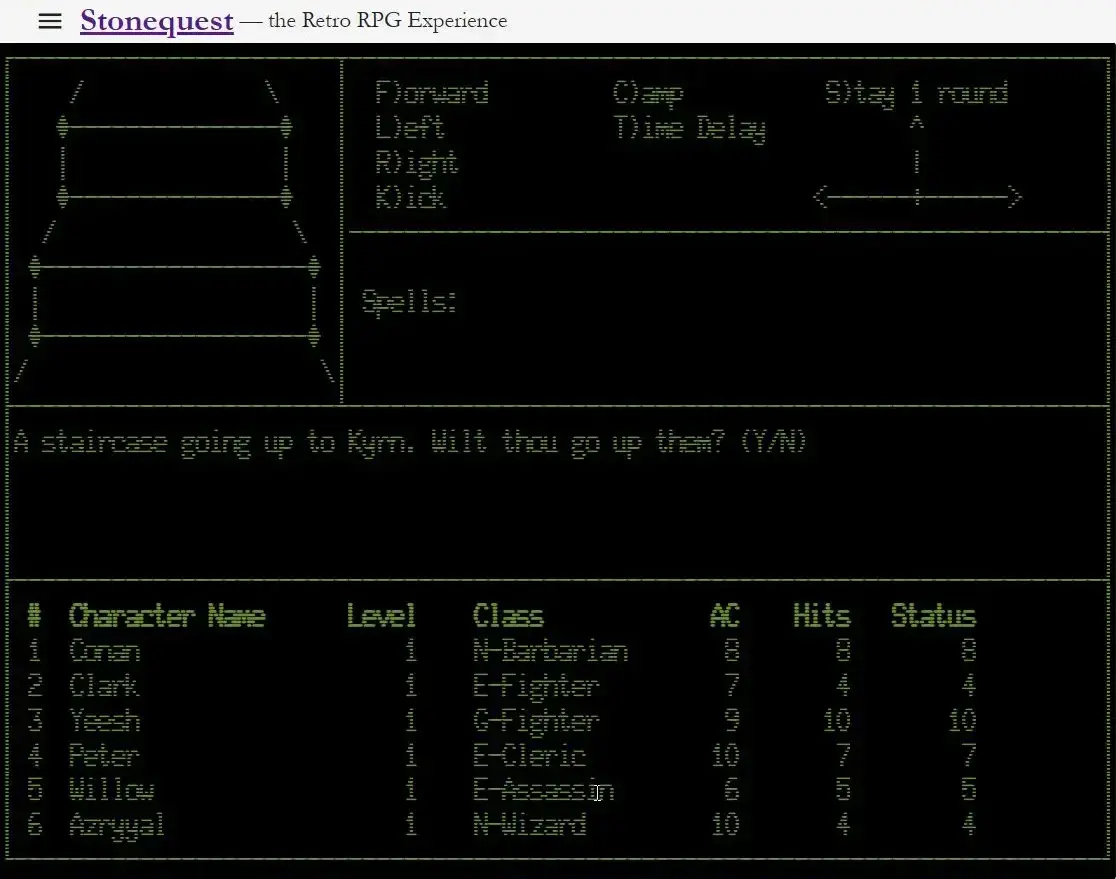
Staircases are clearly marked as you discover them, so you can always find your way back to the surface.
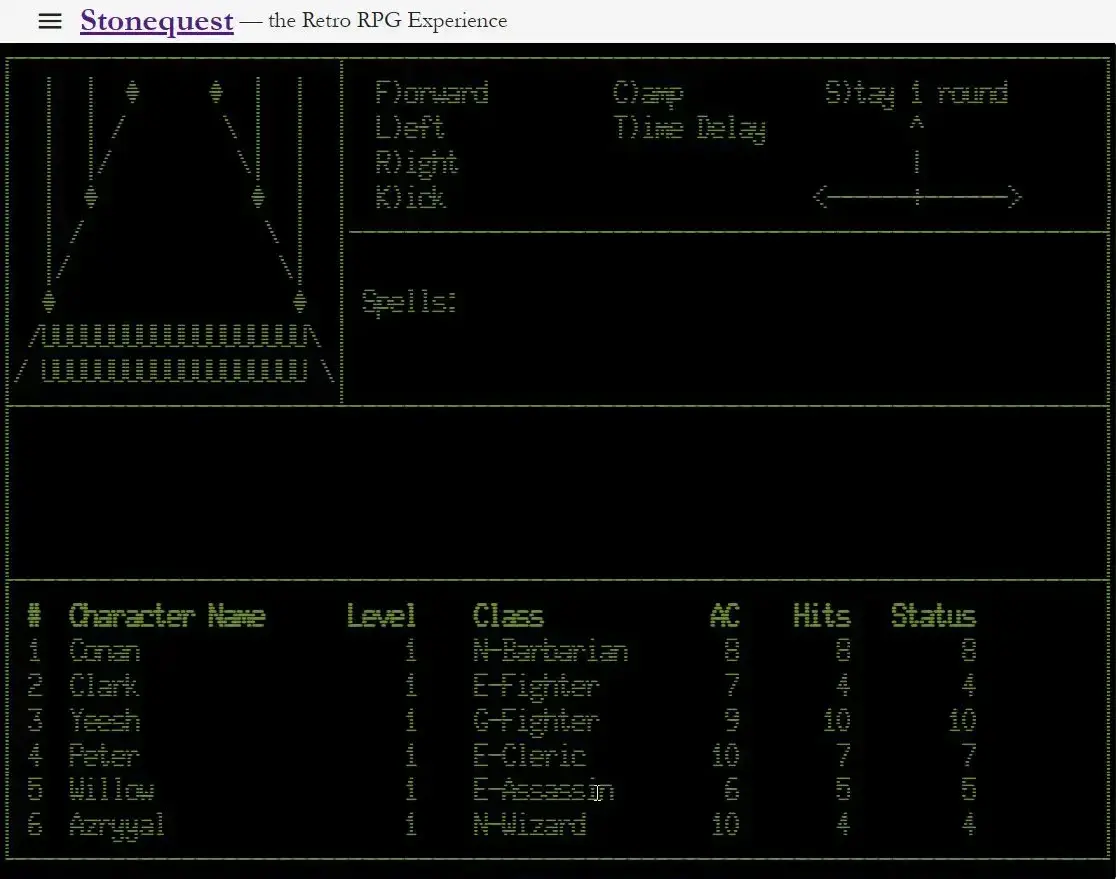
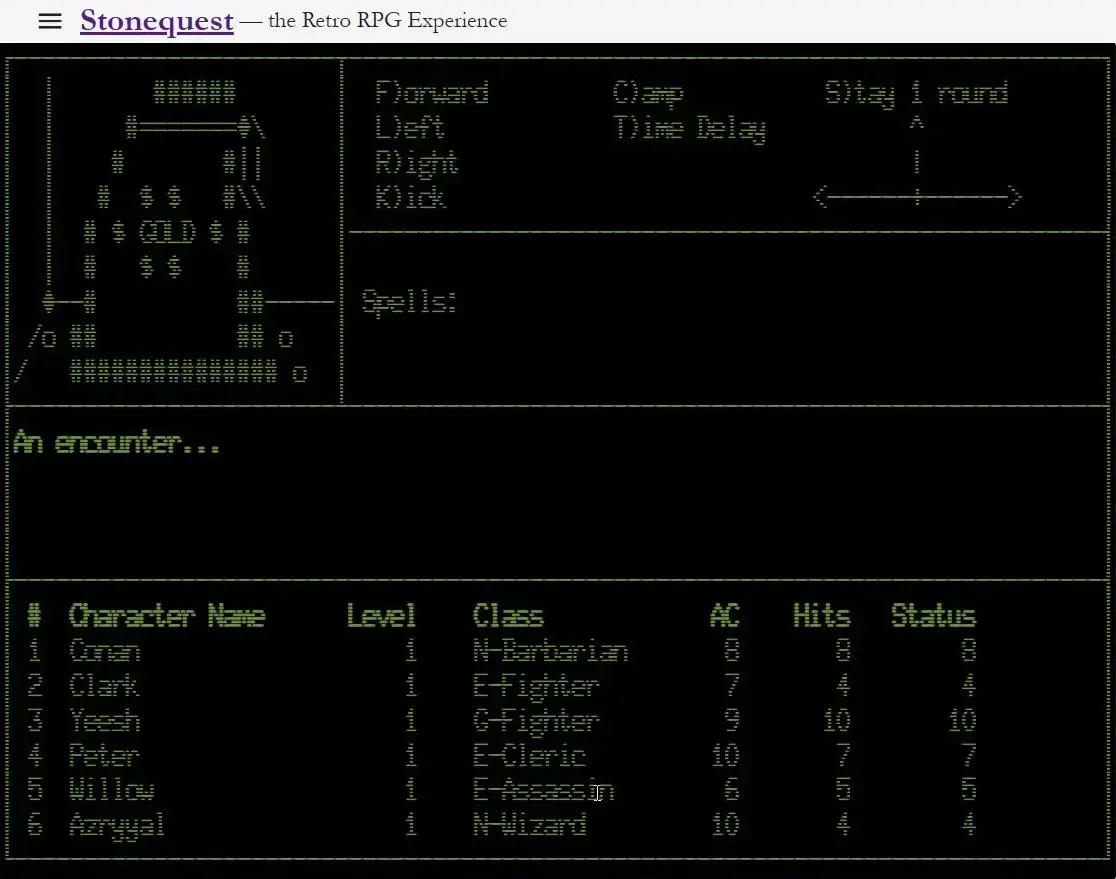
An Encounter!
At some point you will stumble upon a group of monsters. When that happens, the encounter screen appears and the game gives you a quick read on how dangerous the fight is likely to be.
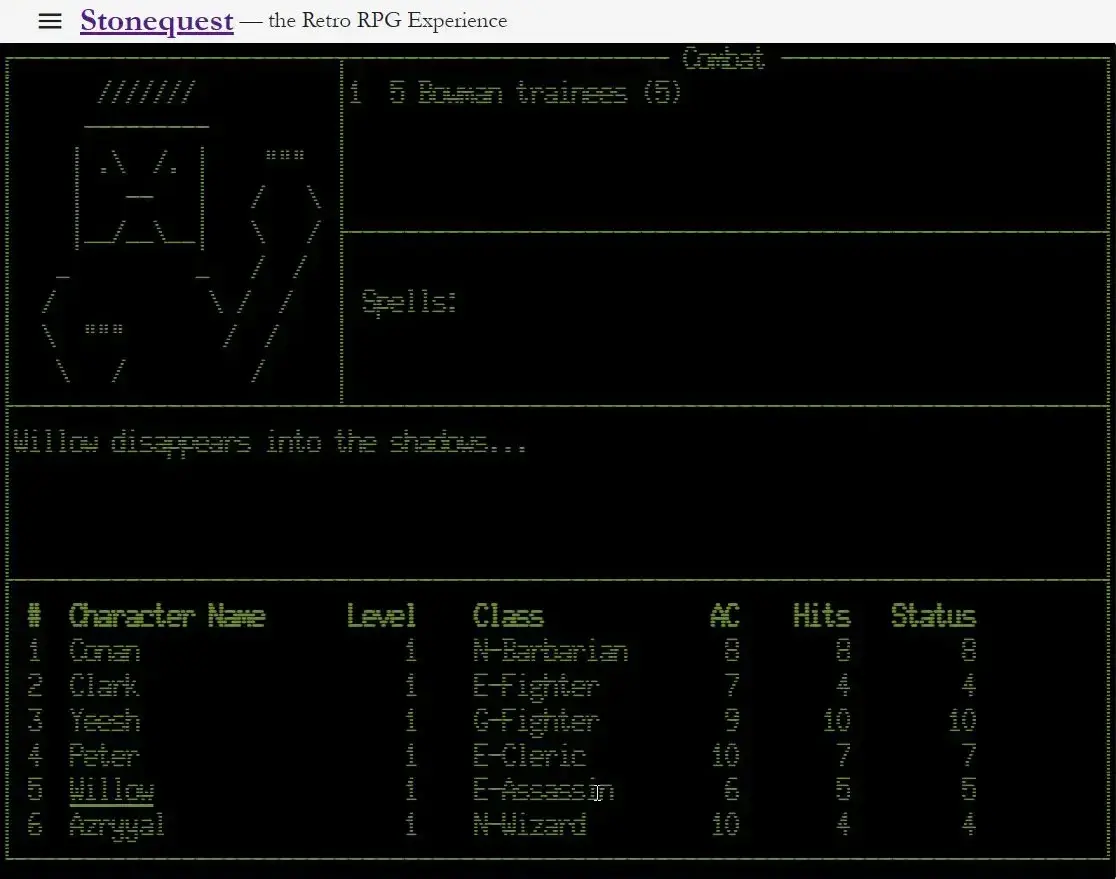
Before each round, every character must choose an action. The options available depend on their class: fighters and barbarians attack in melee; clerics and wizards cast spells; thieves can slip into the shadows to avoid being targeted. Barbarians can also go berserk, gaining a ferocious attack bonus at the cost of their defenses.
Once all characters have chosen, the round plays out. Your party attacks, the monsters retaliate, and the results are shown on screen. Rounds continue until all monsters are defeated — or until you decide it is time to run.
The encounter screen shows the monster group you have stumbled upon.
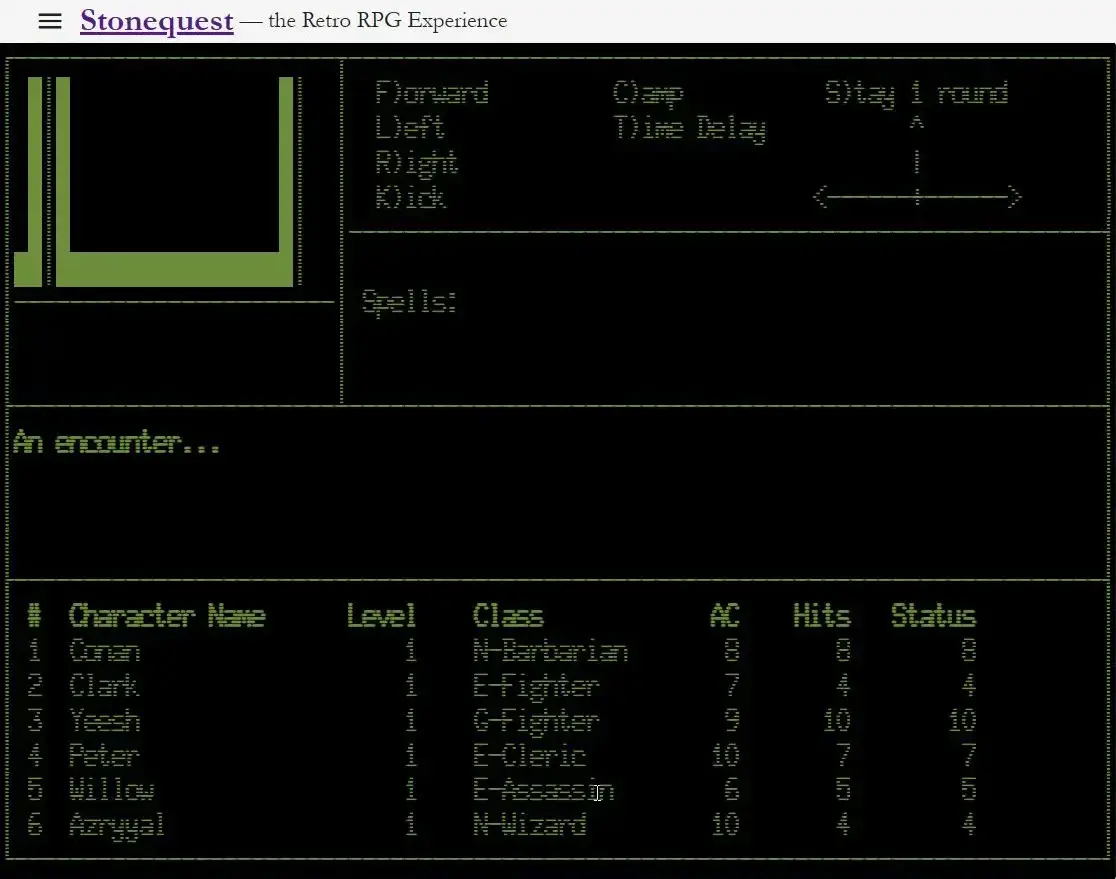
The game gives you its assessment of how the fight is likely to go. In this case: we can take them easily.
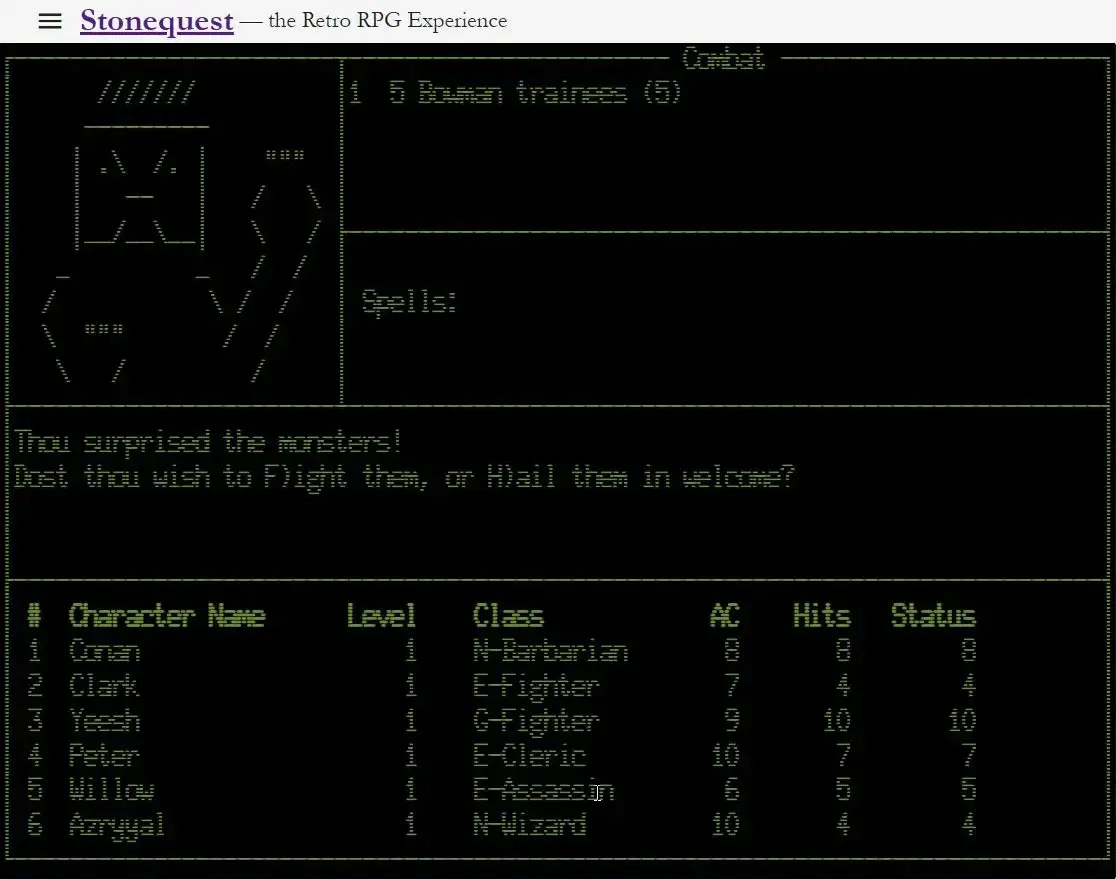
Each character must choose an action. Here the Barbarian selects from their available options.
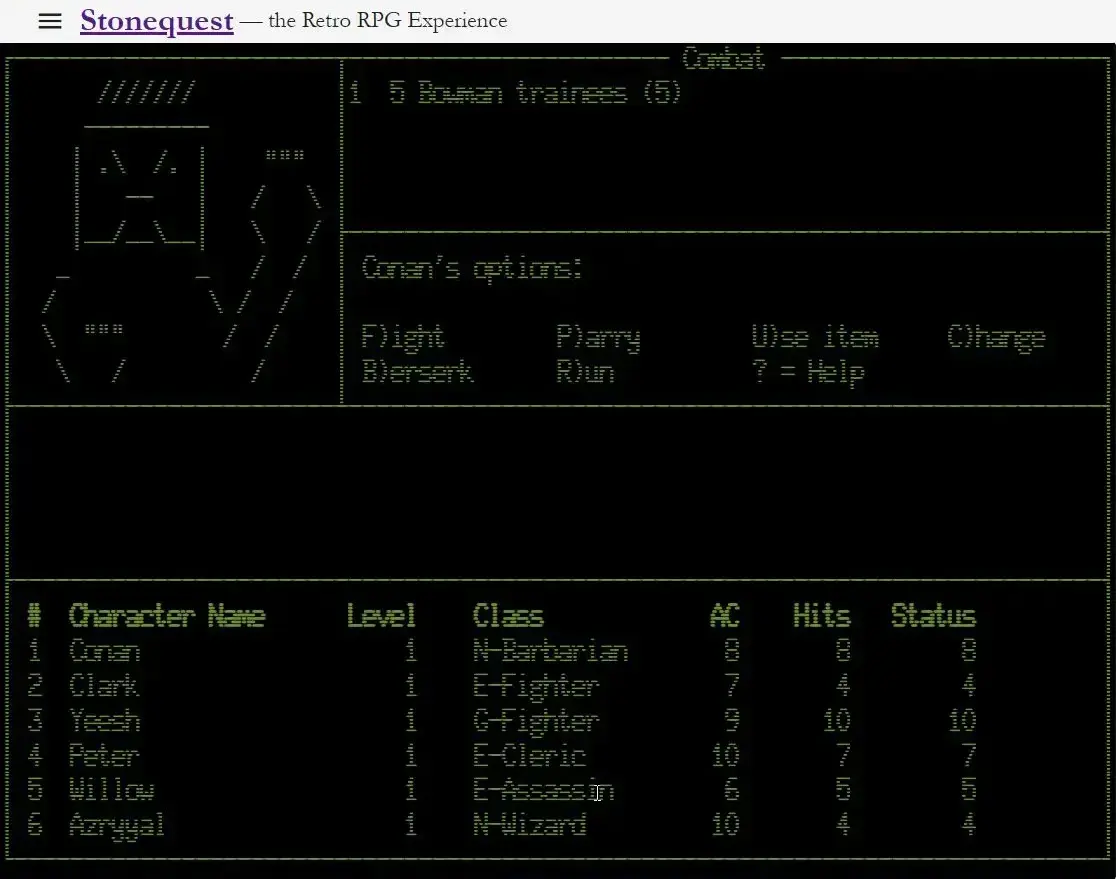
The Cleric prepares a spell.
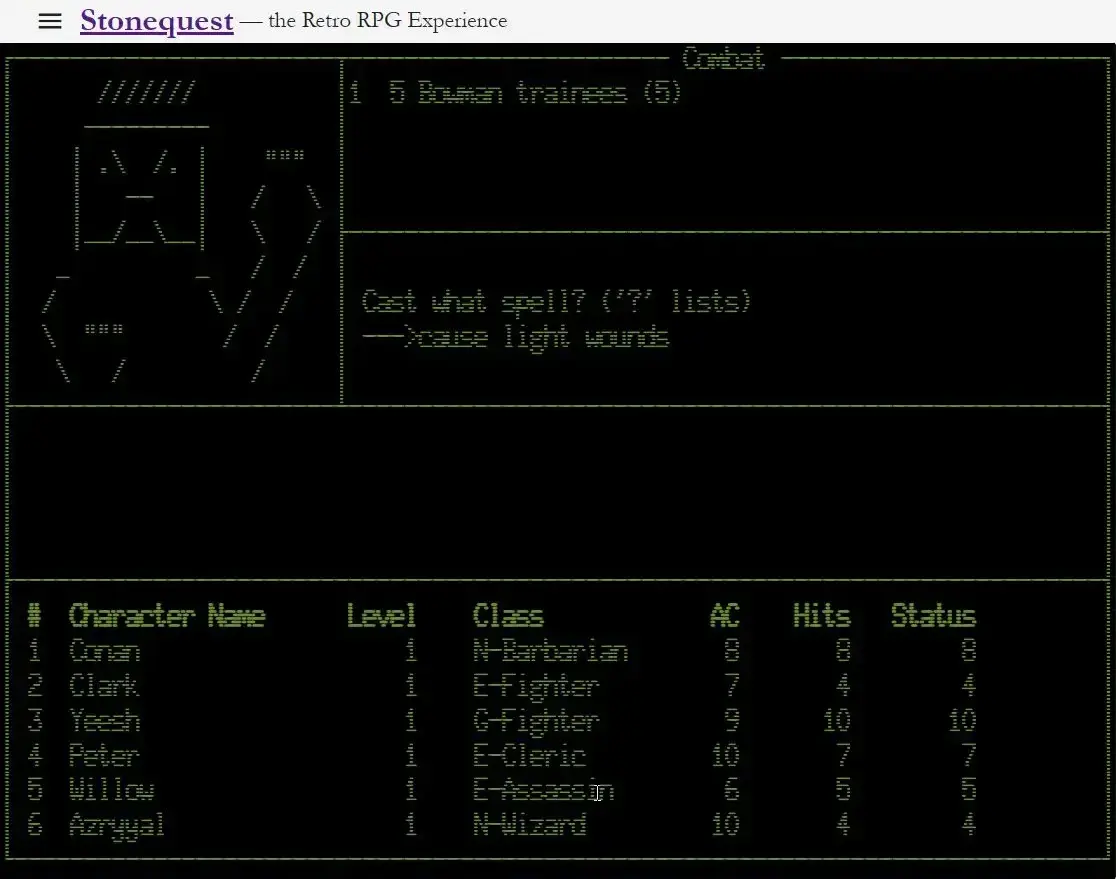
The Wizard selects a spell to cast.
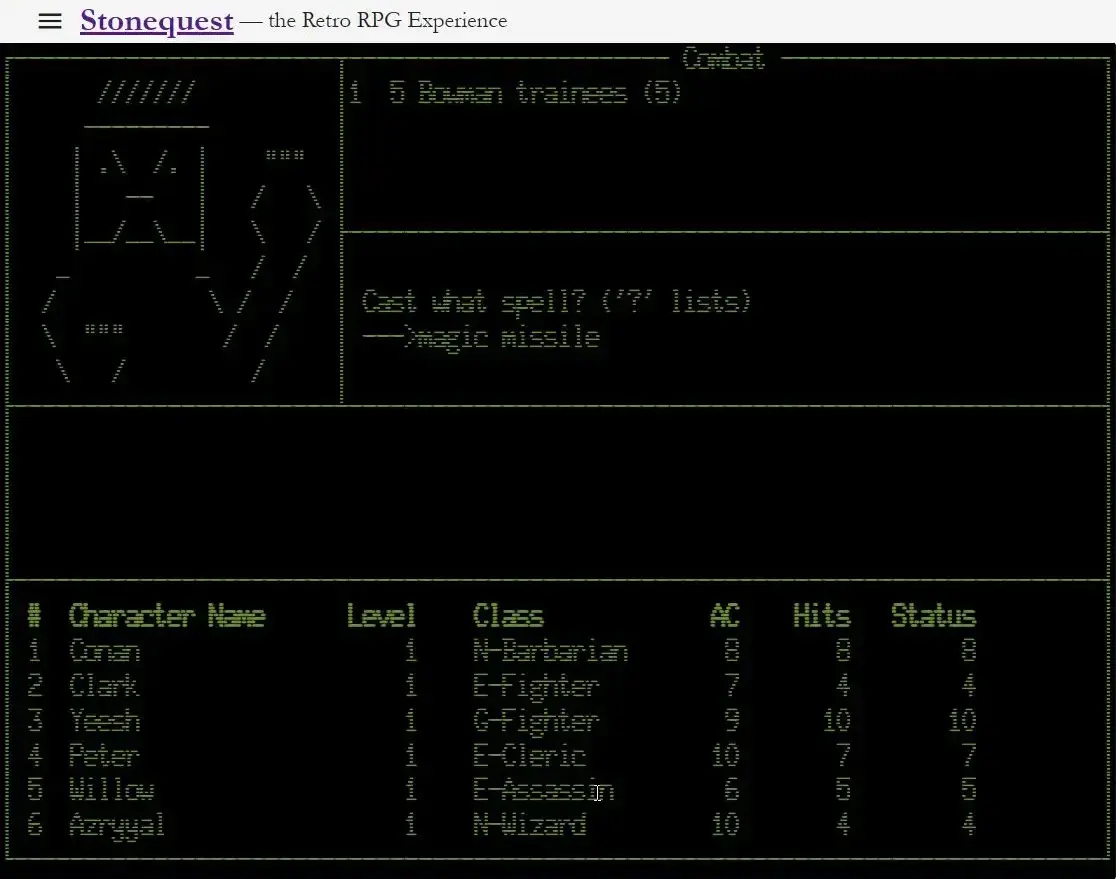
Fighters choose to attack in melee — pressing Enter sends them into the fray.
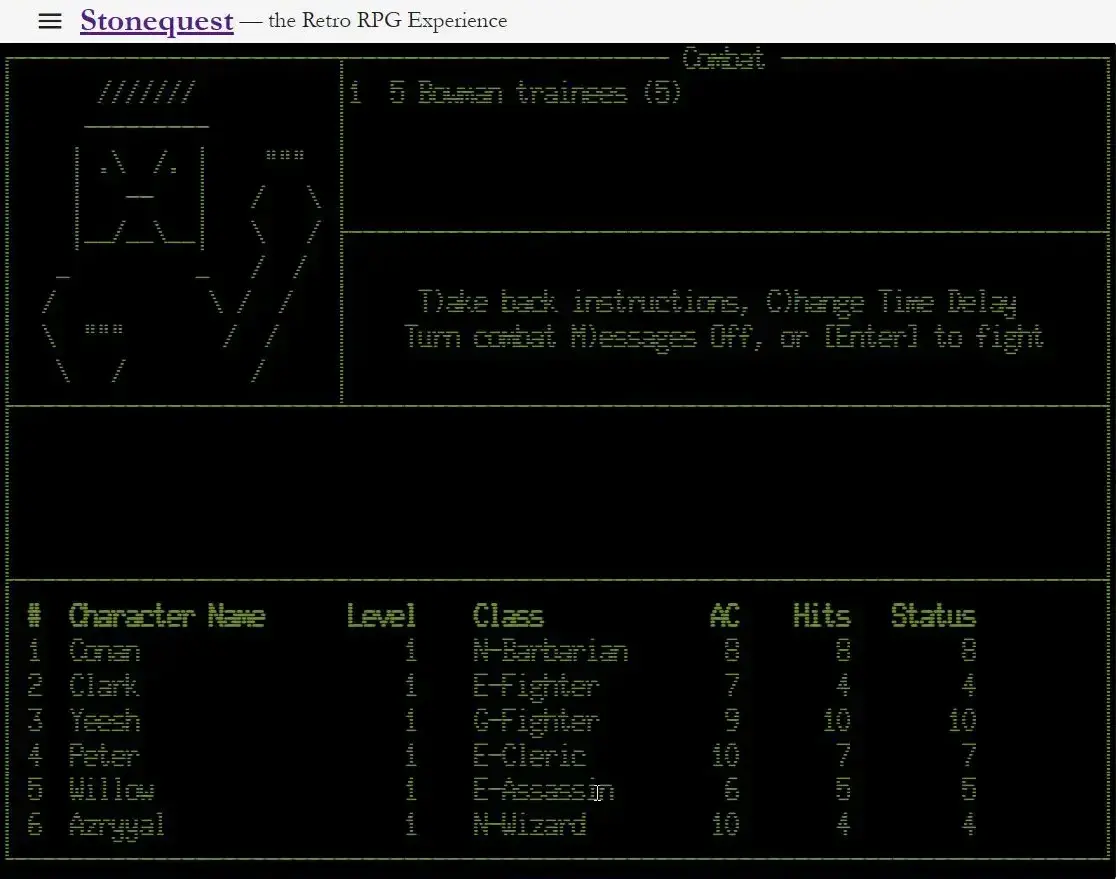
The Thief slips into the shadows, becoming harder to target this round.
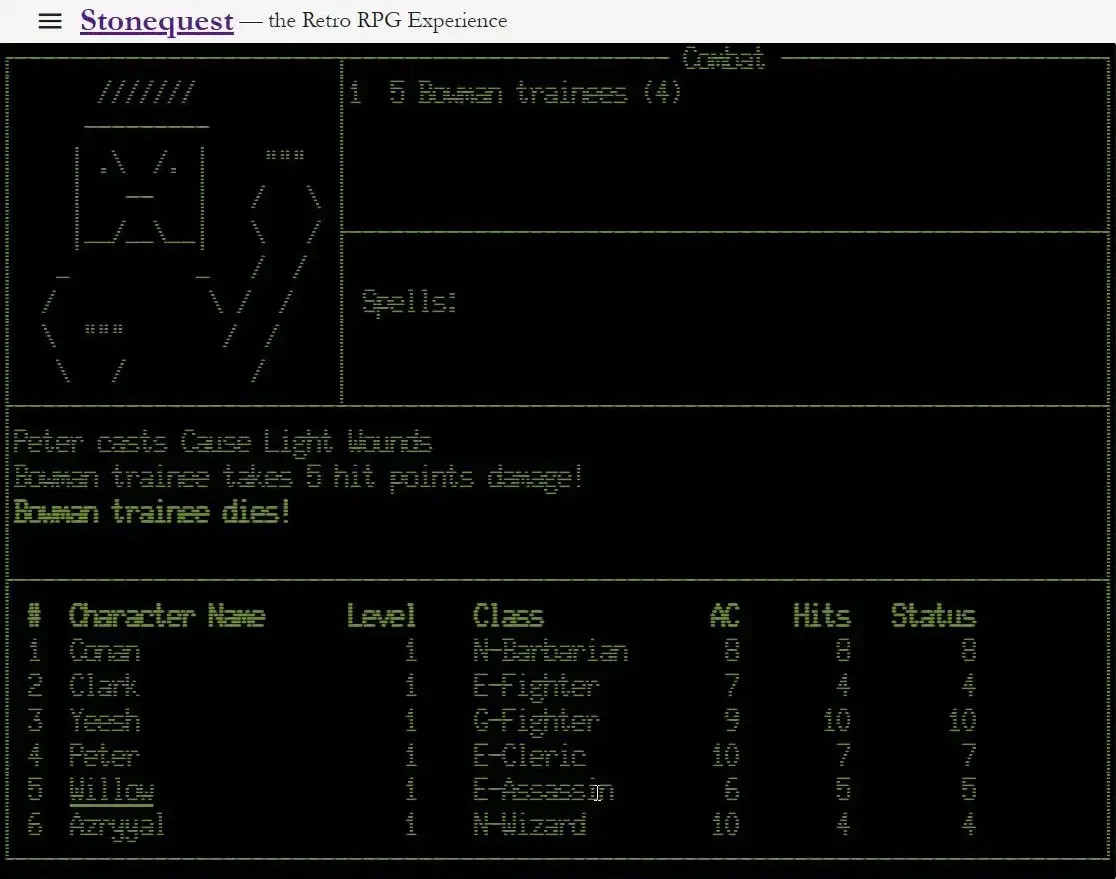
The Cleric's Cause Light Wounds spell finds its mark.
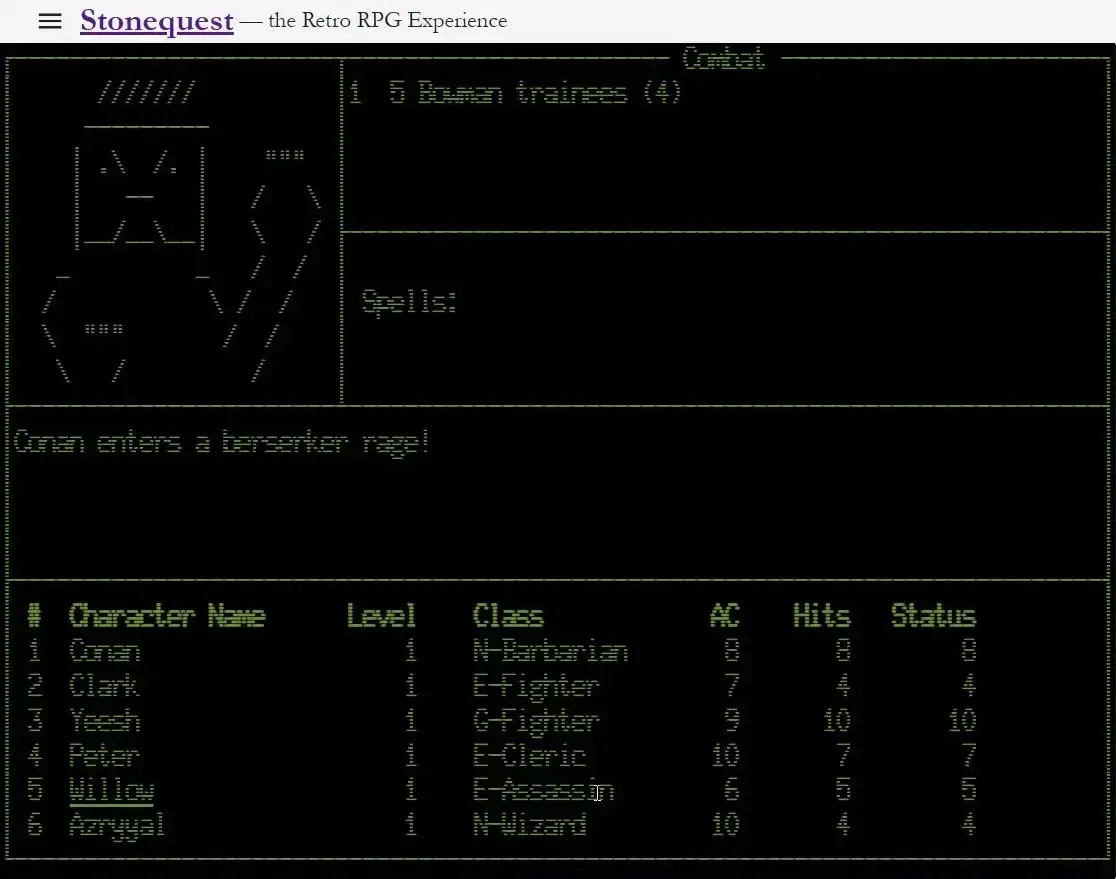
The Barbarian triggers berserk, trading their defenses for devastating attack power.
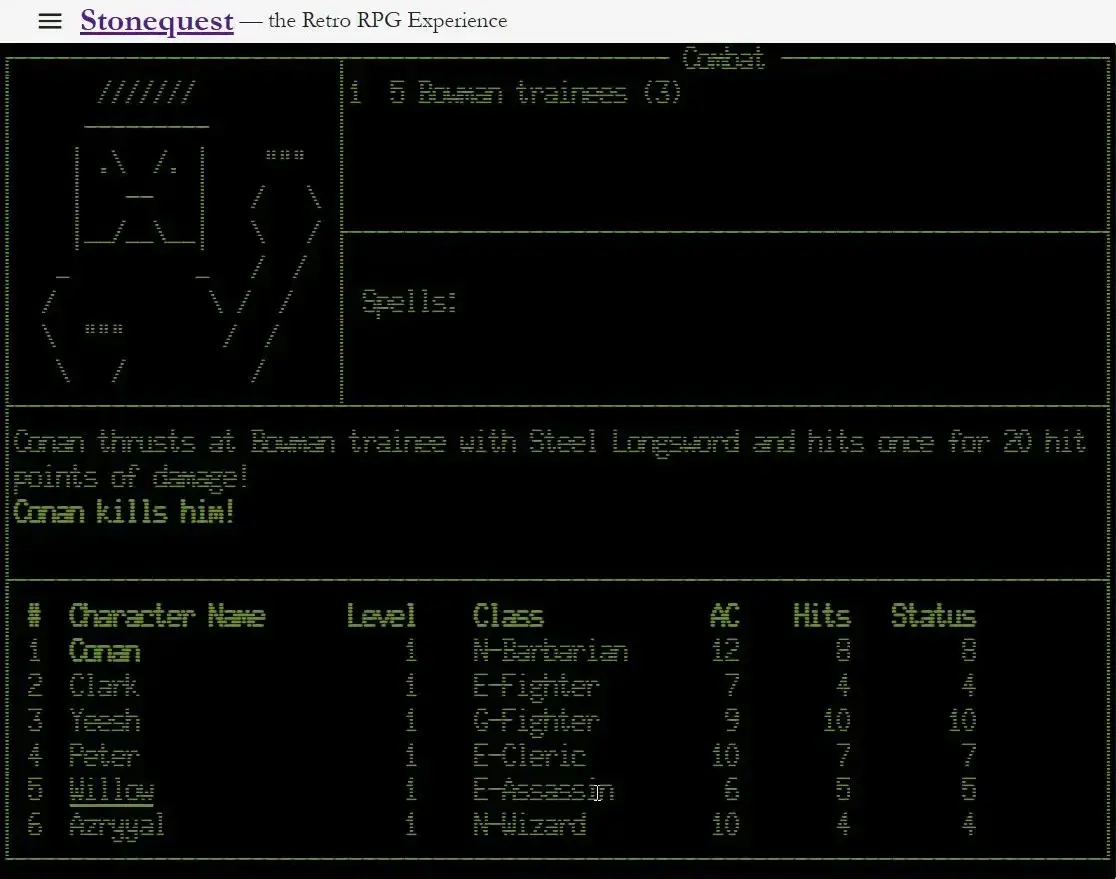
The berserk Barbarian tears into the enemy.
The Wizard's Magic Missile unerringly strikes a foe.
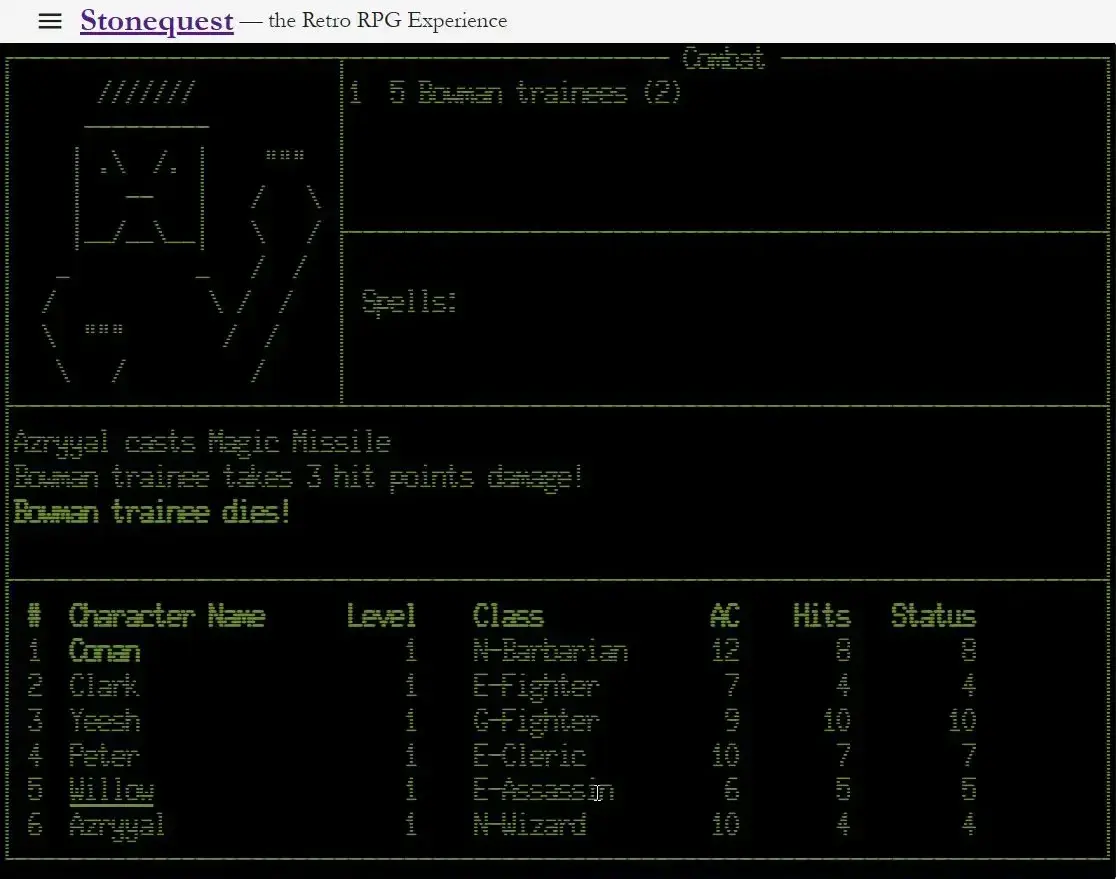
Not every attack connects — misses happen.
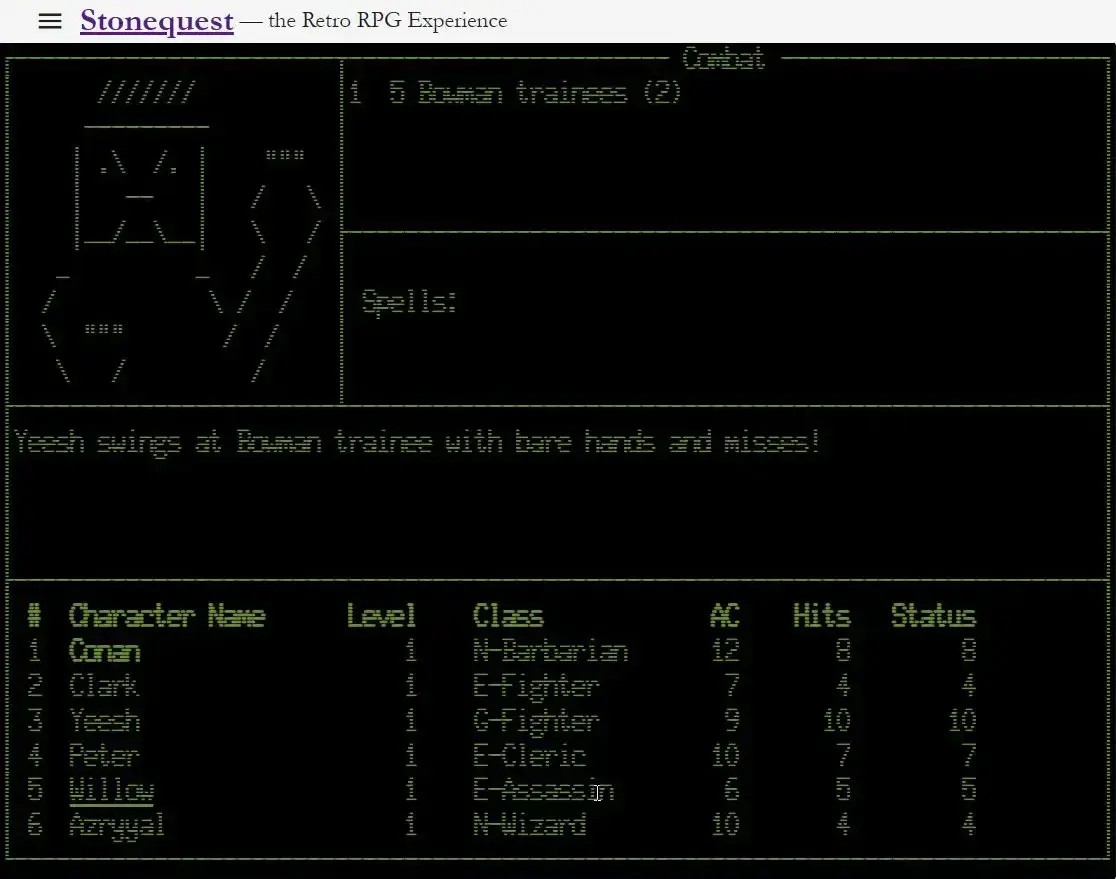
Another monster falls.
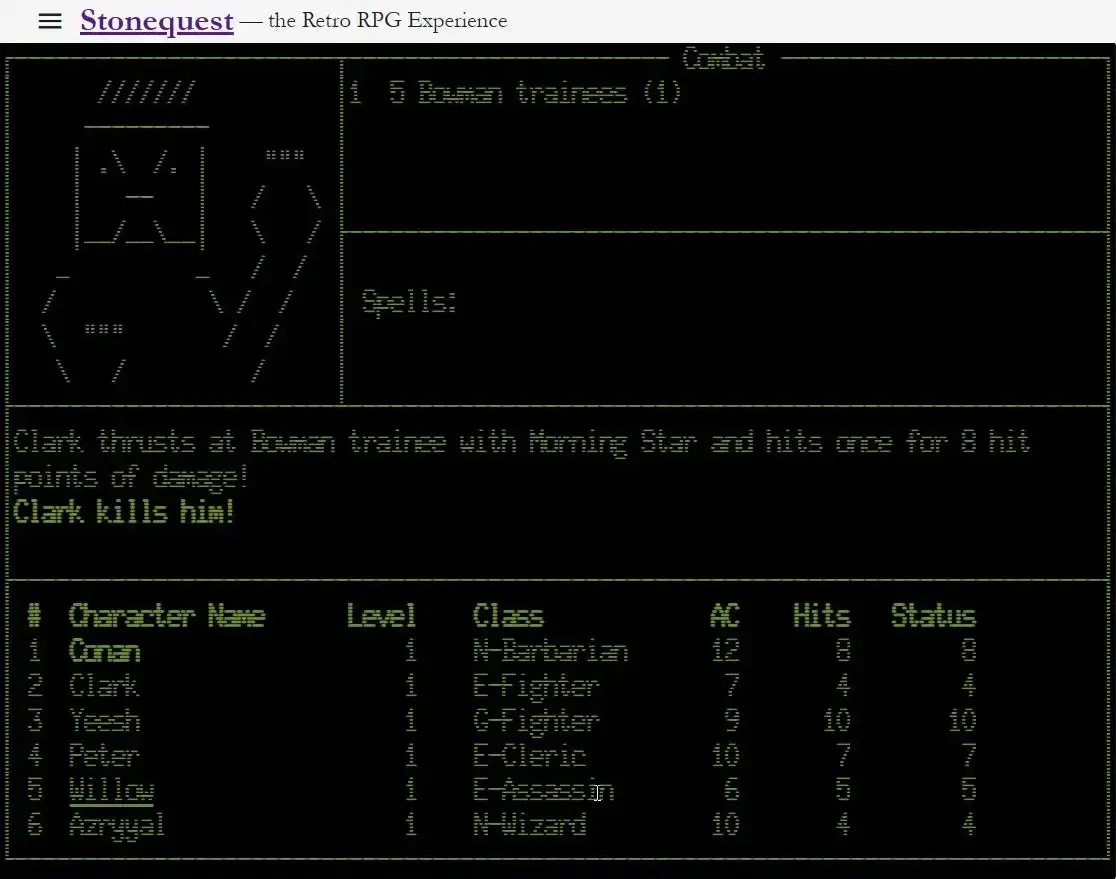
The killing blow lands...
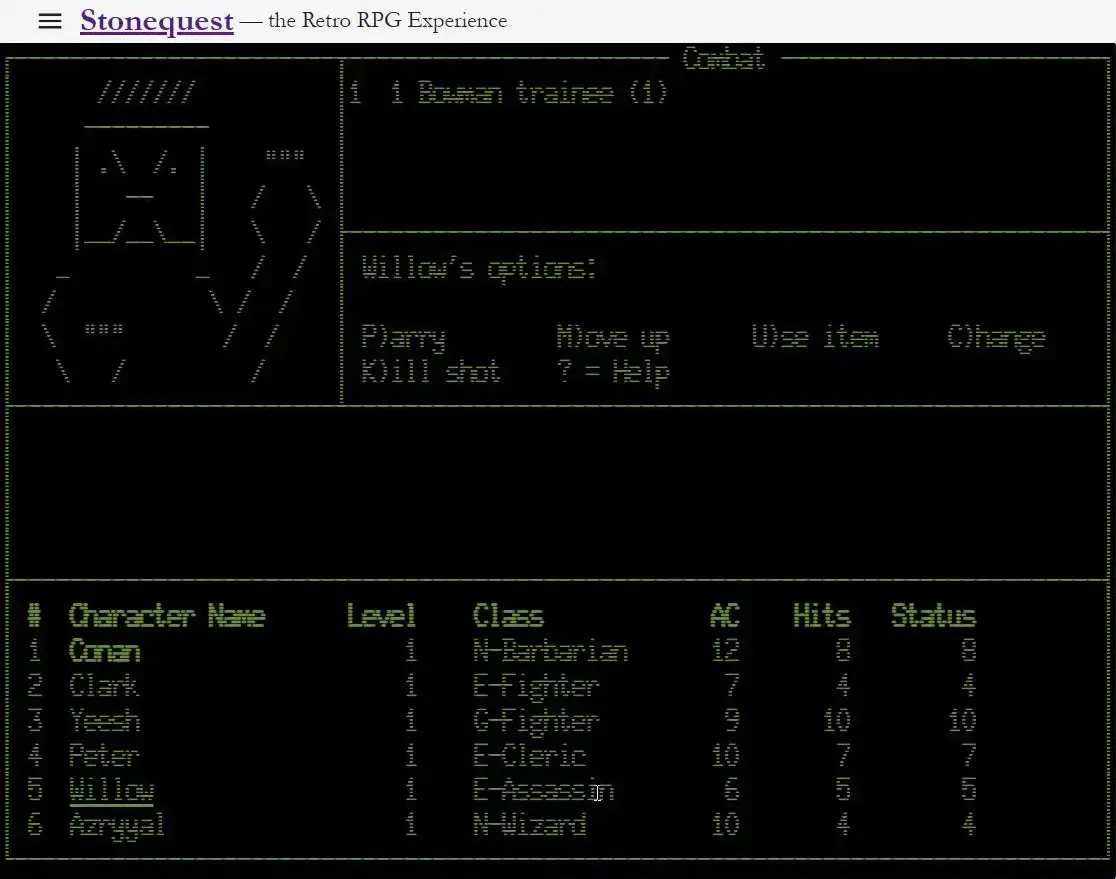
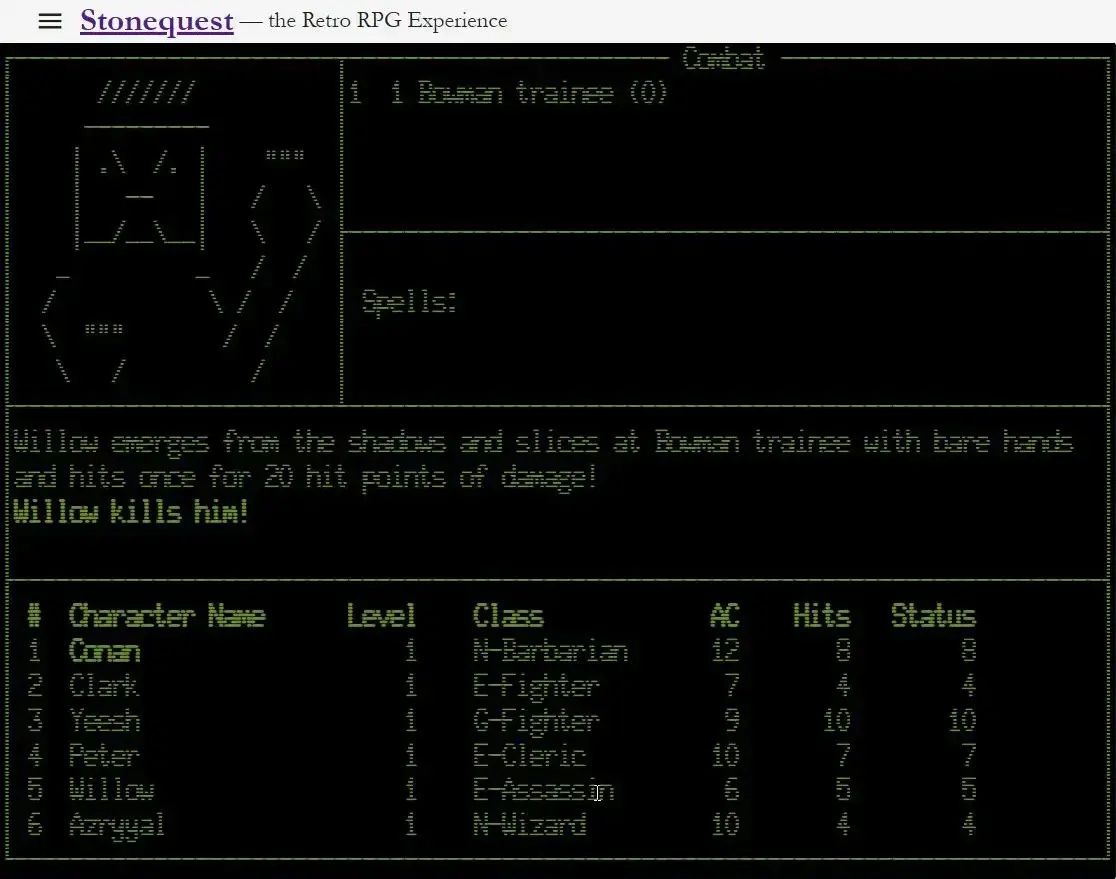
...and the last monster is slain. Victory.
Treasure and Chests
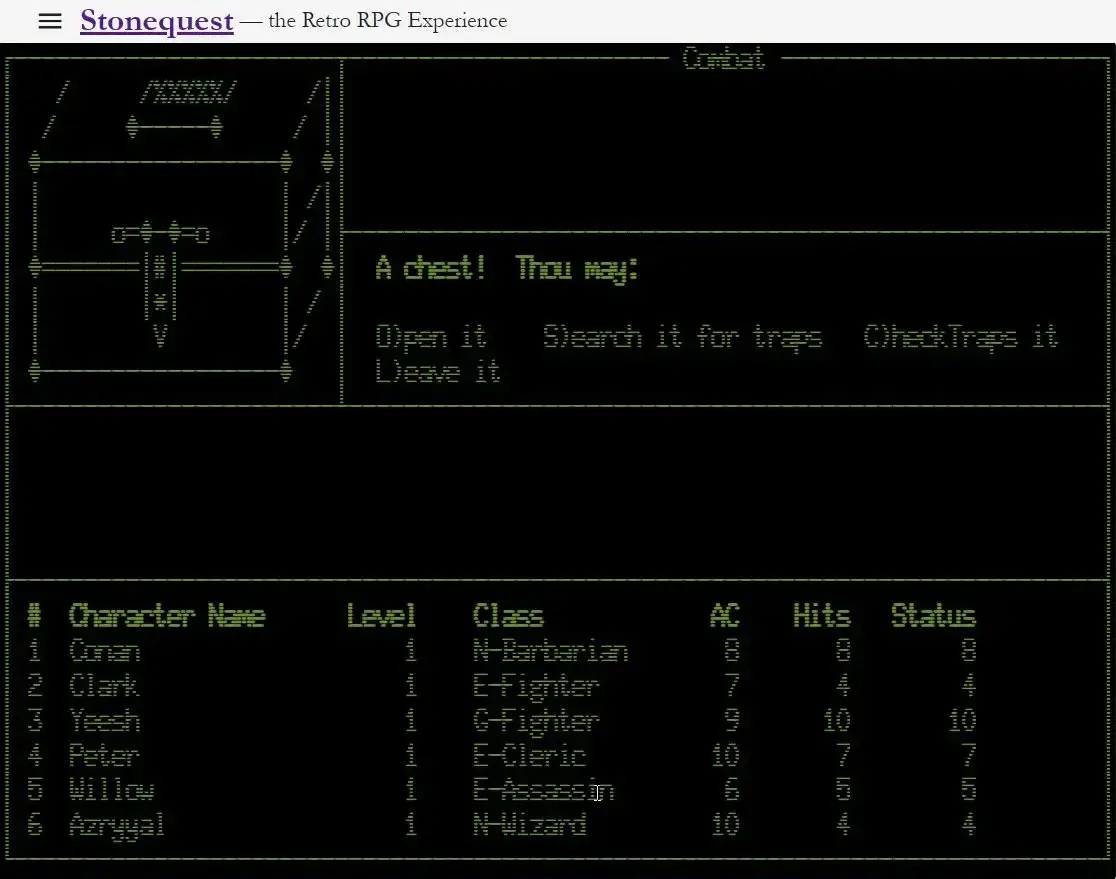
After a victorious battle, your party may be rewarded with gold, items, or a locked chest. Chests can contain valuable equipment, but opening them is not entirely risk-free.
Traps
Before touching a chest, it is wise to search it for traps. If a trap is found, the game will tell you what kind it is — knowing what you are dealing with helps you decide whether to proceed.
You will then be asked which character will open the chest. Some classes are better at handling traps than others, so choose accordingly. If a trap fires, the character who opened the chest bears the consequences.
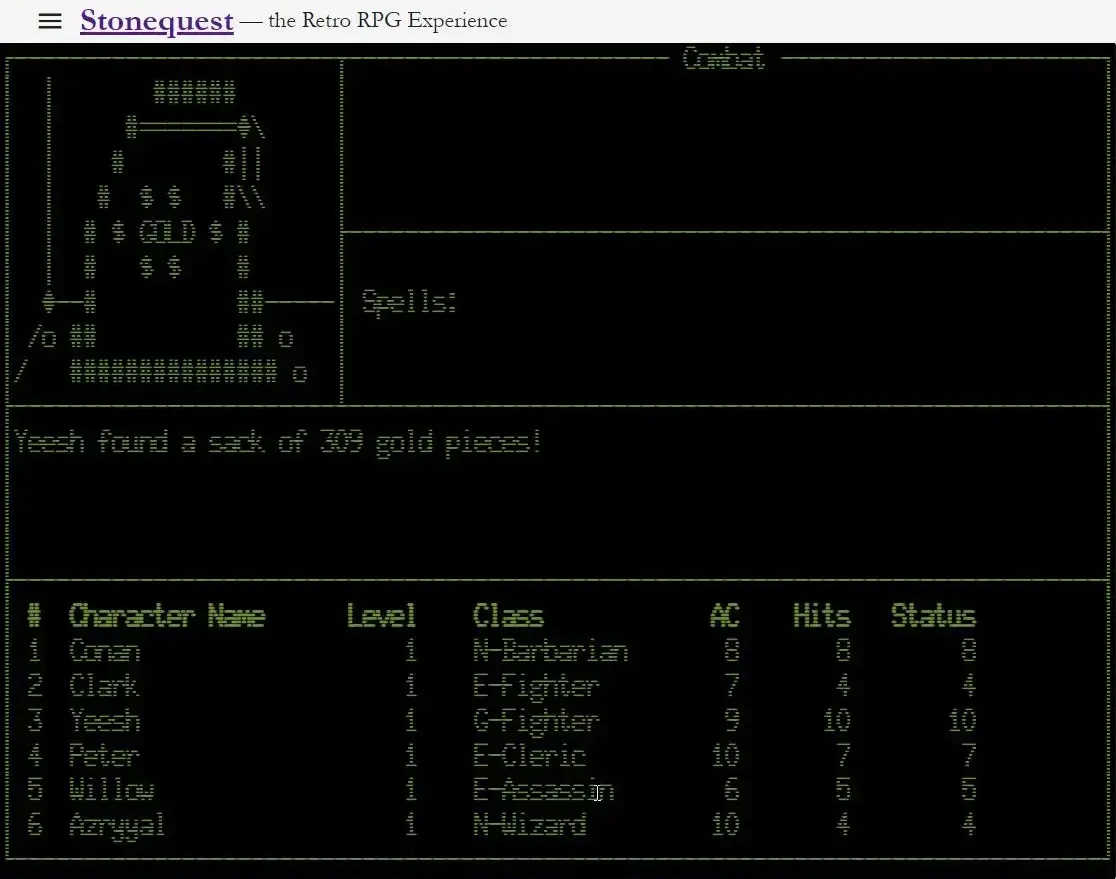
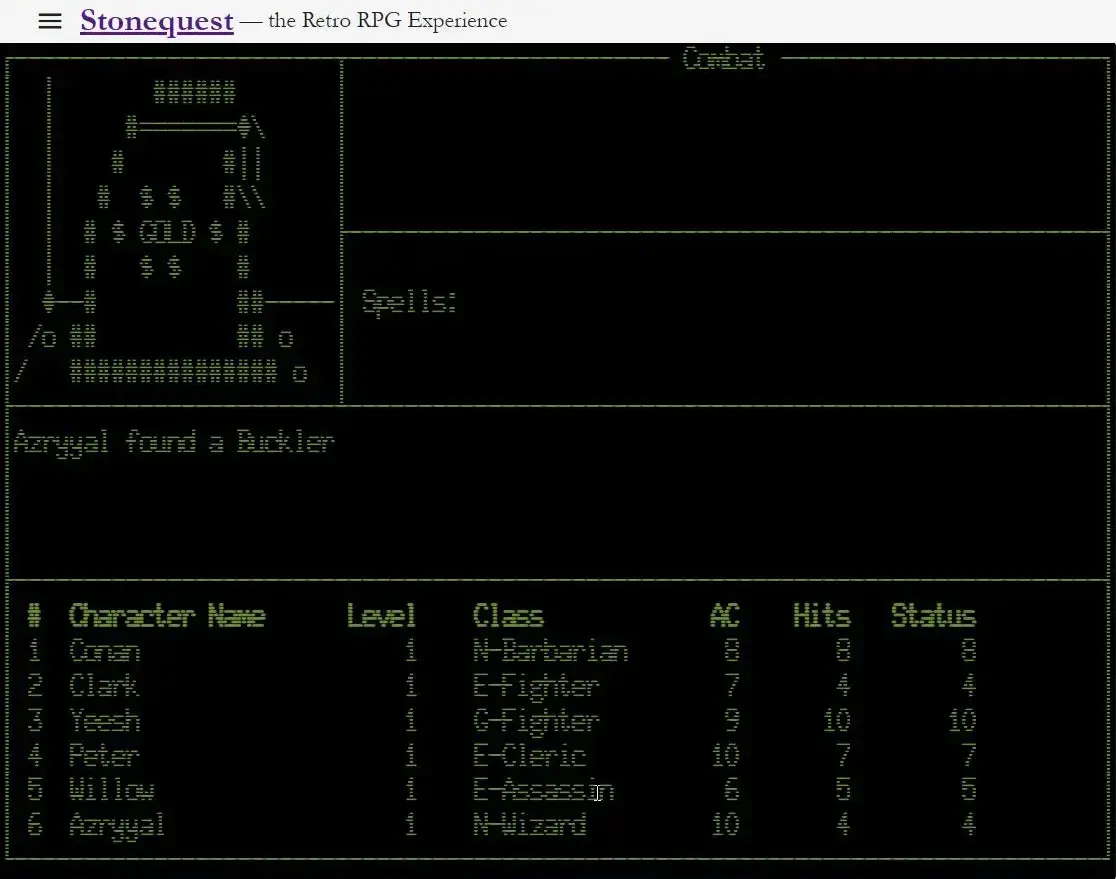
If you get through unscathed — or if there was no trap to begin with — the chest's contents are yours: gold, an item, or both.
The thief searches the chest for traps.
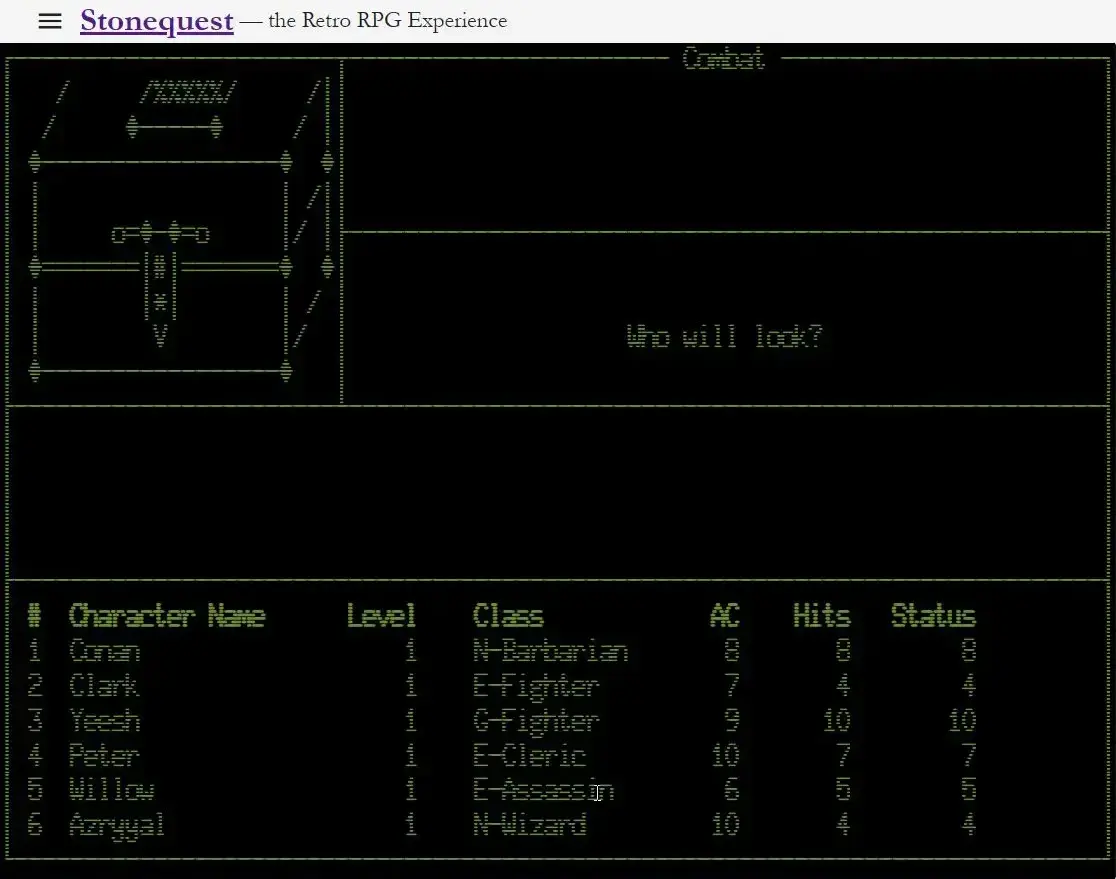
A trap is identified: this chest has an Anti-Wizard trap, which targets spellcasters.
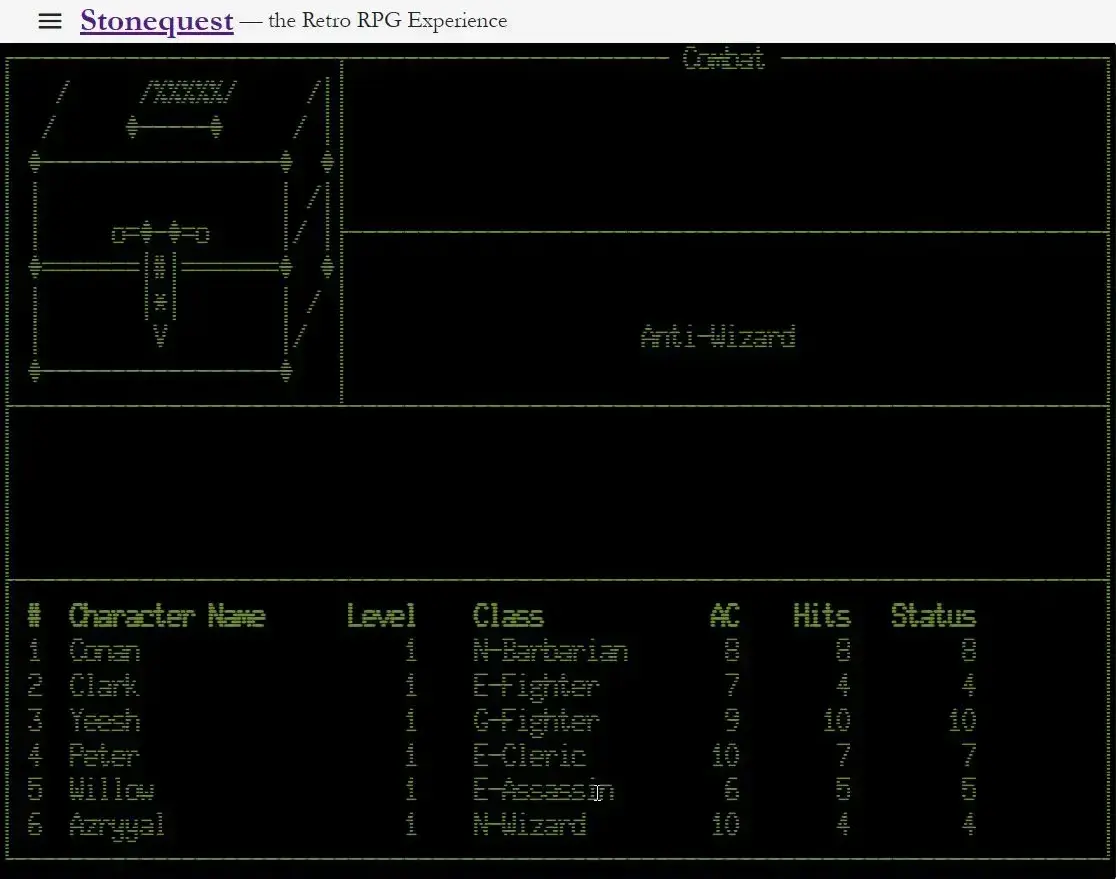
The game asks which character will open the chest.
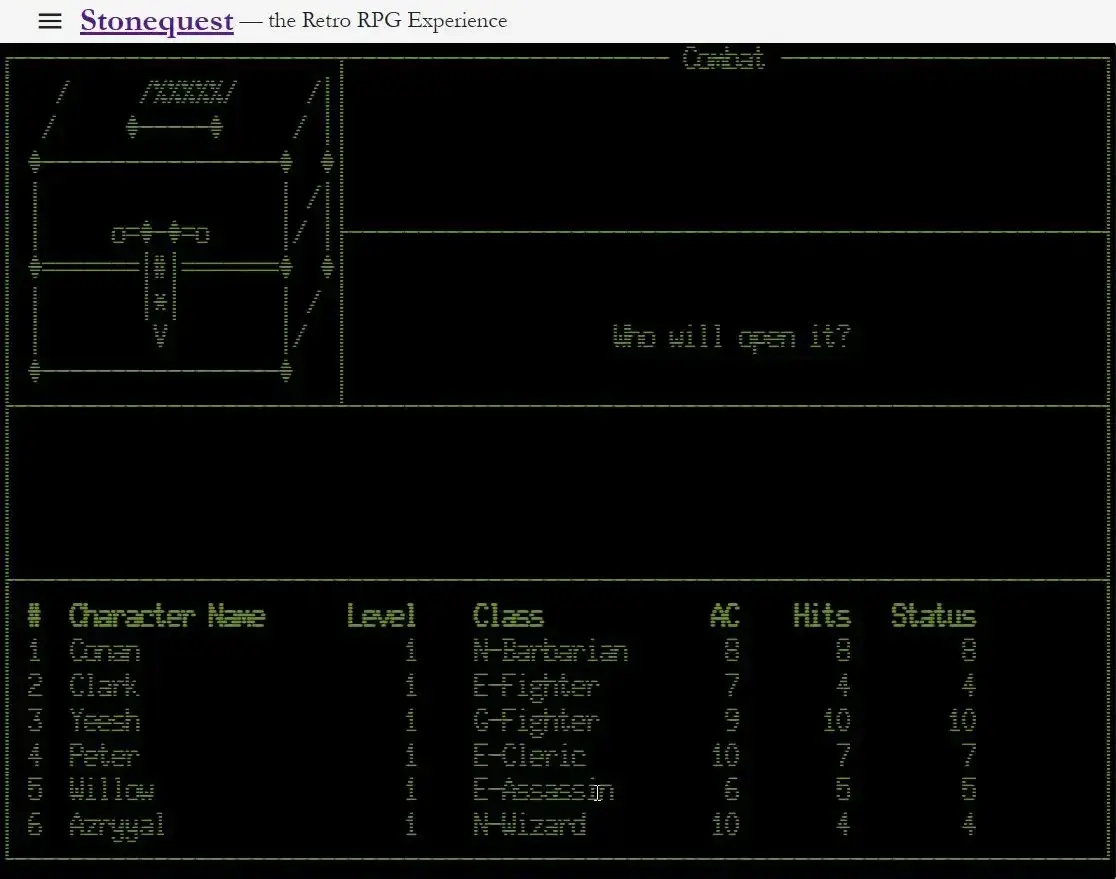
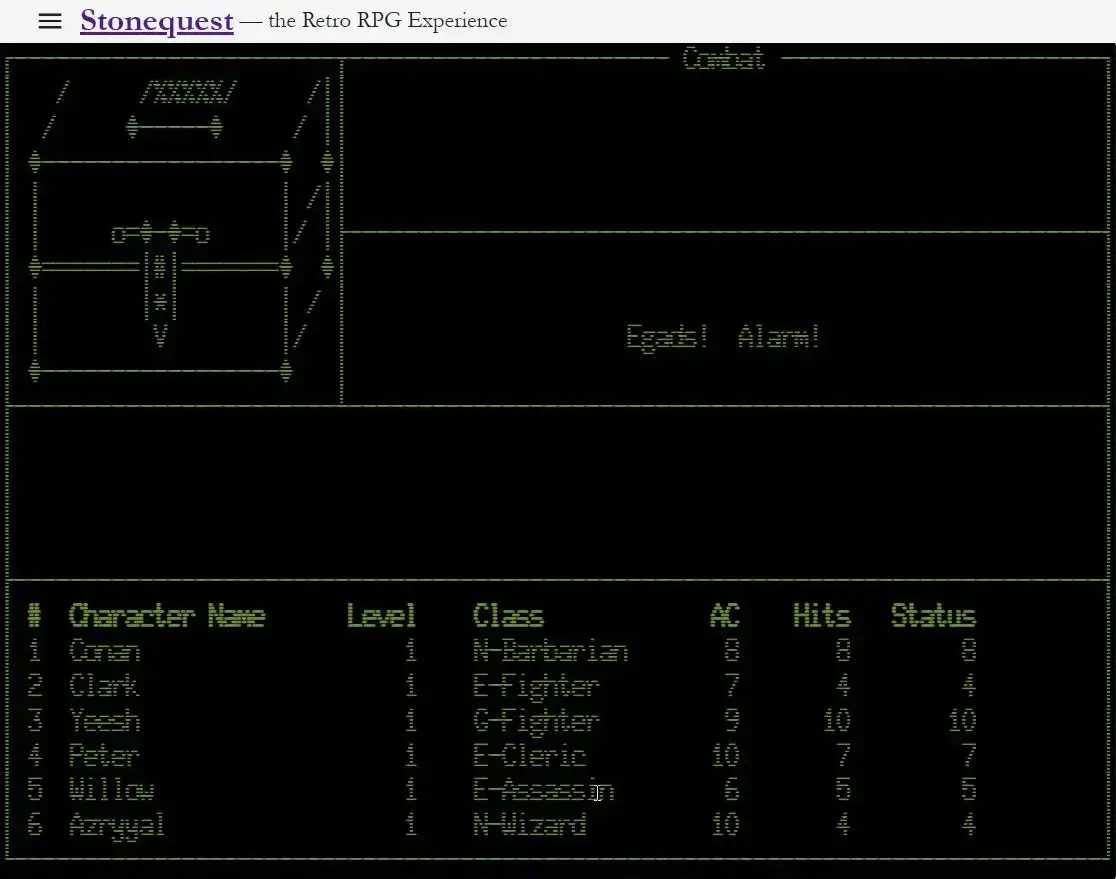
In this case, the trap fires anyway — an Alarm Trap springs as the chest is opened. See the next section for what happens next.
On a luckier run, the chest may simply contain gold...
...or a useful item.
The Alarm Trap
The Alarm Trap is one of the crueler traps in the game. When triggered, it immediately summons a wandering monster group to your location — regardless of how exhausted or depleted your party already is.
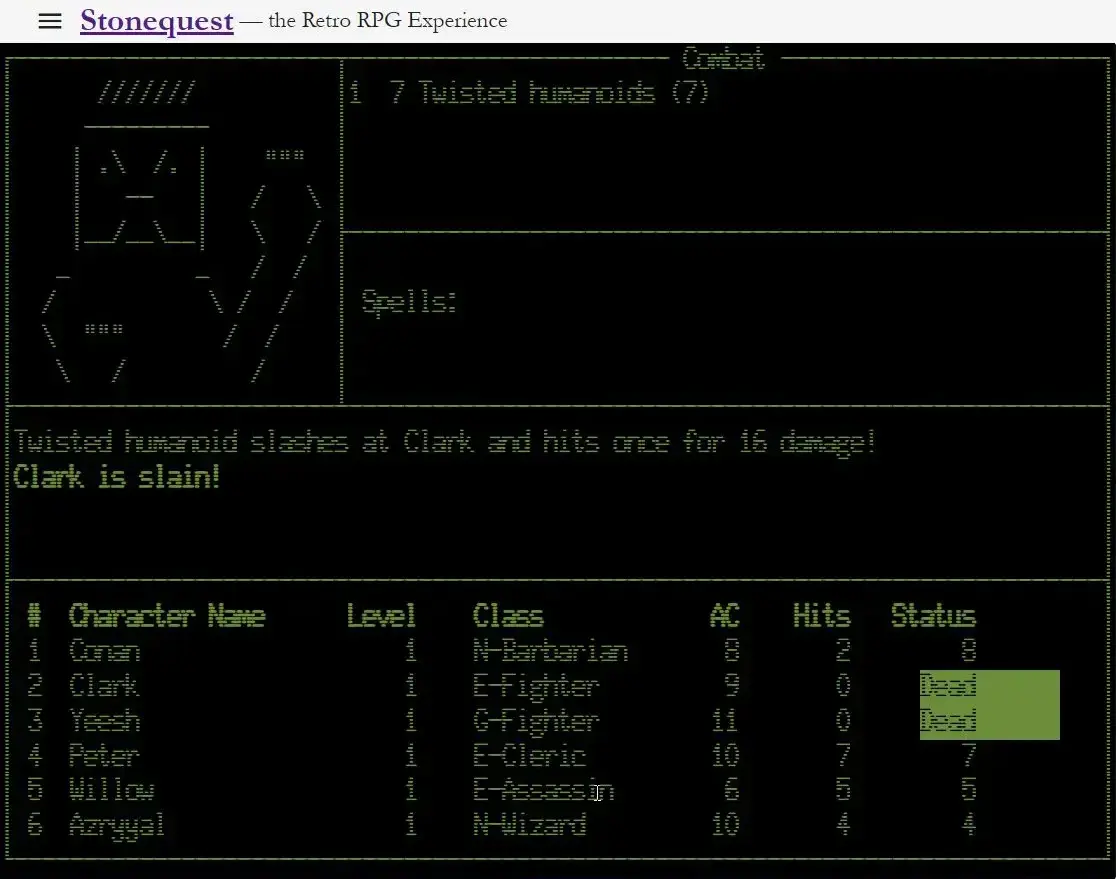
As you can see, this encounter did not go well. Two characters were killed before the monsters could be driven off. Sometimes the only sensible move is to cut your losses and escape with whoever is still alive.
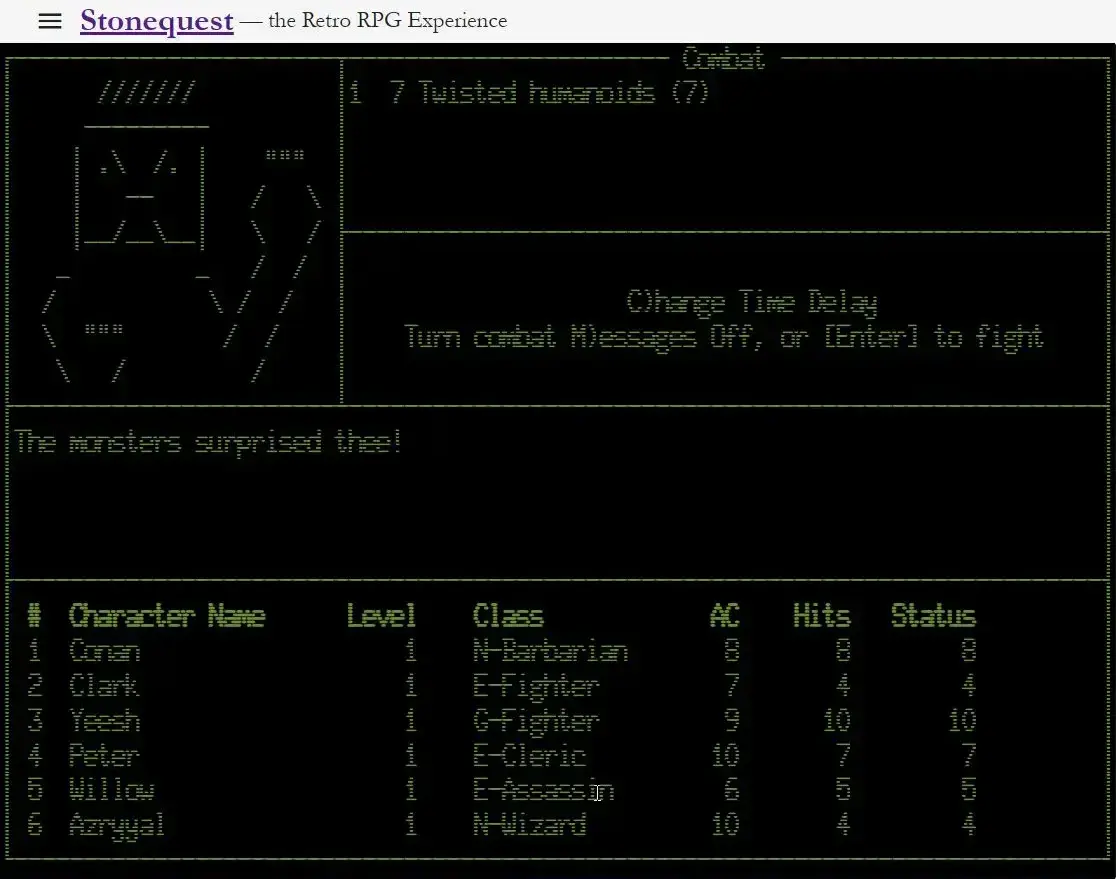
The alarm summons a wandering monster group — arriving immediately at your location.
The summoned monsters are no pushover. This is not good.
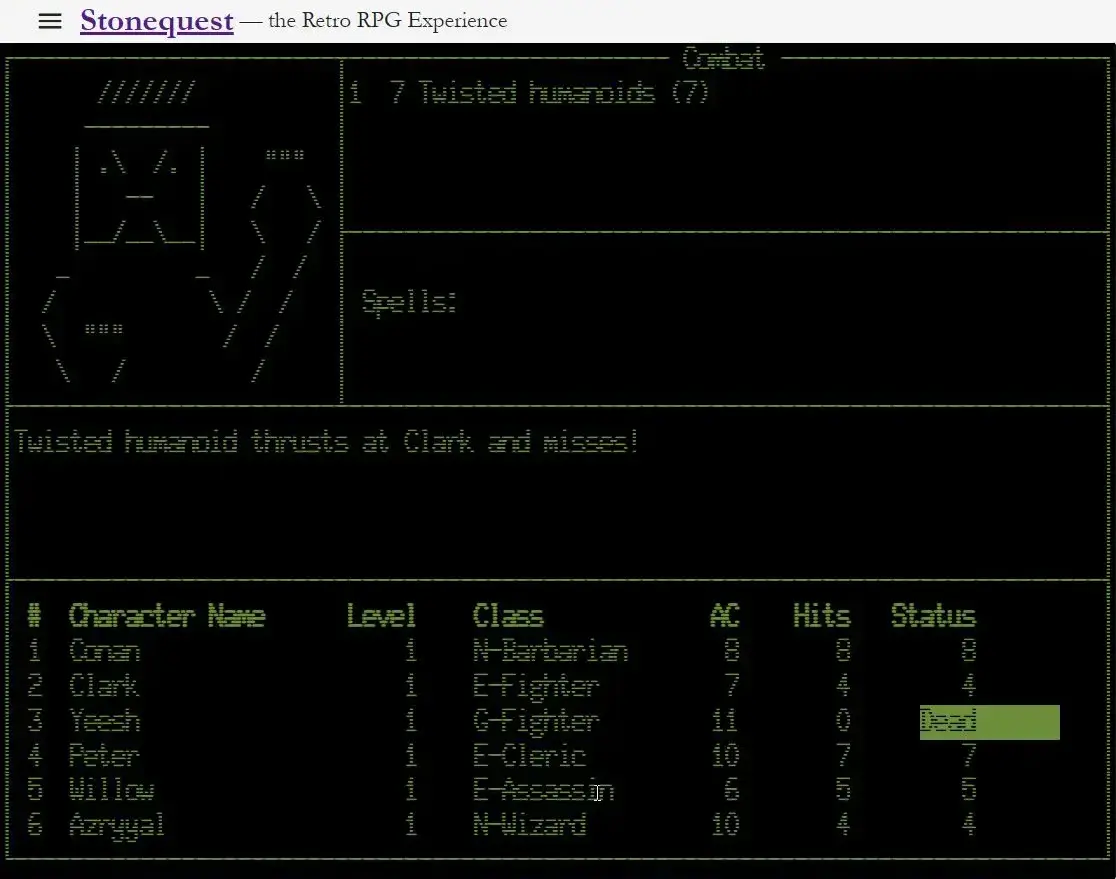
One character falls in the fighting.
The surviving party members hang on, desperately hoping the monsters keep missing.
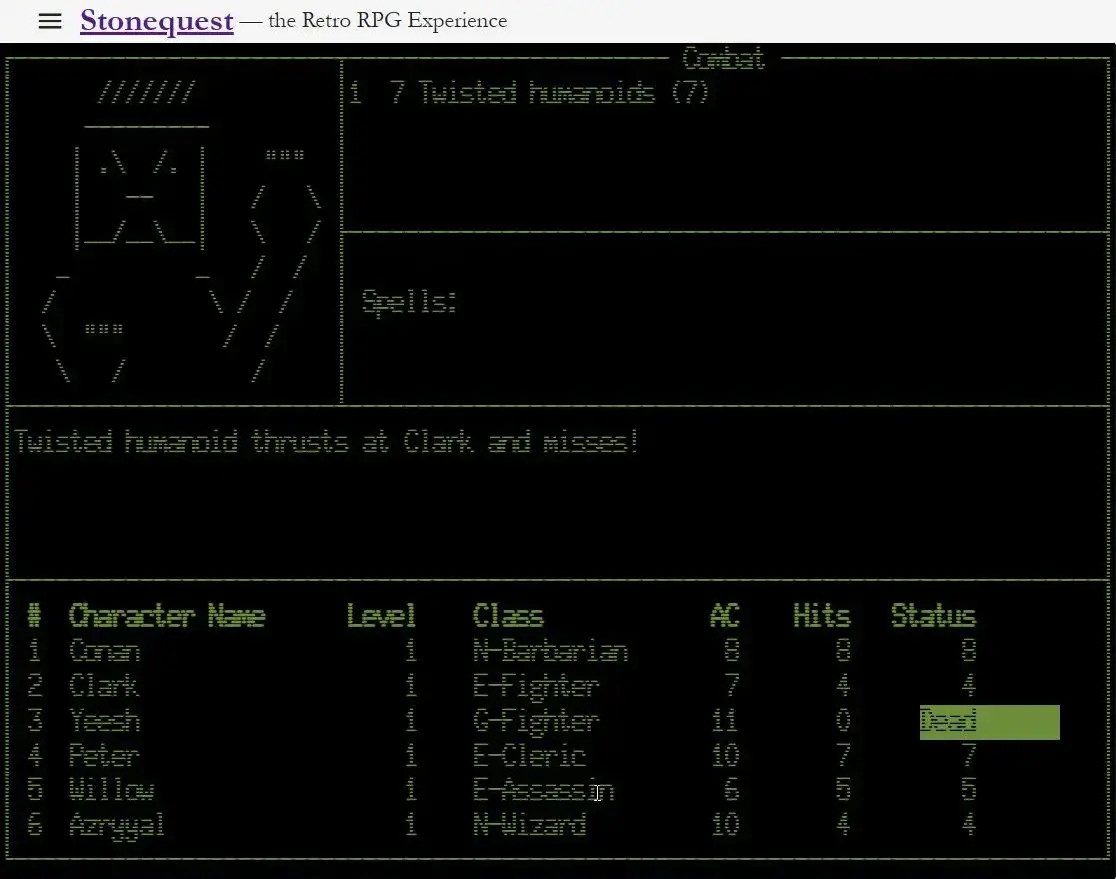
A second character is lost before the monsters are finally driven off. The price of a bad trap.
Flight
If a fight turns against you, you can attempt to flee. Success is not guaranteed, but if your party escapes, they will retreat toward the entrance of the maze.
Once free of the monsters, head for the nearest staircase to make your way back to the surface and return to Kyrn. Better to live and regroup than to lose your entire party chasing a fight you cannot win.
Your party successfully breaks away from the monsters.
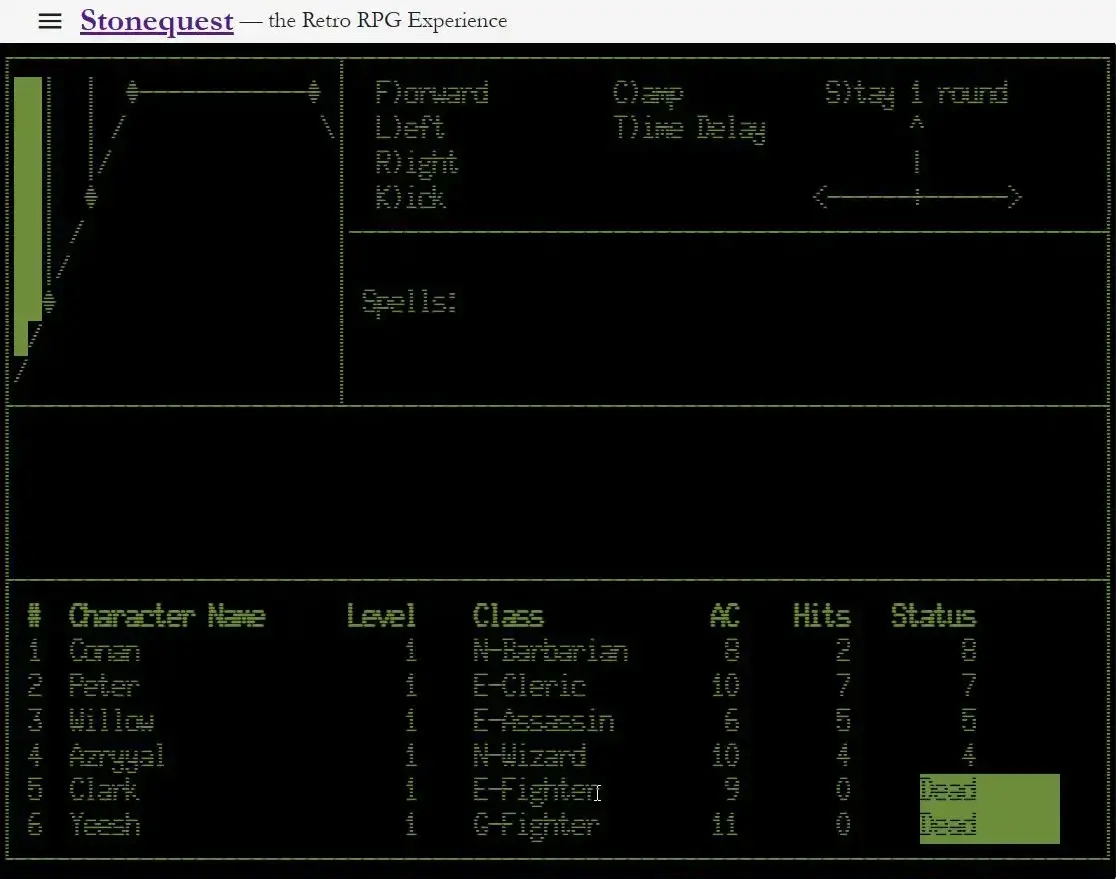
With the fight behind you, navigate toward the nearest staircase to ascend.
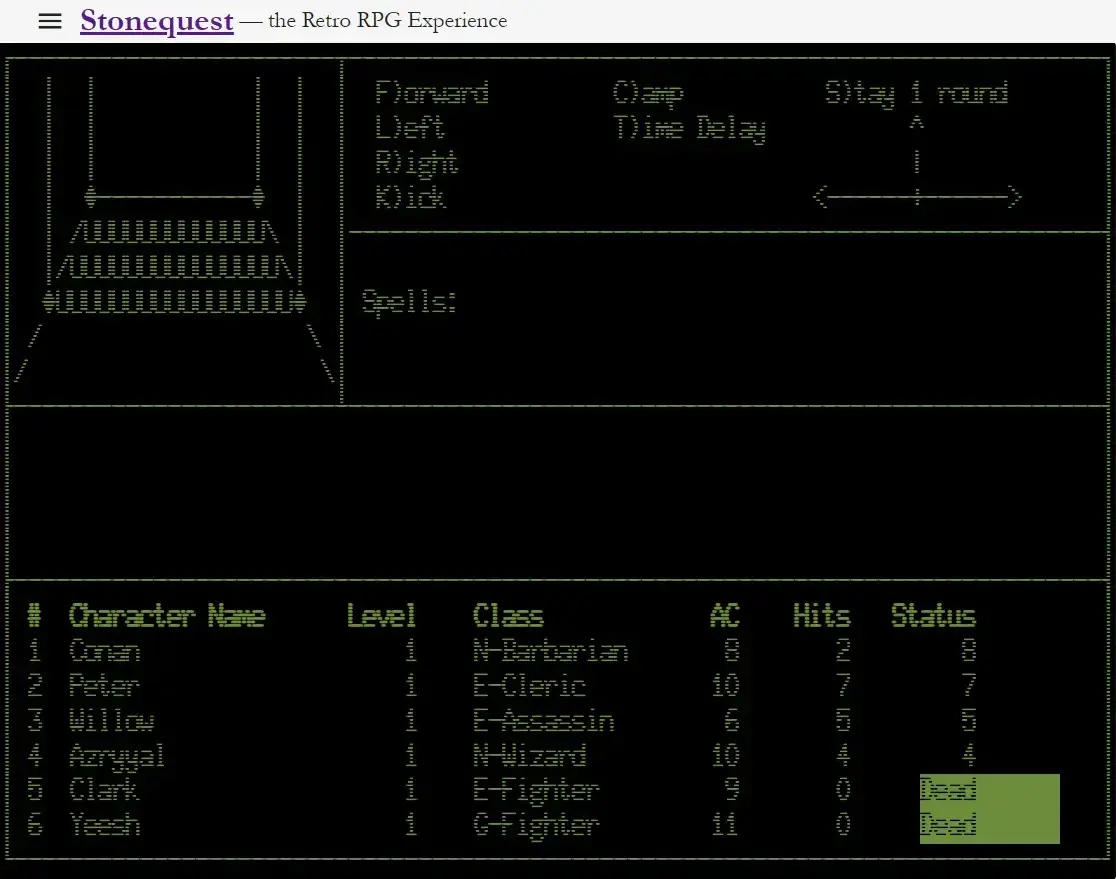
You find the staircase. Time to get out.
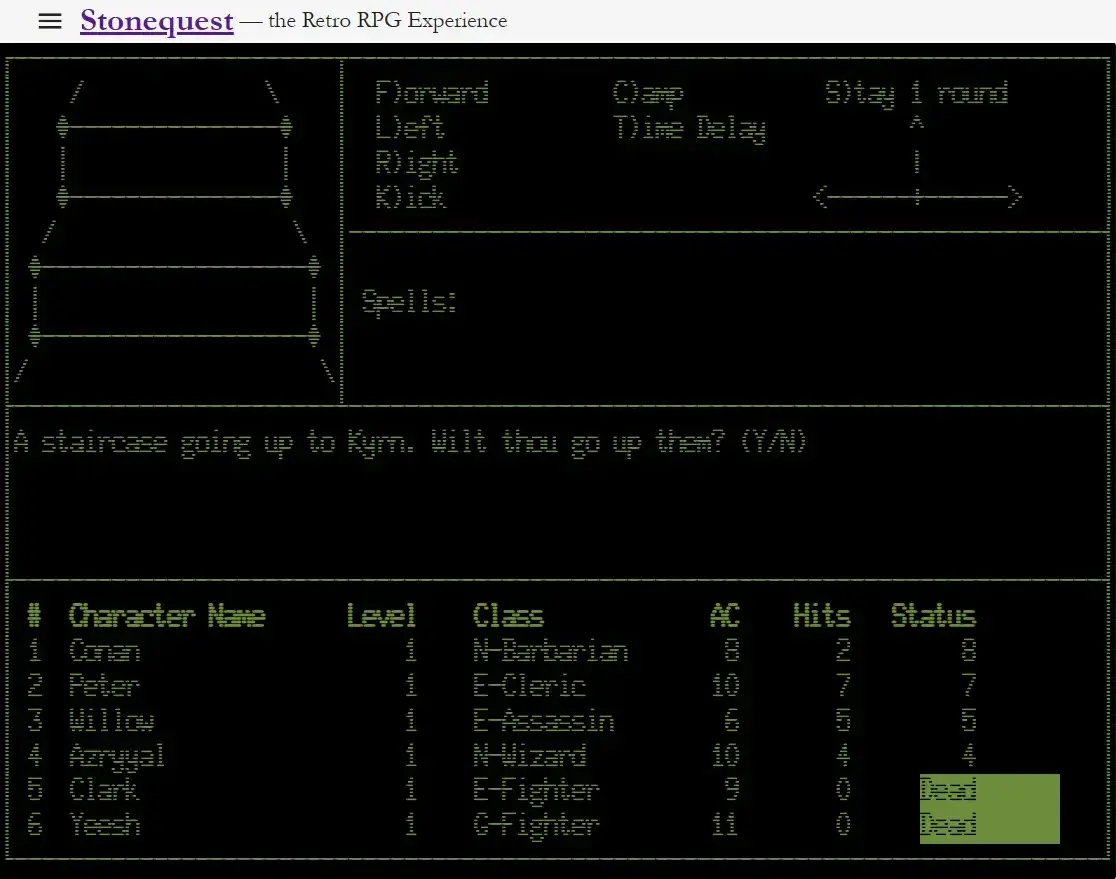
You emerge back in Kyrn, battered but alive. Regroup, resupply, and try again.
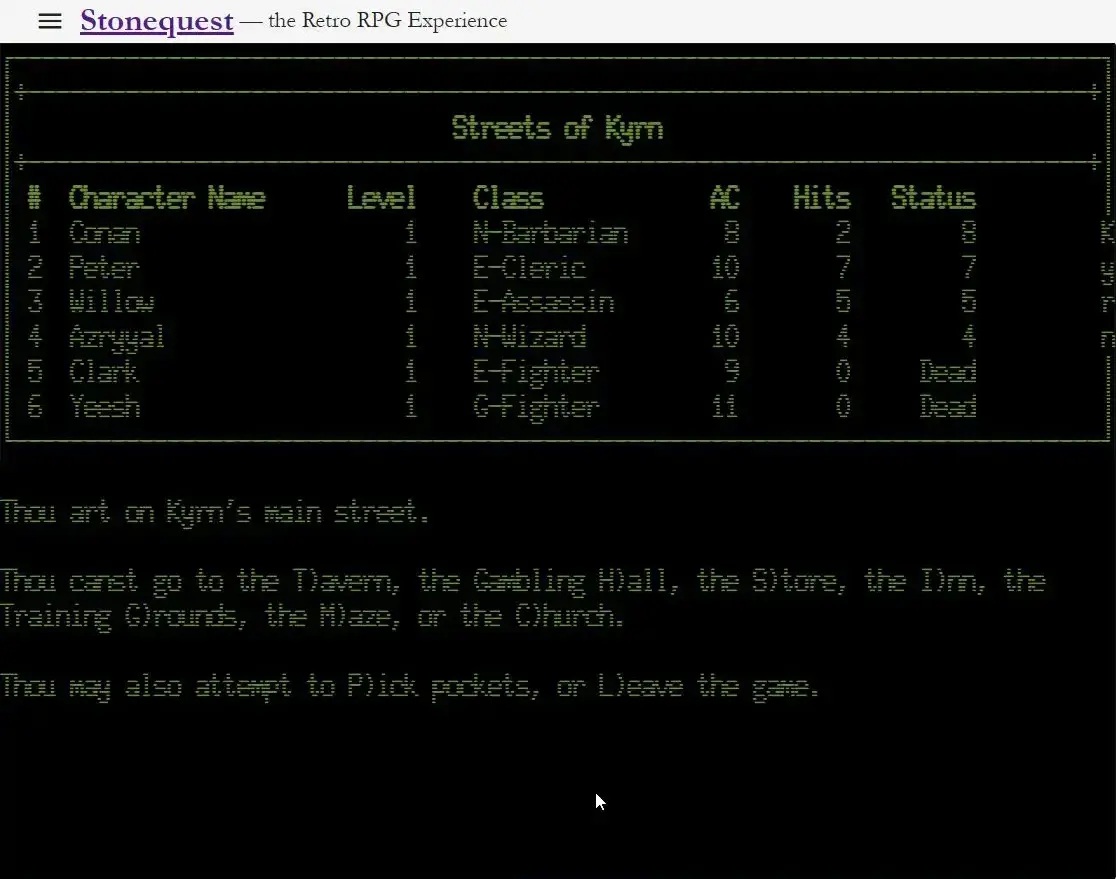
Back to Kyrn and the Church
If any characters were killed during your expedition, you can bring them back at the Church of Devoted Healers. Head there from the Streets of Kyrn.
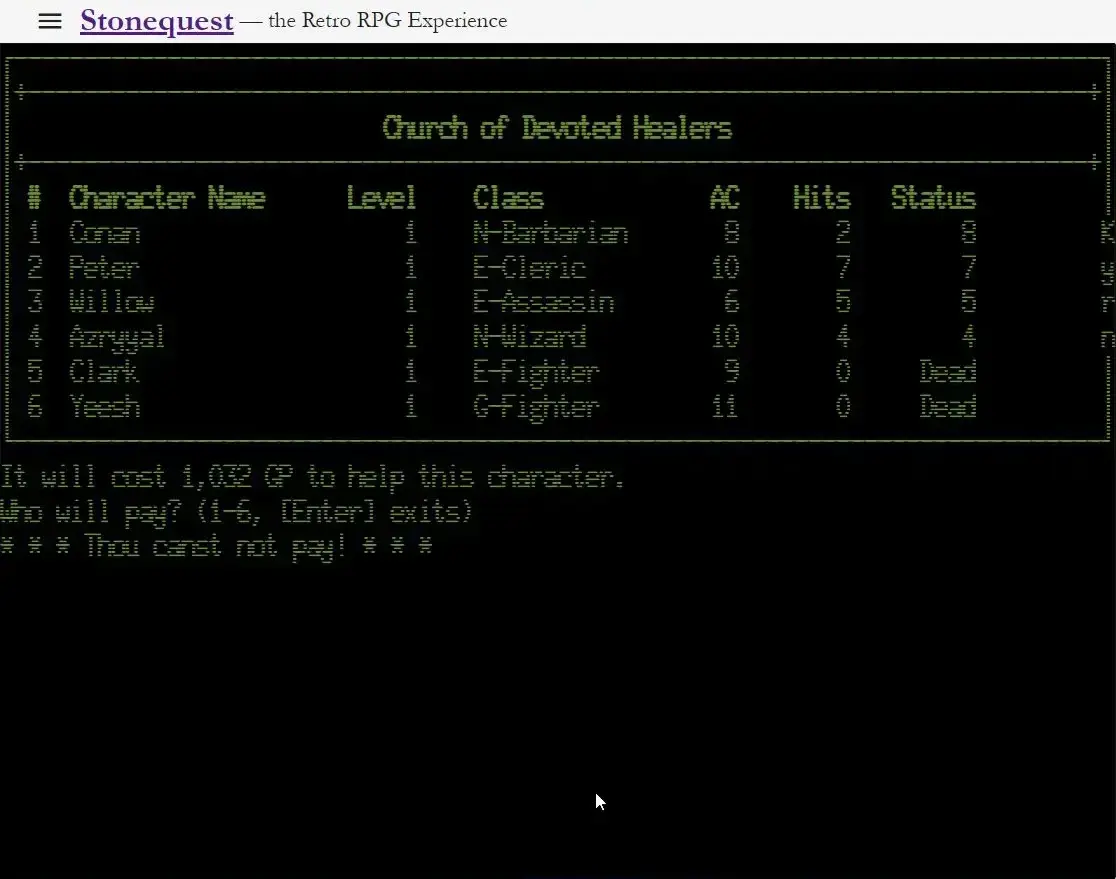
Resurrection is not free — the Church charges gold, and the price can be steep. If you cannot afford it right now, you will have to leave the character behind and return once your party's finances have recovered.
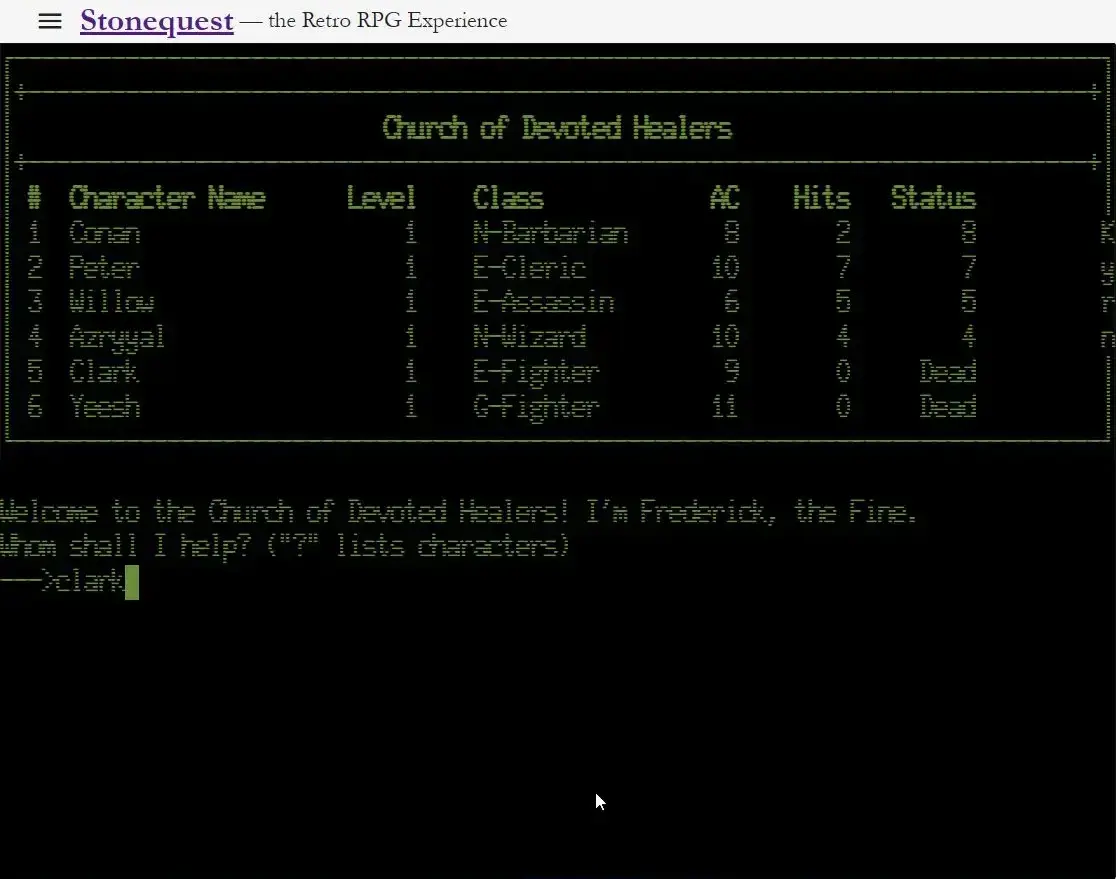
The Church shows you the resurrection cost. It is not cheap.
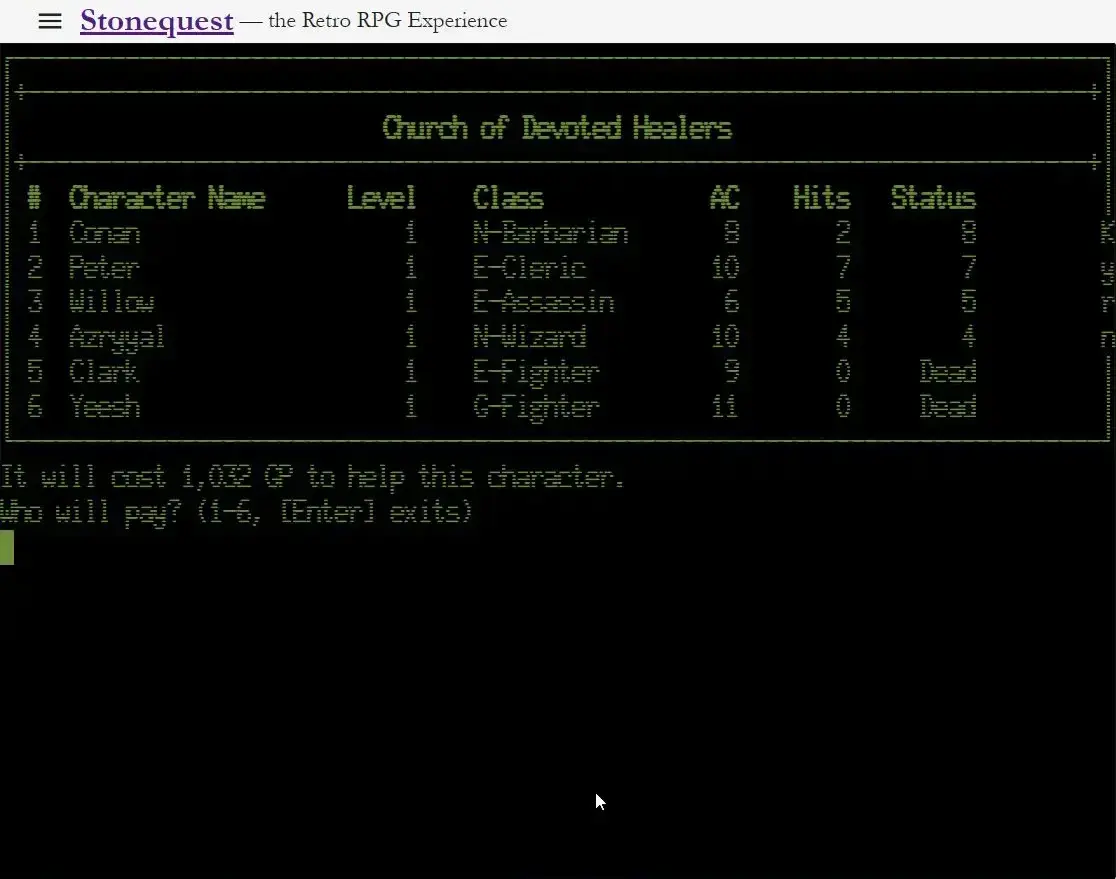
If you cannot afford the fee, the character must wait. Return when your party's gold has recovered.